lozcb
Member
- Messages
- 12,539
Swapping out headlights 4200 and GS
Swapping out headlights in a 4200 and Gransport
With the bonnet up remove both engine bay side grills
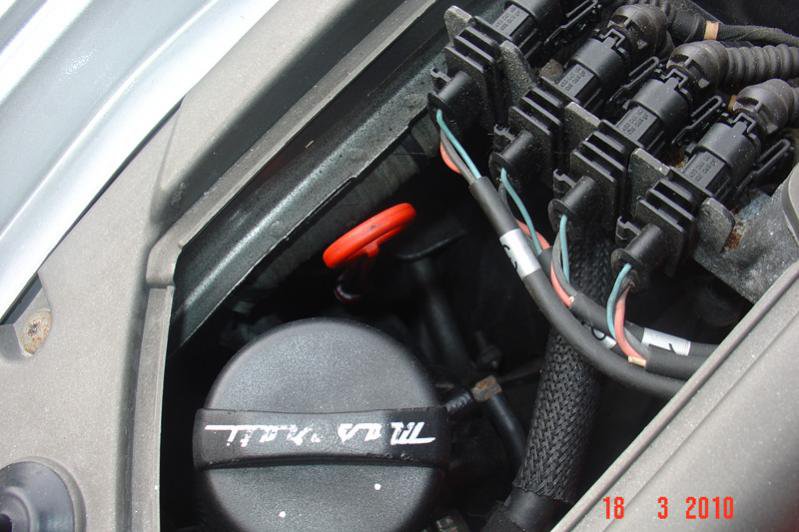
Jack the car up so the wheel is around 3†off the ground
Re – Xennon headlights ,make sure before you touch any wiring that the headlights have been turned off for alteast half an hour so they have had time to discharge before disconnecting the wiring to the headlight,
Remove the wheel and the plastic/carpet inner wheel arch 8mm socket needed which will expose the 2 lower headlight fixing brackets and bolts
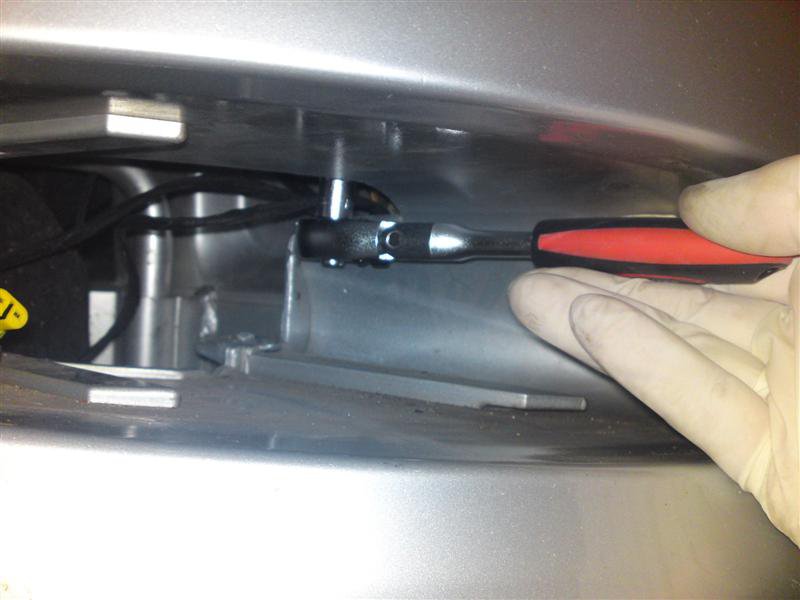
Tools needed 10mm socket and long extention needed, remove the bolts and the lower bracket nearest you
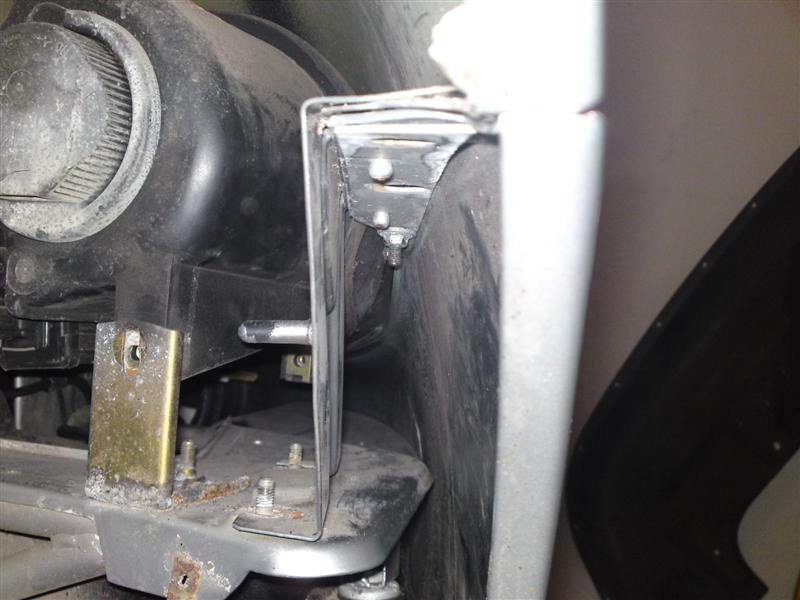
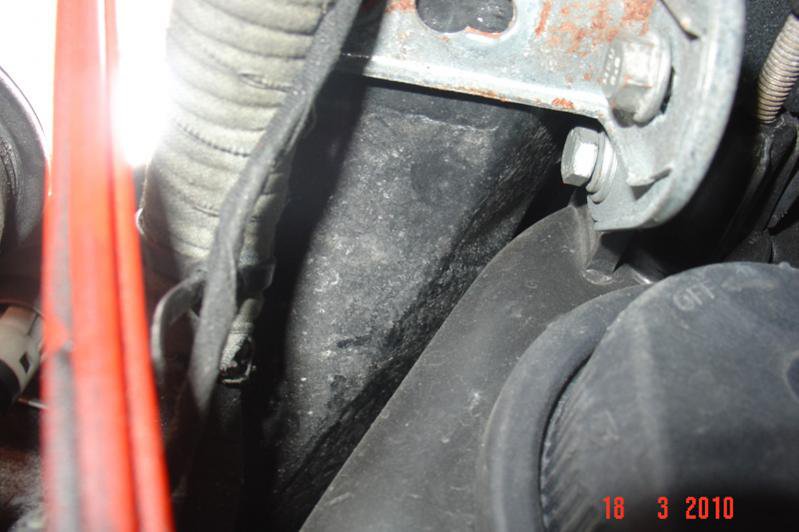
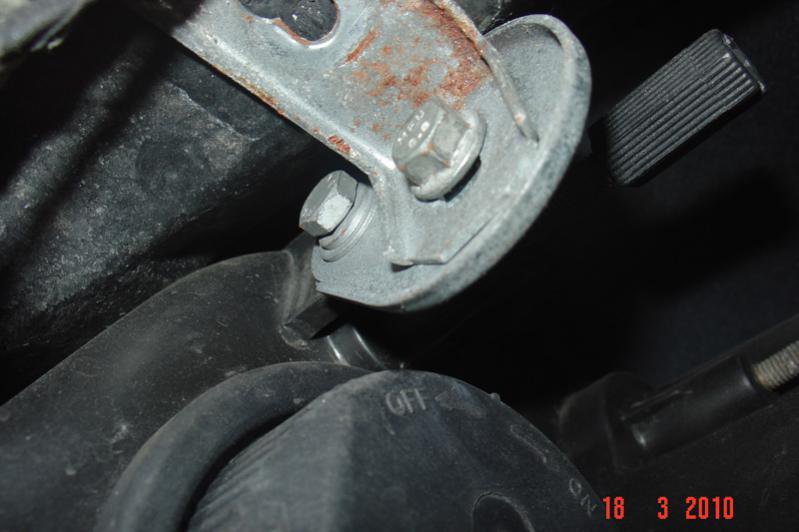
The 3rd top fixing bracket attatches to the underside of the wing at the top where it meets the drain channel , its tricky but can be accessed from inside but I found it easier
To access it from above inside the engine bay by removing the dip stick first on the drivers side if uk car , the other side you can access but its fiddly and knuckle grawnching,
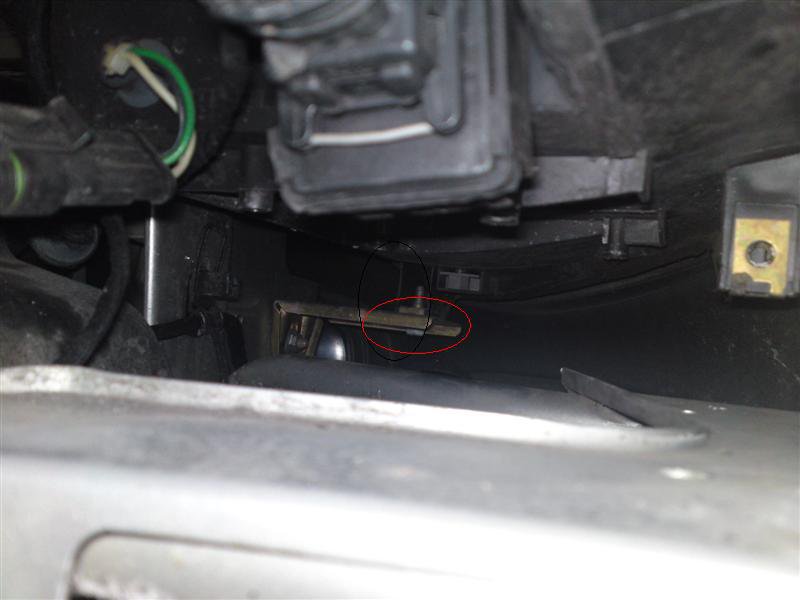
Here you can just see the bracket your looking for best to leave it attached to the body and disconnect from the light itself
You can then very carefully jiggle out the headlight , personally if I was re-using the same headlight, I would mask up the lense fully before removal to prevent scratching
I would also advise using new rubber seal gaskets when re-fitting making sure to evo stick them back into place and not rely on the locating tags , this will prevent the seal moving if hit with the jet of a pressure washer whilst washing
When re-fitting I use some appropriate sized wooden wedges to hold the headlight in place, this gives you time to walk round to the front to check that the seal spot on and even all the way round, and holds it in place whilst re fixing the headlight brackets and tightening up, turn headlight on and check all sound before continuing on to
Replace wheel arch liner and wheel job done
Pics to be inserted later
Regards
Swapping out headlights in a 4200 and Gransport
With the bonnet up remove both engine bay side grills

Jack the car up so the wheel is around 3†off the ground
Re – Xennon headlights ,make sure before you touch any wiring that the headlights have been turned off for alteast half an hour so they have had time to discharge before disconnecting the wiring to the headlight,
Remove the wheel and the plastic/carpet inner wheel arch 8mm socket needed which will expose the 2 lower headlight fixing brackets and bolts
Tools needed 10mm socket and long extention needed, remove the bolts and the lower bracket nearest you

The 3rd top fixing bracket attatches to the underside of the wing at the top where it meets the drain channel , its tricky but can be accessed from inside but I found it easier
To access it from above inside the engine bay by removing the dip stick first on the drivers side if uk car , the other side you can access but its fiddly and knuckle grawnching,
Here you can just see the bracket your looking for best to leave it attached to the body and disconnect from the light itself


You can then very carefully jiggle out the headlight , personally if I was re-using the same headlight, I would mask up the lense fully before removal to prevent scratching
I would also advise using new rubber seal gaskets when re-fitting making sure to evo stick them back into place and not rely on the locating tags , this will prevent the seal moving if hit with the jet of a pressure washer whilst washing
When re-fitting I use some appropriate sized wooden wedges to hold the headlight in place, this gives you time to walk round to the front to check that the seal spot on and even all the way round, and holds it in place whilst re fixing the headlight brackets and tightening up, turn headlight on and check all sound before continuing on to
Replace wheel arch liner and wheel job done
Pics to be inserted later
Regards
Last edited:


