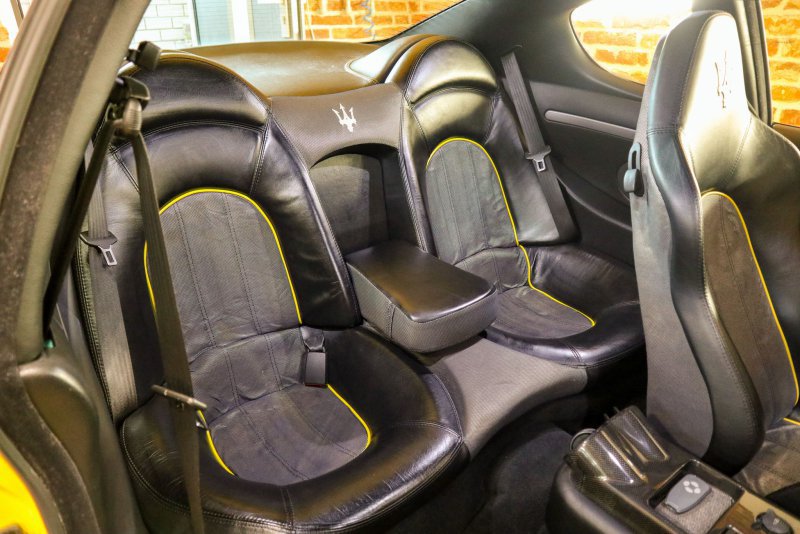
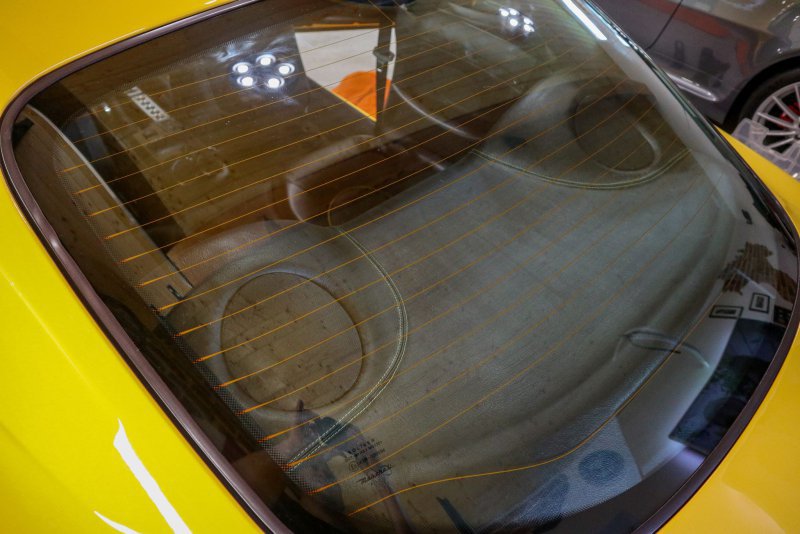
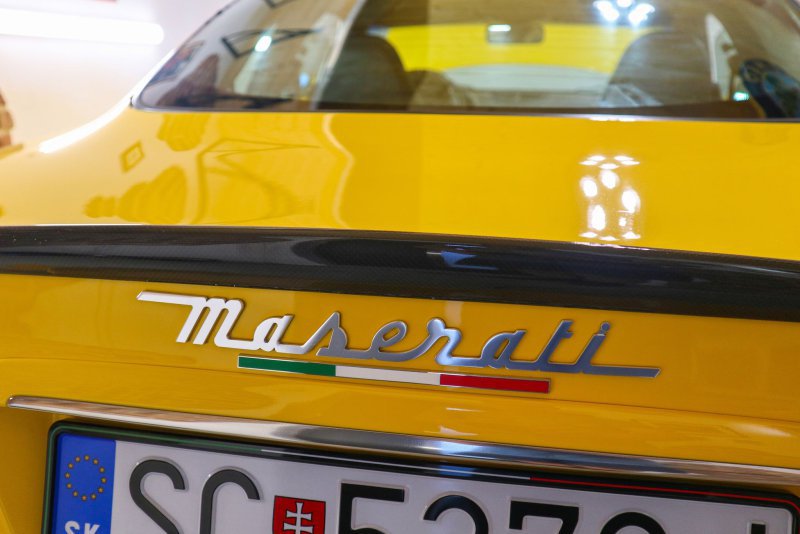
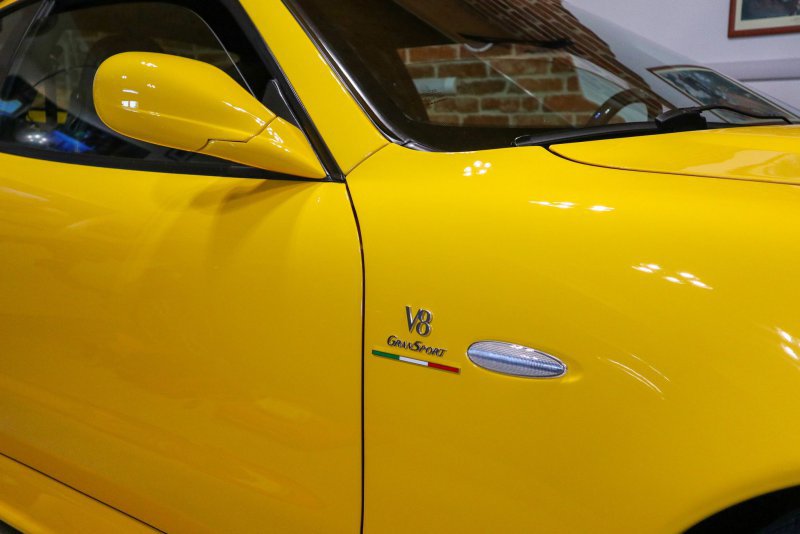
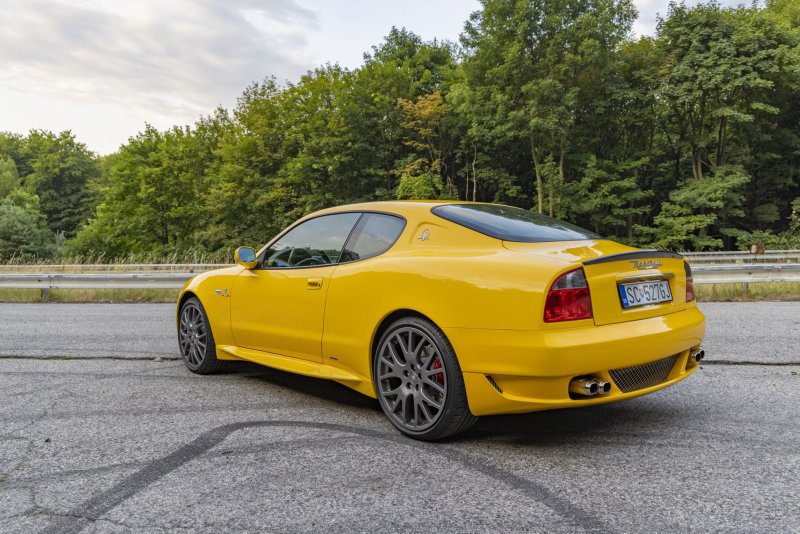
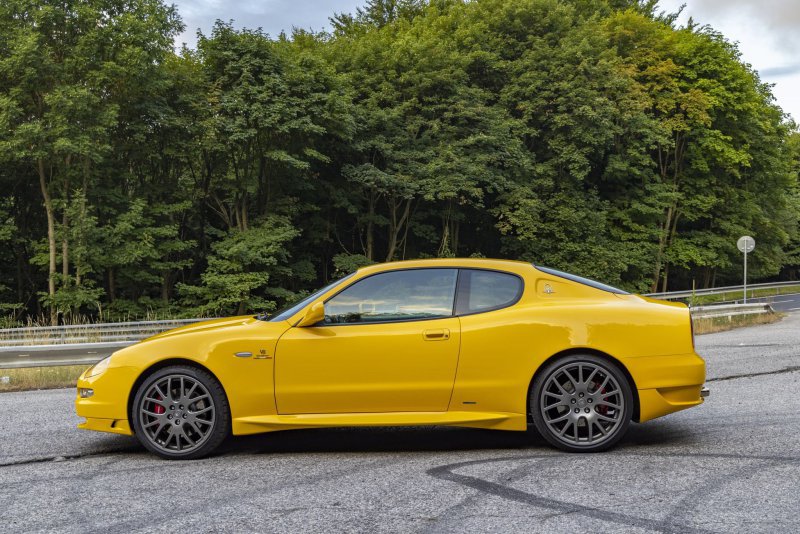
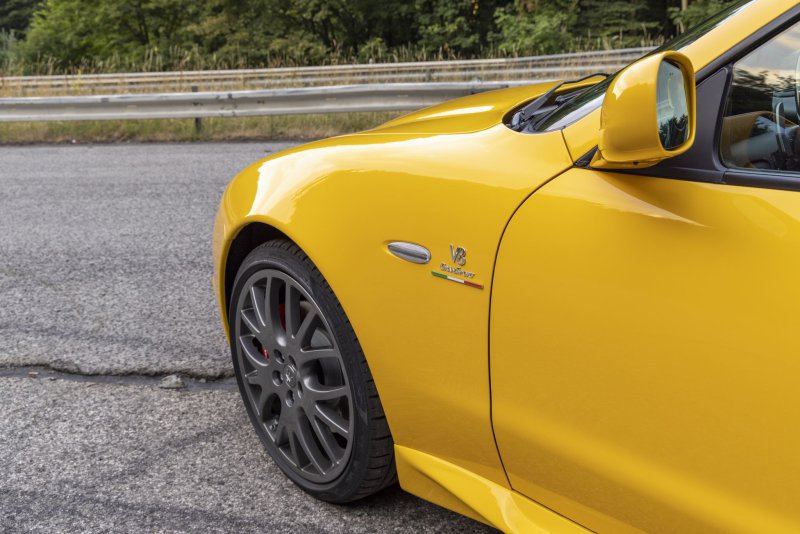
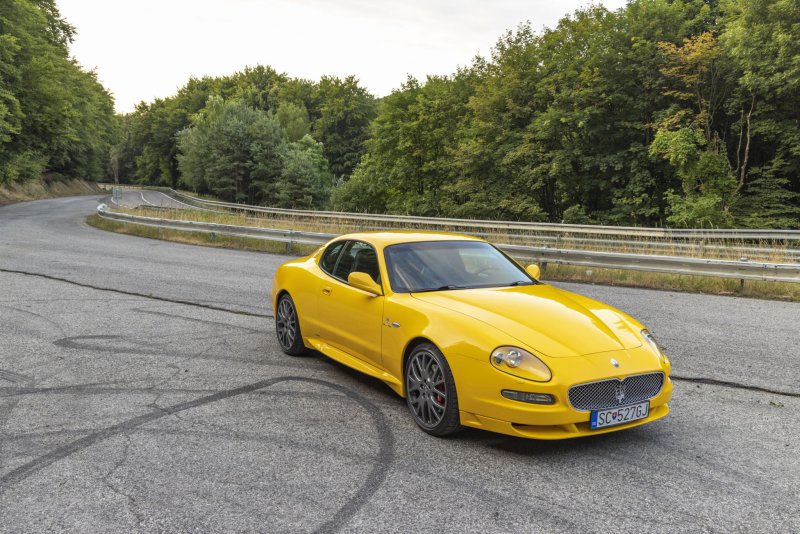
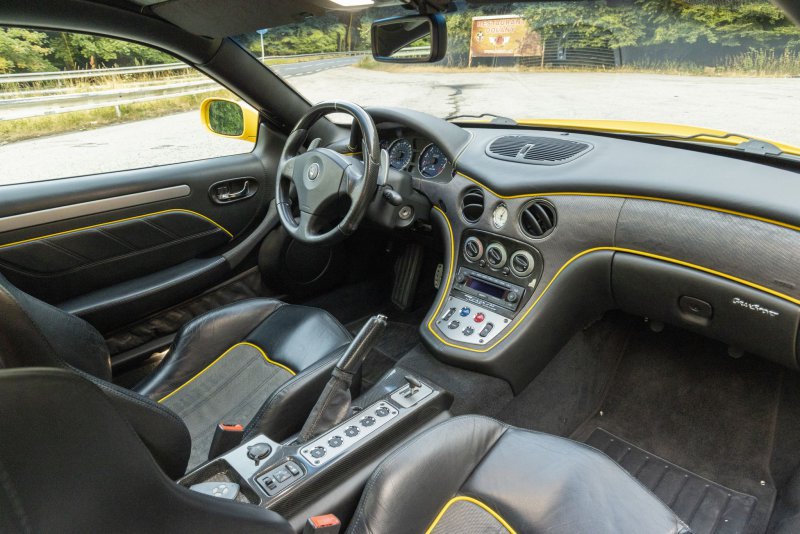
GranSport Giallo Granturismo thread

gotcha

Member
Messages
78
You did stuning job sir! How would you compare 147 gta with 4200/gransport. I'm also gta owner but for years 4200 is my dream car.
That’s a question I am asking myself as well. Best answer would be that for me they are “complementary”. I was a bit worried that getting a GS I would not care about GTA anymore at all but this didn’t happen. They are similar and different as the same time. Also, keep in mind that my 3,75 GTA is highly modified. They are actually similar performance wise. 315bhp/1407kg (weighted) and 400bhp/1670kg (weighted). GS will be probably faster when timed, but feeling wise they are very close. Both are quite analogue cars from the same era, N/A engines, revving to around 7k and perform best 4-7k rpm range. They are similar performance for me also because with GTA I am more confident to push it to the limit. I have it since 2008 and being FWD with Torsen LSD it is very forgiving when you cross the line in the corner and I can get it closer to limit safely. With RWD I am not so confident and GS is not a good training car. With that power and speeds where things happen, I am more worried that crossing the limit in GS would be a game over for me. If I was shown a twisty road or hillclimb and I should do the best time possible I would pick my GTA. But only if the road surface was good. As GTA is much twitchier on poor roads. Short wheelbase, higher center of gravity, 65perc of weight on one end and all the power on front wheels. Especially on poor roads and tramlines the car just wants to kill me. What is at the same time really exciting, but only if you are in the mood for it. GS is much more “adult”. No matter what mods you do to the GTA, it is overpowered old FWD chassis. With perfect road I would pick the GTA but in real life and less then perfect country roads GS it is. GS has also much better seating position. Lower and more driving oriented. GTA is more “old fashioned Italian monkey position” sitting high on a chair, with pedals close and knees spread apart and stretched arms reaching the steering wheel far away. GTA is basically a city hatch for girls re-engineered for differnt purpose. Great job, but compromise base to start with. GS is a purpose built.... actually I am not sure what it its. Borderline between grand tourer and sports car probably.
But I do slightly prefer the sound of my GTA. With all my mods I reached a very metallic, sharp, raspy sound that in high revs sounds like an angle grinder cutting steal. GS is equally amazing but with a different V8 character. Definitely great, especially compared to the sound garbage that is today available on the market as new, just personally I lean a bit to the Busso.

I would for sure encourage you to get a 4200/GS if you have a chance. In a similar way to many Alfas I think they are amazing value. I can hardly think about anything else what would be a step up from the 4200 and it would not cost at least 3 times more. But I cannot tell you to get rid of GTA and get a 4200 instead and that you won´t ever regret it. Maybe not regret, but you would miss it in a way I think. At the same time, if your GTA is mostly stock, engine, suspension, brakes, exhaust etc… then the gap to the 4200 would be much bigger and you would perceive it as a much bigger upgrade.
 

gotcha

Member
Messages
78
Finally, the GS is put back together and on the road again. The idea to retrim the roofliner that I got in February took a little longer than expected and while the car was in pieces, I was finding tiny jobs here and there in the meantime.

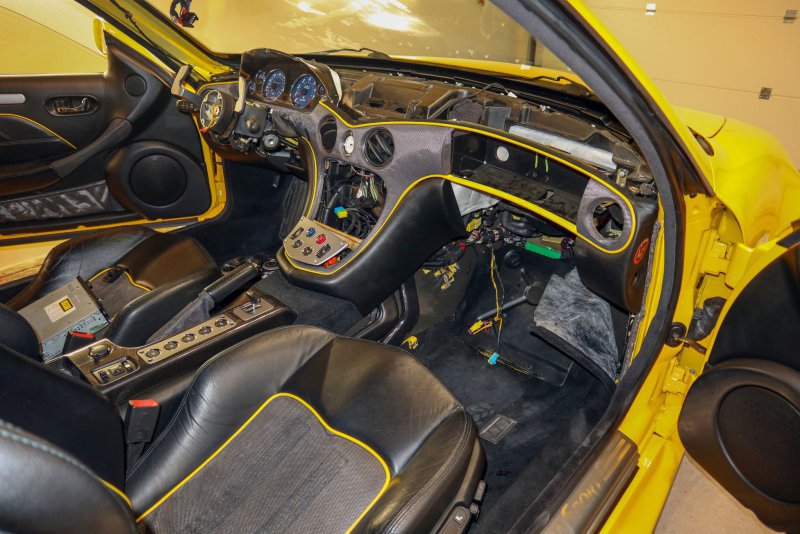
For example, I had a cracked glovebox and the attachment point for the gas strut holding the door was broken as well. Not sure what the Japanese owner was doing with it, but he was stressing the glovebox quite a lot.

I found another one for 40€ from a 4200, so how hard could it be to swap it, right? Well, my advice to anybody trying that is to remove the dash. Seems exaggerated, but now I am sure that removing dash is the „easy way“. But being stubborn I did it without. Took me three evenings in sweat and swear, but I did it. The problem is that the glovebox is attached to the dash from the back and actually all the dash is composed from multiple pieces screwed together from the back with some steel brackets. All is done with cross headed screw with washers and be prepared to drop some of them.

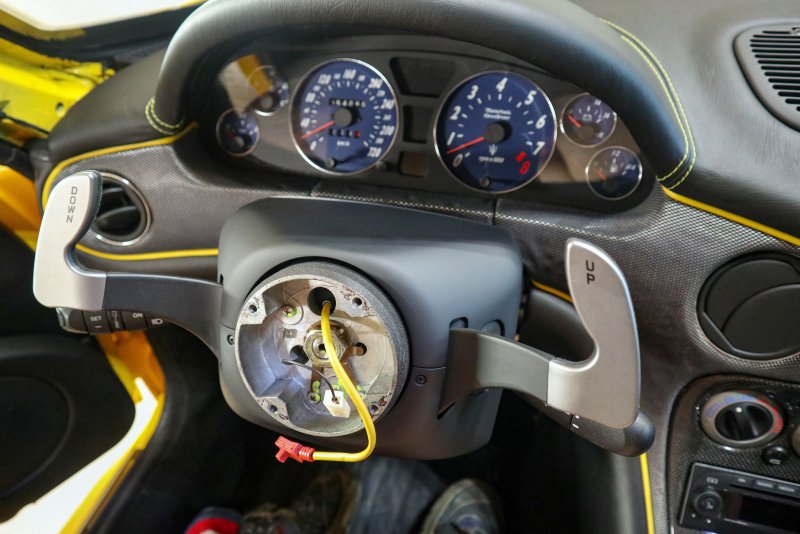
I didn’t take many pictures as all was happening from the back of the dash, but after removing the upper dash and airbag I had to loosen everything available to release the right part of the dash. From airbag shelf up to the individual pieces of the dash and the releasing it from A pillar as well. I even had to release the central part under the start button and upper central part by the clock to give me some vital few millimeters to be able to pull the dash into the cabin a little. But I made it and dropped the glovebox.

01.jpg

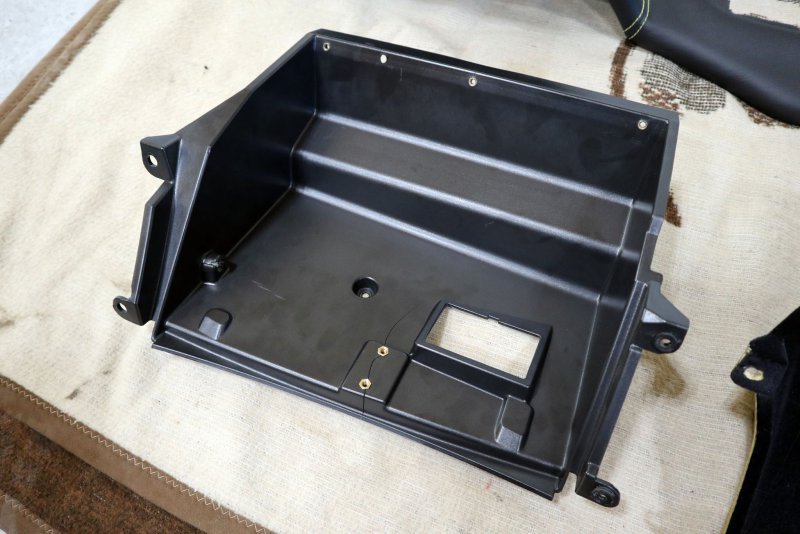
Here is the old glovebox. Cracked at the top by the latch and the thread insert for the gas strut is torn out:

02.jpg

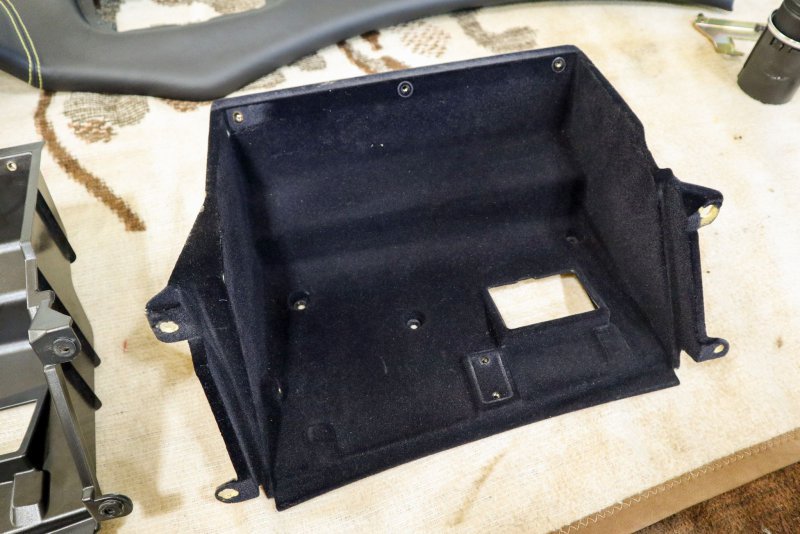
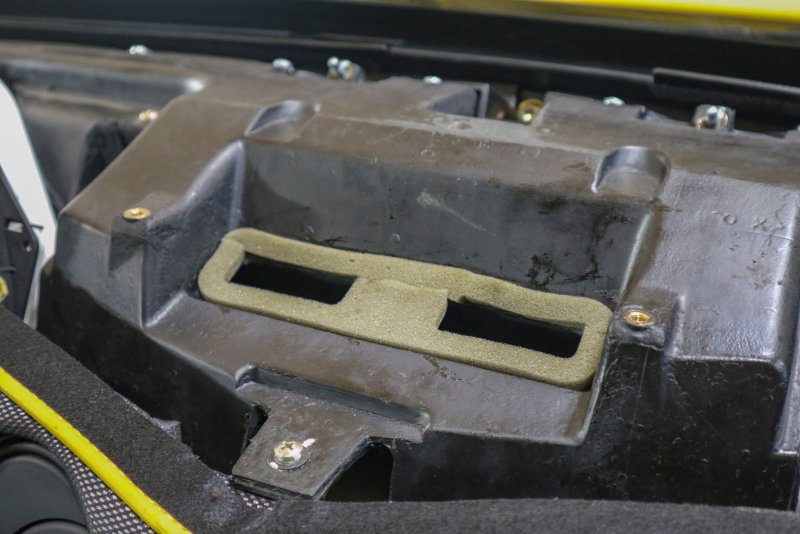
And here is the one from 4200 I found at a breaker.

03.jpg

As a nice bonus, it is not smooth plastic, but has a textile/velvety surface made by flocking. This also proves my theory that Italians are implementing more cost saving over the life cycle and later cars/fecelifts and last cars from the model line are made from worse materials. I had this exactly on Alfa Giulietta, 2010-2016 models had a padded glovebox, my 2020 one had a cheap plastic and was missing rubber inserts in cupholder or doorcards etc. Engine cover was also very nice on early Giuliettas with silver letting and red plastic inserts but my had a fully black cheap plastic cover… My new 2022 Giulia is also missing tiny bits like shopping bag hooks in the trunk that were standard 2016-2020. Carpets for my 147 ordered in 2003 were extremely good, like Bentley quality and I have them until today, but the ones ordered late 2007-2009 with the same part number were thin like toilet paper and felt extremely cheap.

In my opinion the Italian cars are best when introduced to the market, later the manufacturers realize they are not selling well (again) and are introducing cost cutting measures over the production cycle. There are some improvements as well of course, but I am sure that somebody who owned the same Italian car when it was launched and then the same model from the end of production could see the tiny savings introduced making the car cheaper.

Sorry for my off topic rant…

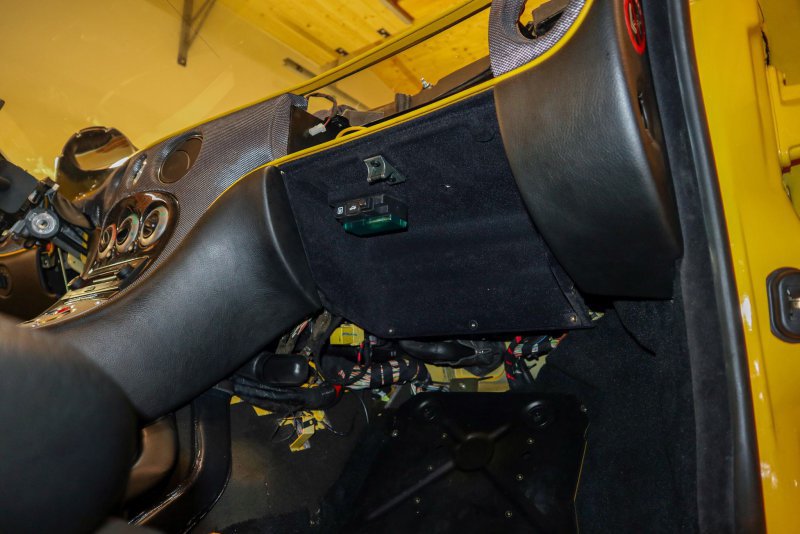
The nicer new glovebox is in:

04.jpg

Actually, it took me the second evening to fully install the new glovebox and assemble the dash completely and the third evening was spent doing the very last screw. Bottom left one when looking from passenger seat, by the central tunnel. This one has not only washer but also a small steel bracket that hold the under deash padding under the glovebox. It was “funny” to try to install a 10mm short screw, with washer and bracket on it with long extensions with my hands somewhere in the area of AC/pipes, backwards into the dash… In certain moments I gave up on the bracket and decided not to have it and I succeed with the screw. But that just proved to me that the job is doable, so I unscrewed it again and in the end managed to do with the bracket as well.
 

gotcha

Member
Messages
78
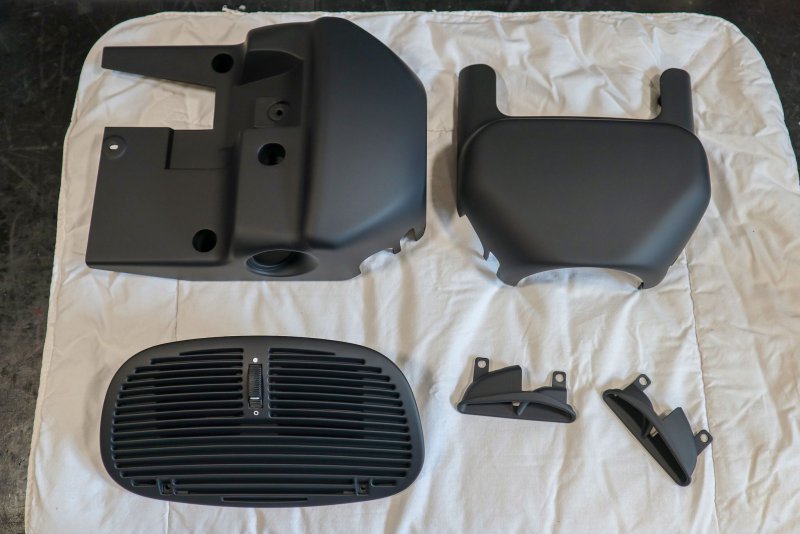
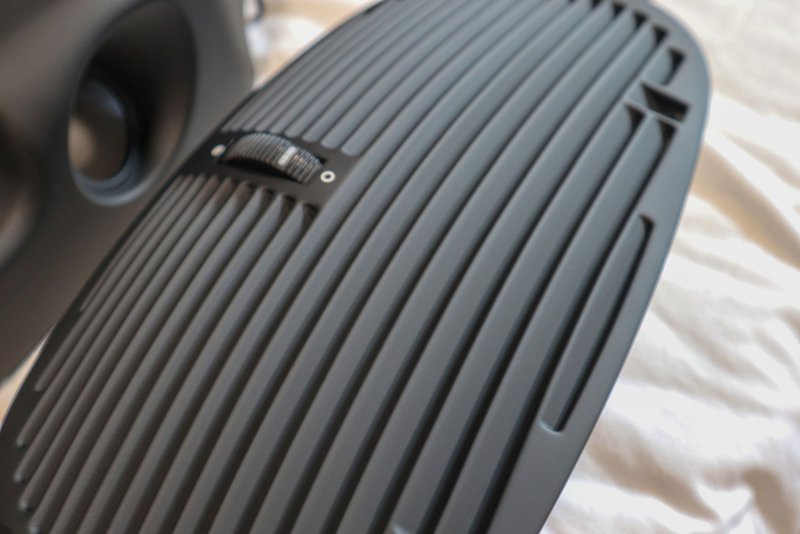
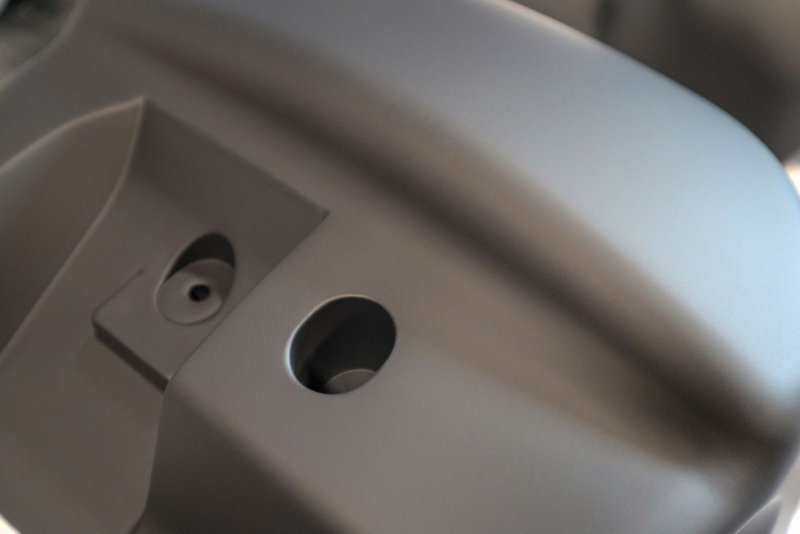
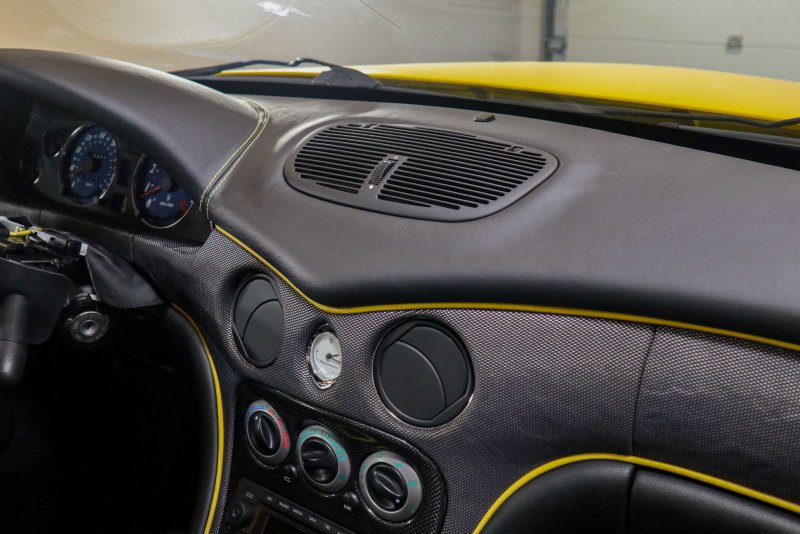
Now lets move from jobs that are cheap, but cost a lot of sweat to do, to jobs that are easy to do but cost a bit more money. With all the mess around the dash, I decided to resurface some sticky coating bits. Especially the trim around steering wheel column was horrible and the main reason, but I had also the upper dash vents done and the vents in the pillars. I used this company in Czech Republic and both the quality of work and the service is excellent. As said, not cheap, but worth the money in the end.

https://www.carplastix.com/

In about 3-4 weeks I had my parts back, better then new:

05.jpg

06.jpg

07.jpg

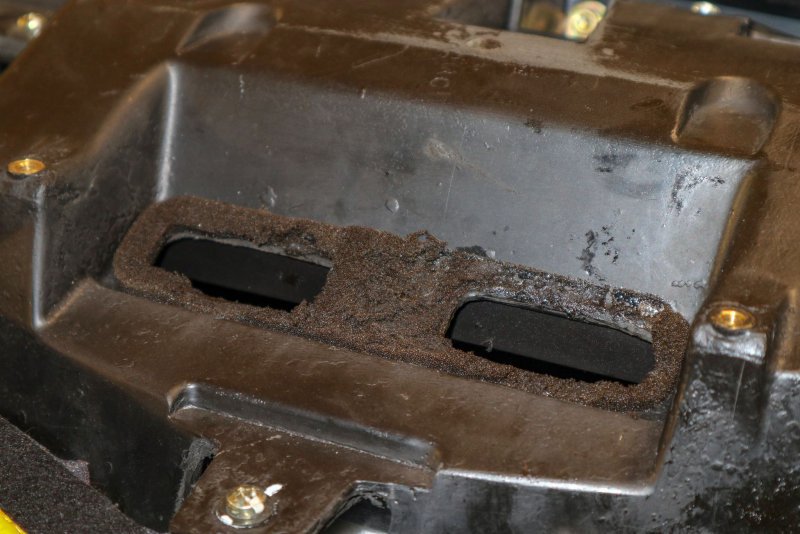
I renewed all the foam in the dash where the front vents and upper dash vent attach. The old foam was disintegrated that the air was blowing only partially outside and partially inside the dash.

08.jpg

09.jpg

And here are the refurbished bits assembled:

10.jpg

11.jpg
 

gotcha

Member
Messages
78
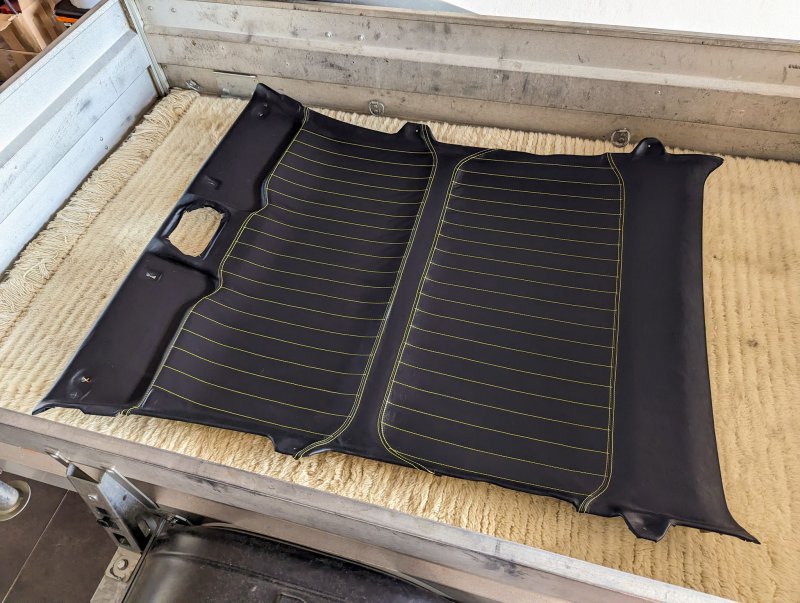
Early June my roofliner was finally done. Here it is when I brought it home:

12.jpg

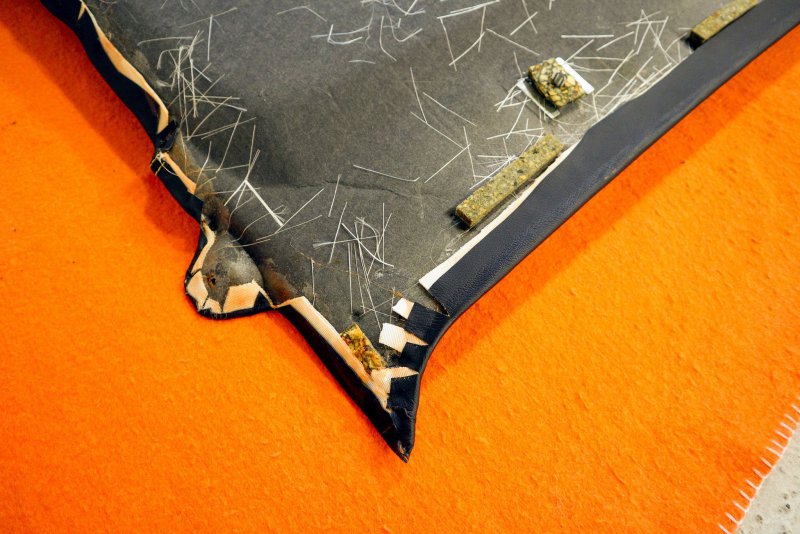
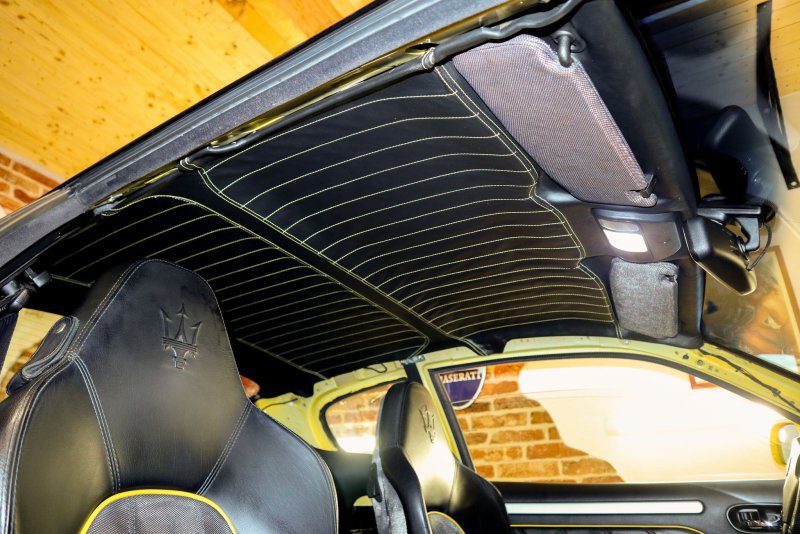
It was done exactly as I wanted. However, this also results in a small imperfection. Normally the leather would be stitched to a backing textile with a 4-5mm foam sandwiched in between them. This foam would nicely stretch the leather and form some sort of “cannelloni” piping shape between the stitching. However, being very tall I really insisted with my trimmer that I don’t want to lose any head space. Even 3-4mm would be too much as if my hair is not really cut very short, I do touch the roof with it already. So I insisted to make it as thin as possible. This means that they stitched the leather only to the backing textile to make it flat and the textile is than glued to the glassfibre headliner. As a result, the leather is not stretched but slightly wrinkled. But still 1000x better than the Japanese attempt to glue fake leather directly to the headliner.

Here is how it looks from the back and you can see the base textile material.

13.jpg

And here it is in the car already, you can see the slight wrinkling of the leather. But not too bad and maybe later I will try to shrink the leather with heat a bit.

14.jpg

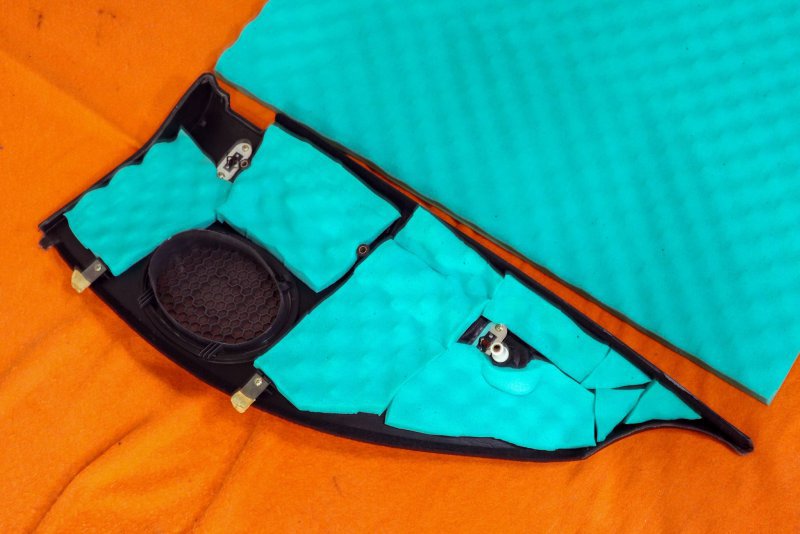
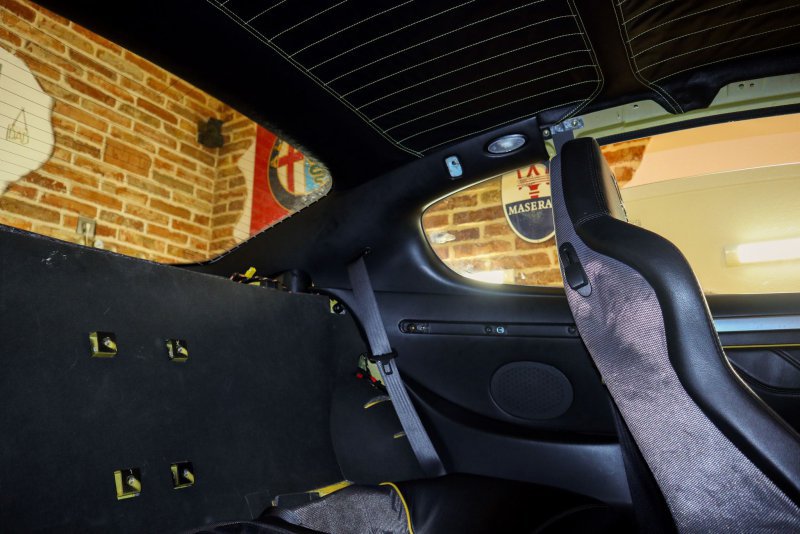
I then assembled the interior, with every panel receiving some sound deadening foam on the back.

15.jpg

16.jpg
 

gotcha

Member
Messages
78
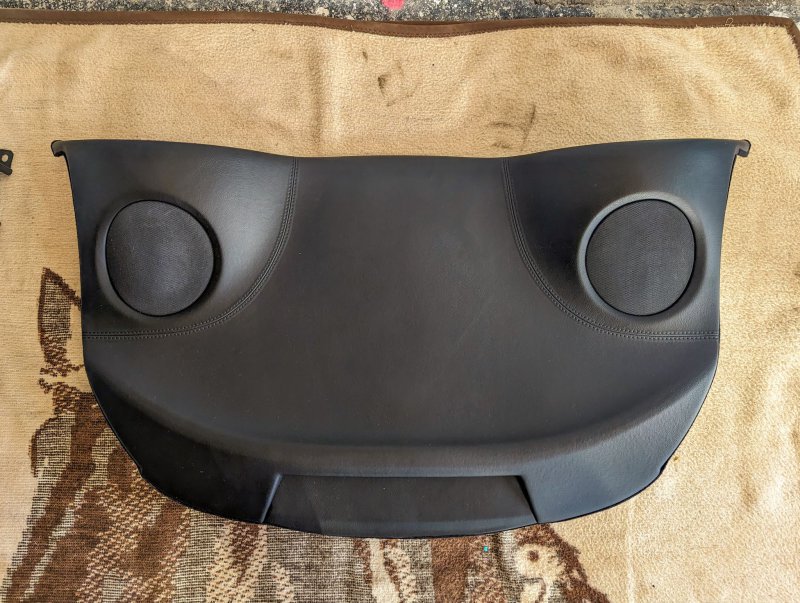
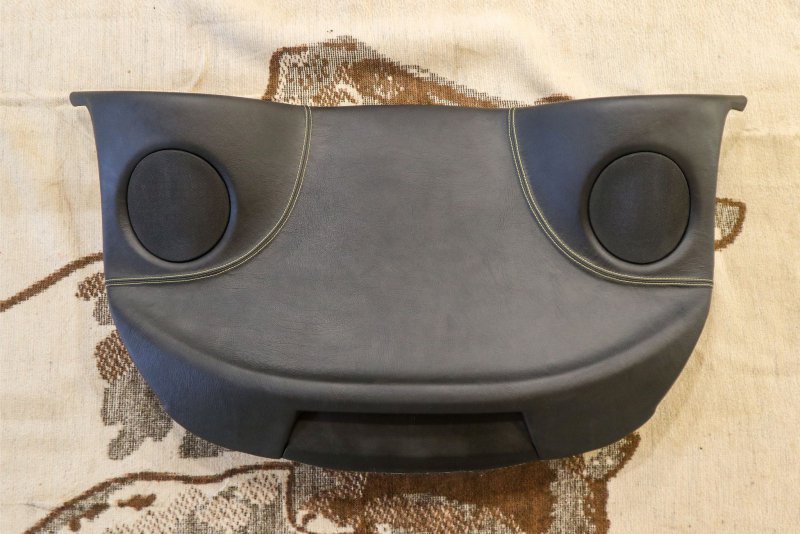
And now in July finally also the rear parcel shelf was done. Not that it would need doing, but we still had a big piece of the thin leather for roof liner that I paid anyway so I asked to use it on the parcel shelf and stitch it with yellow to match the dash.

Here is the original one:

19.jpg

And here with new leather and yellow stitching:

20.jpg

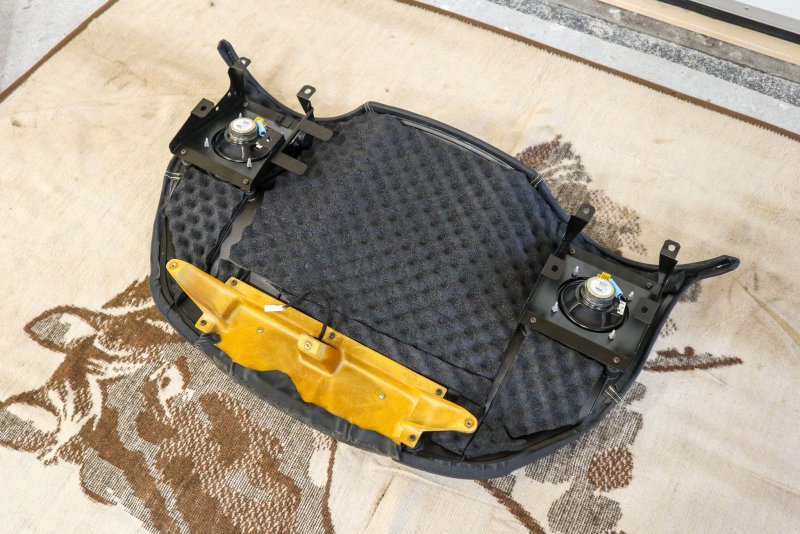
It also got some additional padding:

21.jpg

And here it is back in the car:

22.jpg

And fully assembled:

23.jpg

I think next winter I will also have the seat inserts retrimmed in leather as the tech cloth is wrinkling and is becoming sticky with the foam under it disintegrating. I do generally like the tech cloth, so I plan to keep it on dash or doorcards, but the sticky wrinkling and damaged on the seats will be eventually retrimmed in leather.

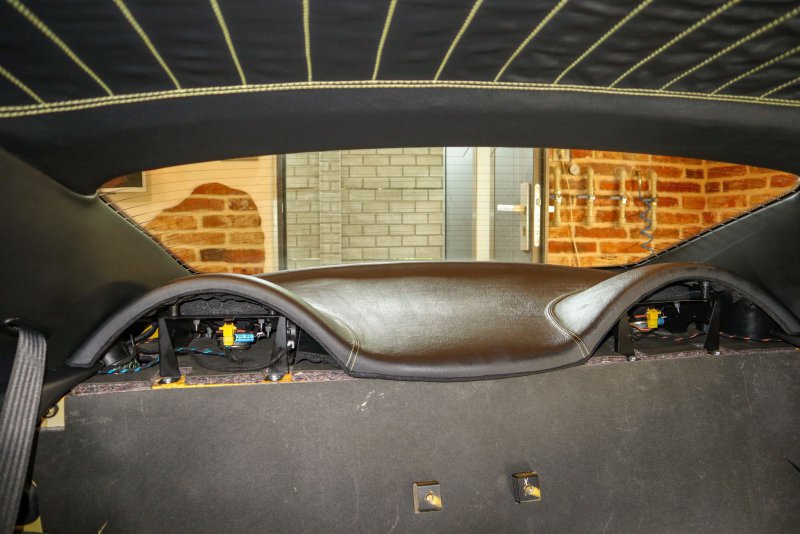
From the outside the parcel shelf now matches the dash nicely:

24.jpg
 

gotcha

Member
Messages
78
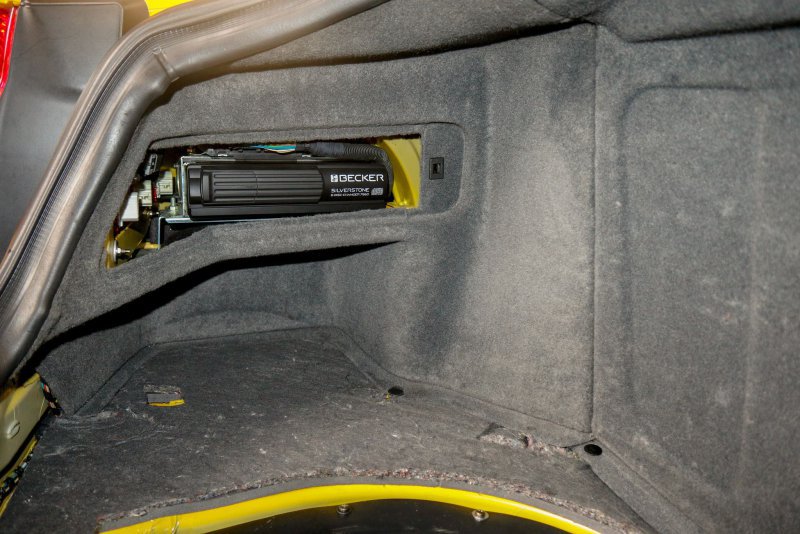
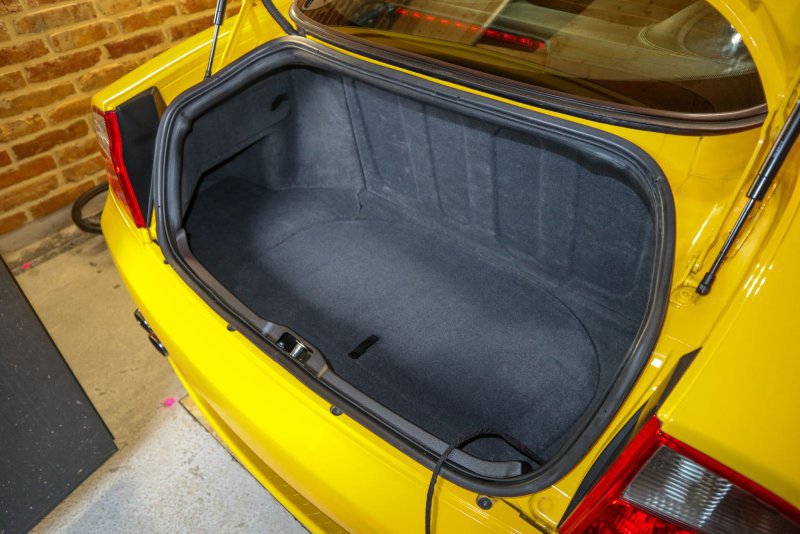
Installing parcel shelf allowed me to finally install the boot trim as well as the parcel shelf is screwed in from the boot above the tank. I could finally install the new carpet for the CD changer that I retrofitted and finish the boot.

25.jpg

26.jpg

I did also some small visual upgrade. Maybe not for everybody but I like it. I got some nice enamel replicas of the Ferrari tricolora badges. They do fit nicely on the back and on the wings:
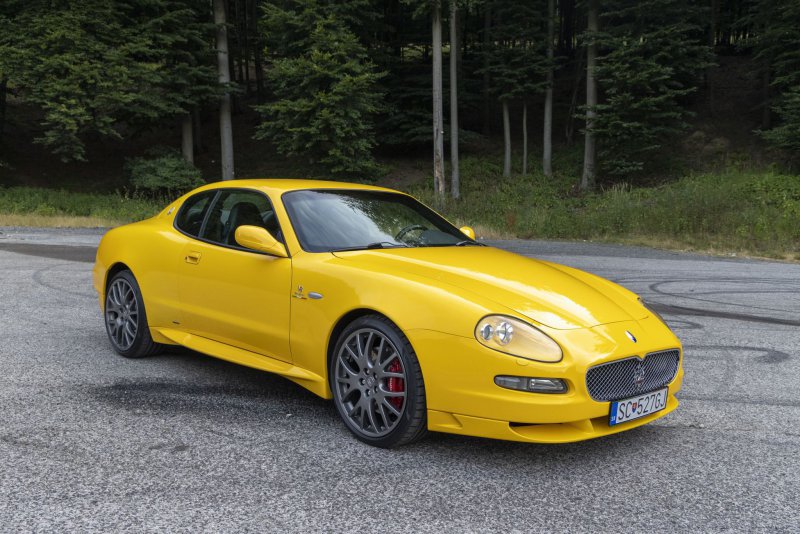
17.jpg

18.jpg
 

gotcha

Member
Messages
78
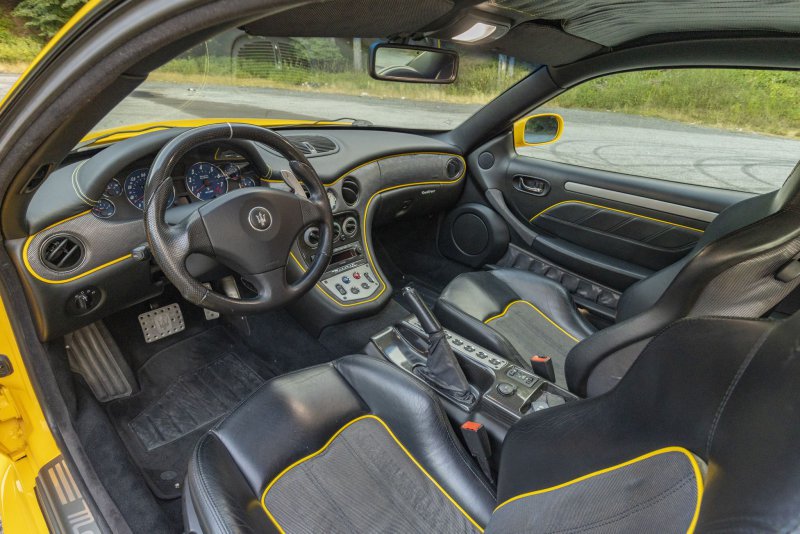
And now finally after some months when the car was permanently incomplete, I am finally driving it again and enjoying. Last weekend I finally took it out and did like 200kms with it. After 7 months it is finally out and for the first time I saw the resprayed wheels with red brakes and refurbed interior in a daylight out of the garage:

27.jpg

28.jpg

29.jpg

30.jpg

31.jpg

32.jpg

33.jpg

I plan to do some longer trips over summer and for the end of the year more repairs, upgrades and projects to come :cool:
 

Felonious Crud

Administrator
Staff member
Messages
21,141
Excellent work! Your attention to detail here is superb. Now you can focus on enjoying many happy miles in such a fantastic machine.
 

skiman

Junior Member
Messages
36
This thread demonstrates your dedication, skill and patience - as well as being informative and enjoyable to read. Hope you get a huge amount of pleasure from your Gransport.
 

gotcha

Member
Messages
78
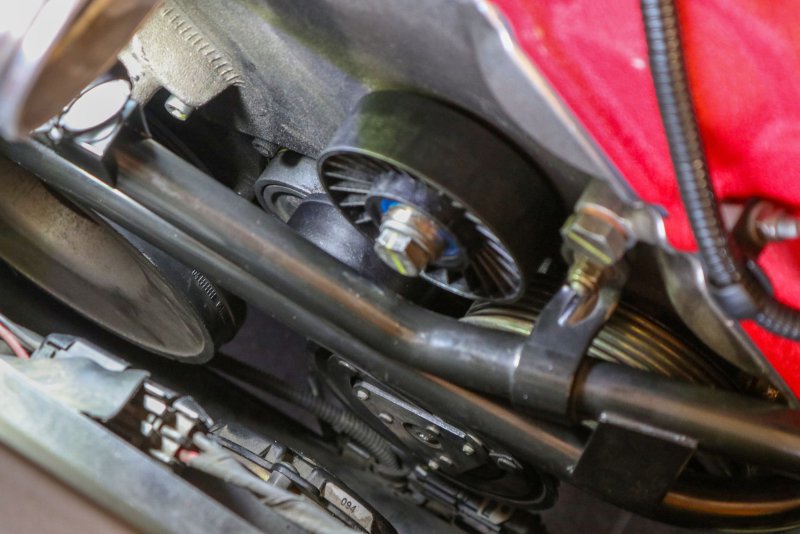
There are two more jobs I did on the GS this week. One of them was Aux belt with its pulley and tensioner. Belt seemed quite fine with no cracks and the pulleys turned smoothly with no noise, but they were all almost 20 years old so I thought better to do it.

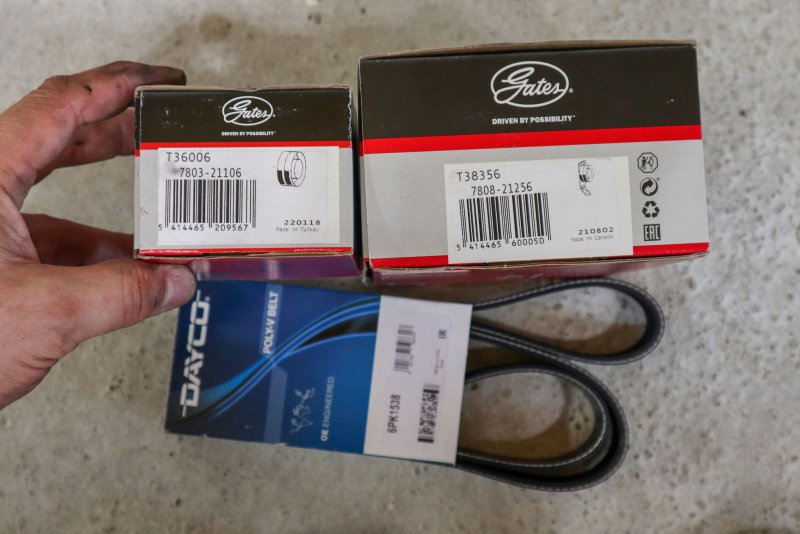
First, I intended to save some money and I bought Alfa Romeo parts supposed to fit. They are in Gates boxes, but the tensioner was made by Litens (as all Alfa Busso and TS tensioners, no matter what brand is on the box) and pulley by SKF.

01.jpg

Waste of money. The fixed pulley is exactly the same diameter and width, but its hub has slightly different offset to Maserati. It is a bit more recessed so the pulley gets in contact with the engine. This can be solved by putting 2mm washer between the pulley and engine and then it fits perfectly. It means Gates T36006 pulley can be used if necessary, but with one extra M10 washer under it.

However, the tensioner is not good. Looks very similar, pulley is the same, fits the engine… but I think the range of its adjustment is smaller. I was already at the very end on the adjustment range but I was still not able to install the belt. Pulley´s range of movement was smaller compared to the original.

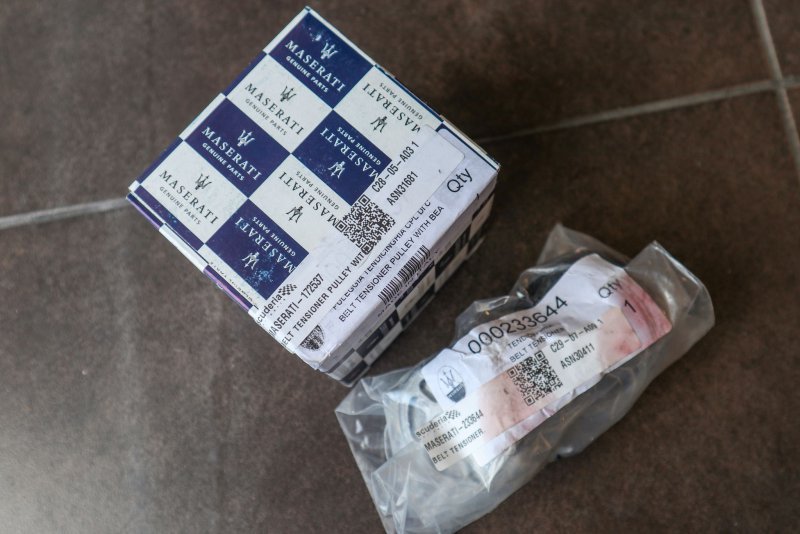
So I ordered the OEM ones:

02.jpg

Tensioner is made by Dayco and pulley by SKF and not surprisingly they fit perfectly.

03.jpg

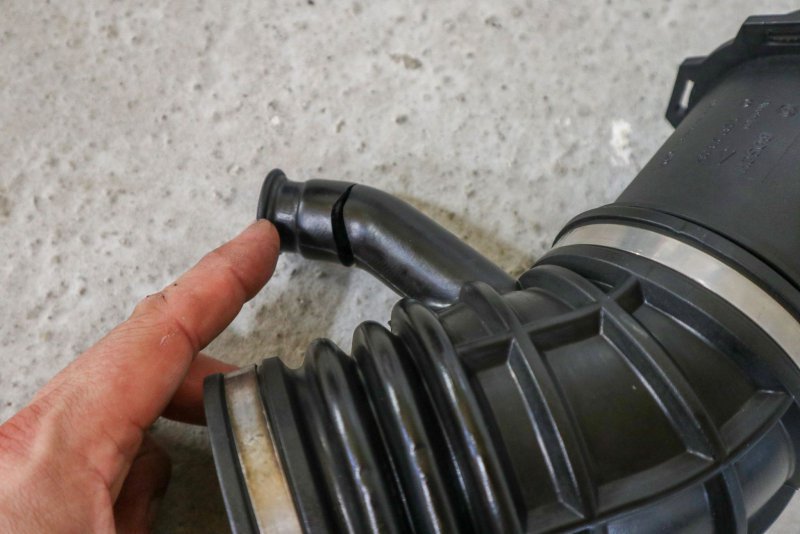
What was a bit of a surprise with this job, I cracked the rubber intake sleeve. The small pipe for oil breather pipe was just rock hard and just cracked. I repaired ith with a tape to be able to drive, but that was only temporary solution.

04.jpg

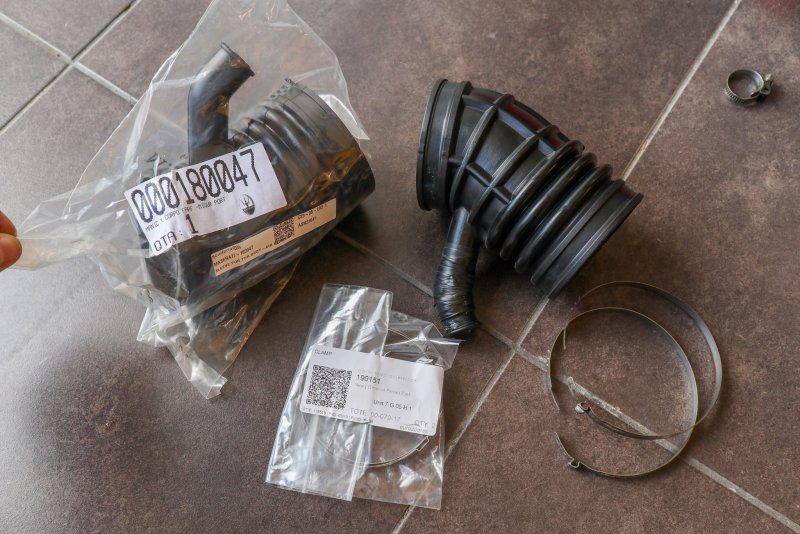
So I ordered a new one. For 30€ I almost find it underpriced. Not only considering Maserati prices, but in general. This would be cheap for any car brand.

05.jpg

The new one was also really soft and rubber like. The old one was much stiffer due to age and heat cycles.

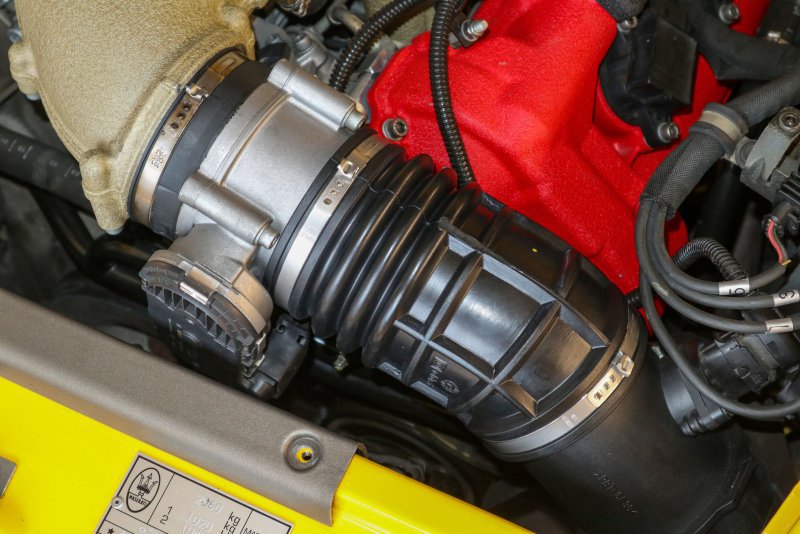
06.jpg

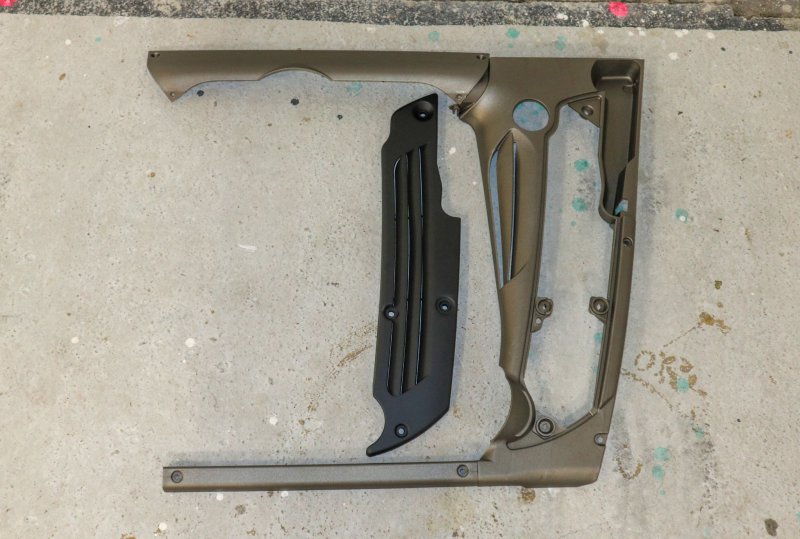
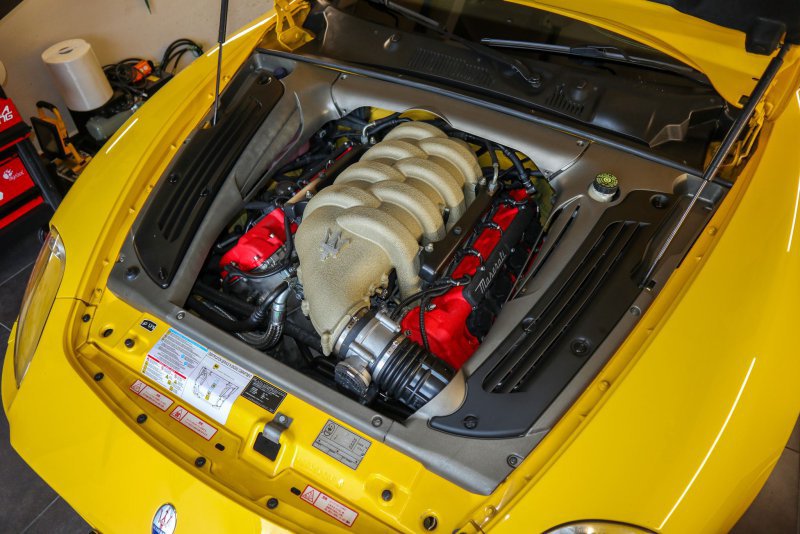
At this stage, I decided to replace some engine beauty covers to refresh the engine bay. Since I have the GS, I was trying to collect a set of new ones. I think most if not all parts are not available anymore, but over the last year and half I succeeded to find most of them brand new from various places. This is what I was able to track down:

07.jpg

The only two I am not able to find anywhere are for the right side of the car but I am slowly losing faith with these two so I though why to wait for a complete set and let’s install what I have so far

08.jpg

If anybody knew where to source the missing ones (new) I would be really grateful.
 

gotcha

Member
Messages
78
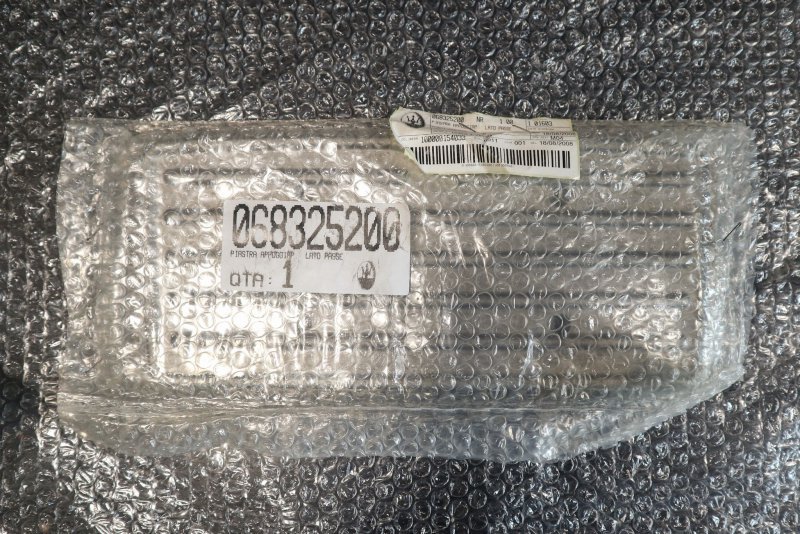
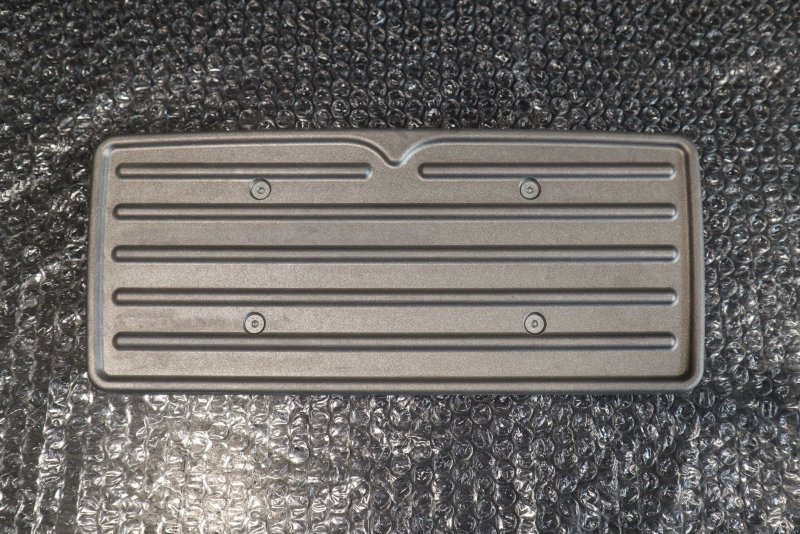
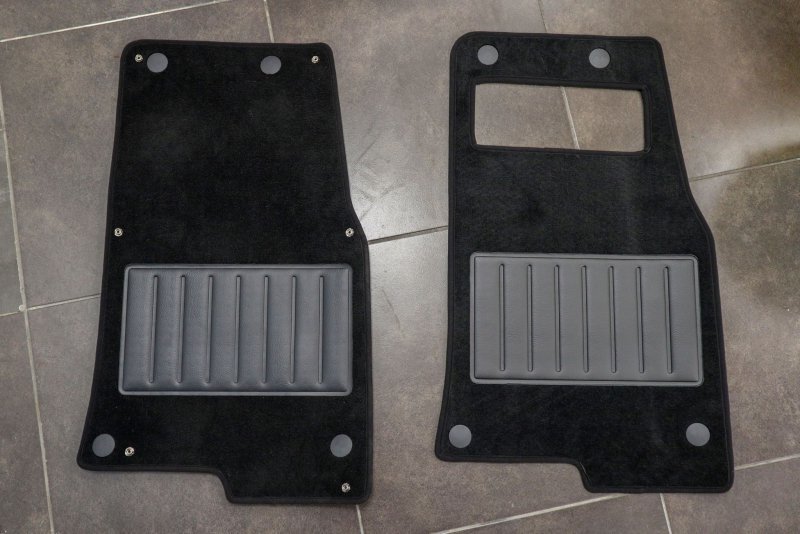
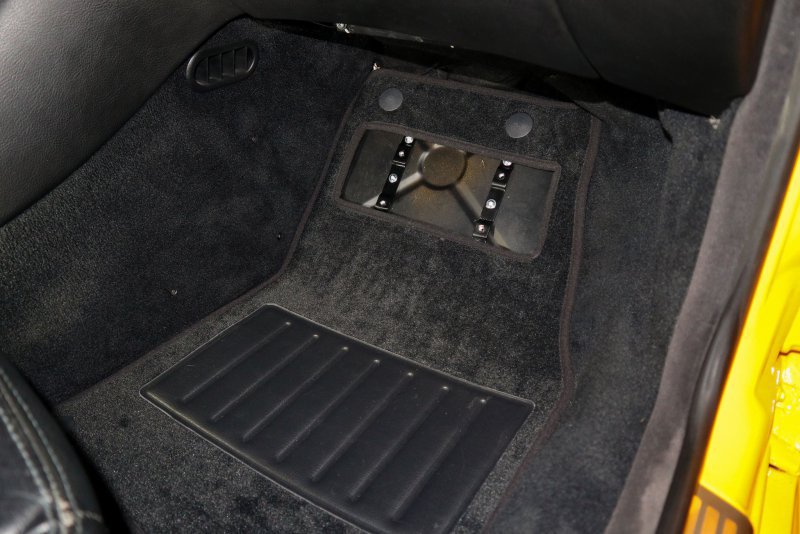
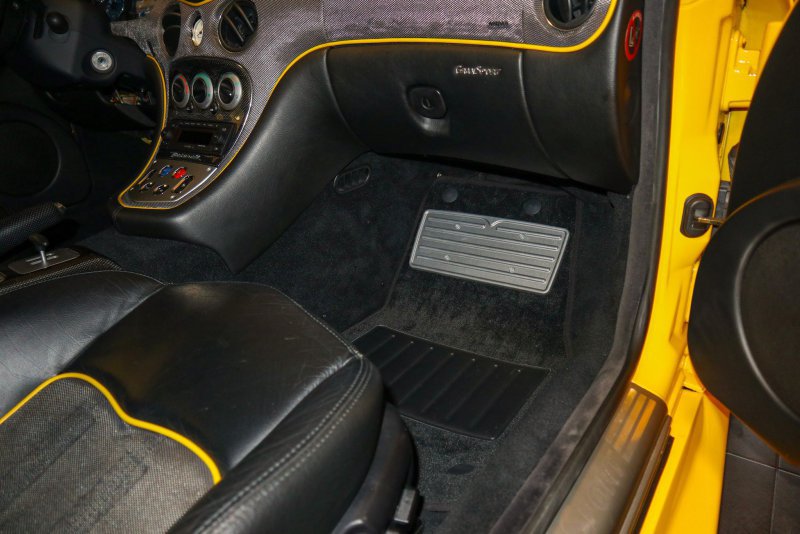
Talking about unobtainable parts, I always wanted to have the optional passenger alu footrest that I saw on some cars online. I really love it. Of course, it is not in stock and it is quite a rare part to find. In the last year I found only one for sale on eBay in Australia, but it was sold very quickly. However, earlier this year I hit a jackpot. I did find one. And not only that. I did find a brand new one at Joe Macari. And almost shockingly, it was only 42GBP. OK, with postage, customs and VAT it cost me about double, but considering how rare it is I do still consider it “for free”.

09.jpg

10.jpg

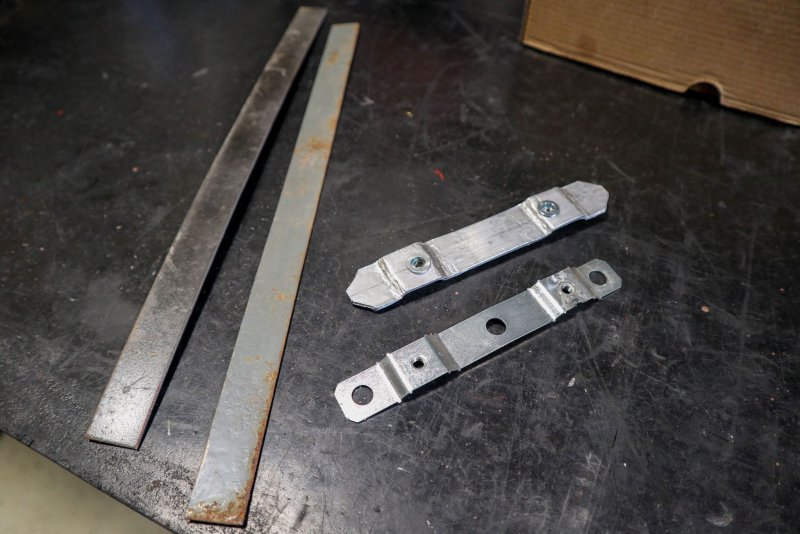
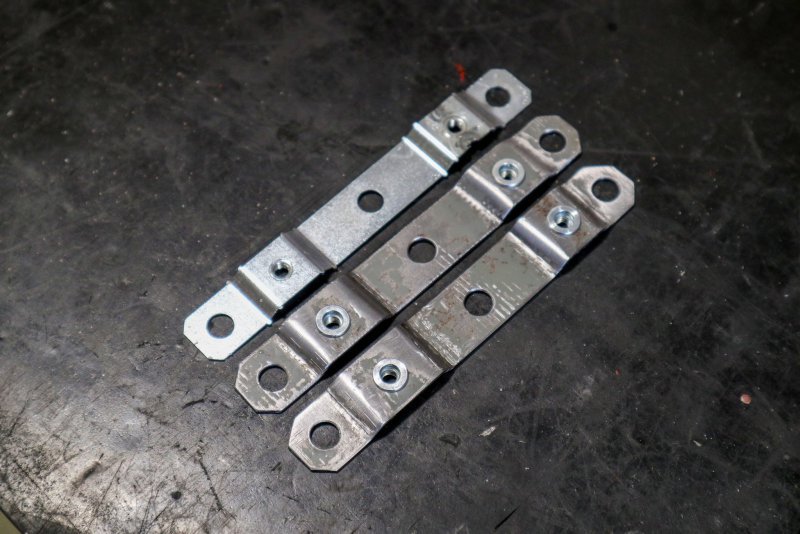
What was equally difficult as the footrest itself, was to get the brackets to mount it. I tried to order from Maserati but they cancelled my orde for 2 pcs saying there was only the very last one in stock in Italy. Better than nothing, at least I was able to have a good template. Even that original one had some loosely welded nut that didn’t hold, but I welded it and I had a good sample. First, I tried to make a copy from 2mm alu. Beating it with a hammer to shape and installing some thread inserts. It was not a total disaster but I didn’t like it so decided to do the second attempt from steel. Here is the original one at the bottom, my alu attempt above and steel stripes ready for the second attempt.

11.jpg

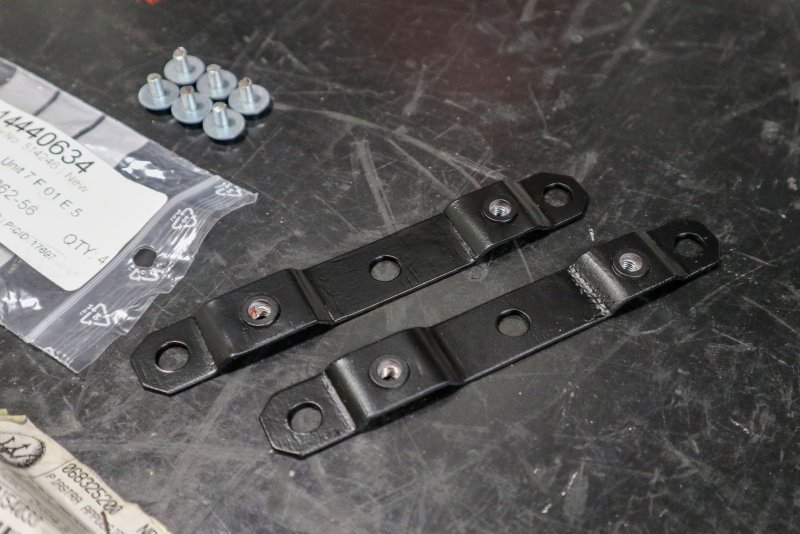
It took me maybe 2 hours to make, but in the end I managed to make two decent brackets out of steel, maybe not so nice but stiffer than the original:

12.jpg

And painted:

13.jpg

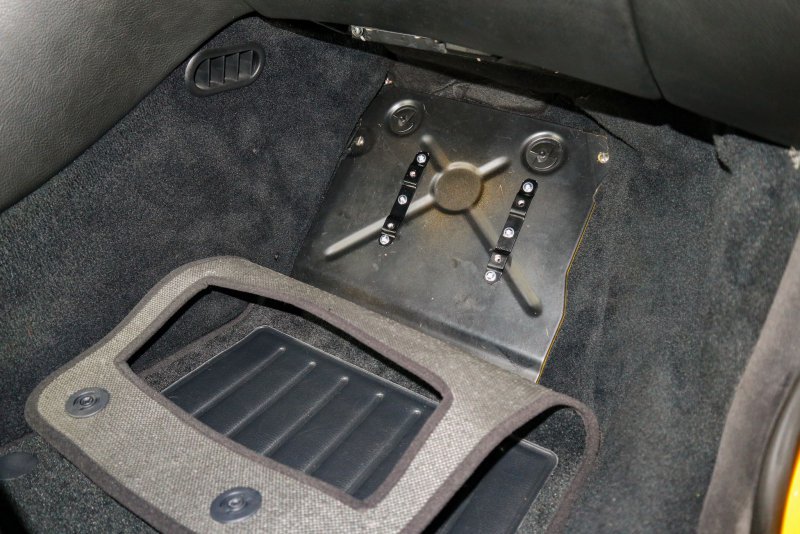
The whole concept of the footrest is pretty funny. I assumed it was screwed through holes in the carpet and fixed to the backside of the carpet. But not. The proper carpet version for footrest option has a "window" and the footrest is fixed to the fusebox cover in the passenger footwell through the window in the carpet:

14.jpg

Here with the brackets installed:

15.jpg

16.jpg

And the final result.

17.jpg
 

urquattrogus

Member
Messages
855
Nice one. One of the cars I looked at had that foot rest and it looked so cool. It was also paired with the Fire extinguisher option and all the carbon extras. Shame the rest of the car was a dog!
 

gotcha

Member
Messages
78
After another longer period, I am checking into this thread with an update. There is not so many news with my GS in the last months but I am currently collecting some parts for multiple projects and upgrades to do in the coming months.

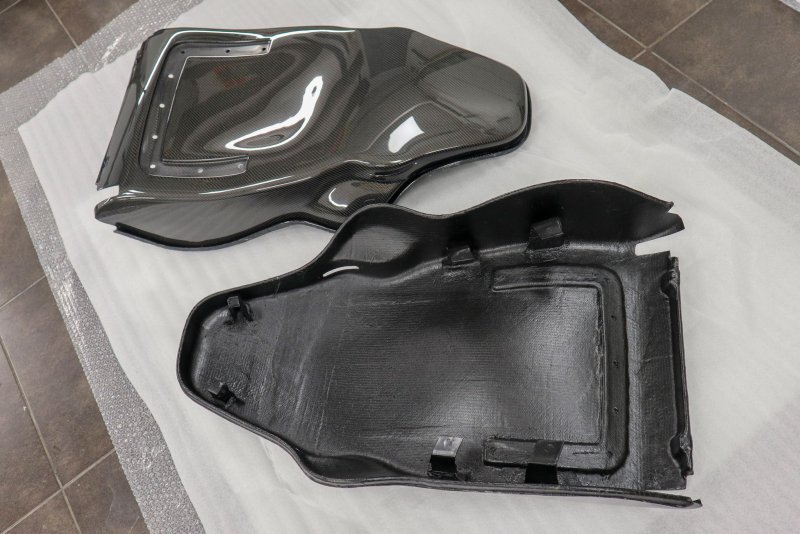
The only bigger thing I did recently is installing carbon fiber seat back covers. I was planning to do it together with seat re-trim from sticky technocloth to leather, but my trimmer is busy all the time and I didn’t want to wait anymore.


I ordered the covers last August and they arrived to me during November what is pretty decent for custom made parts.

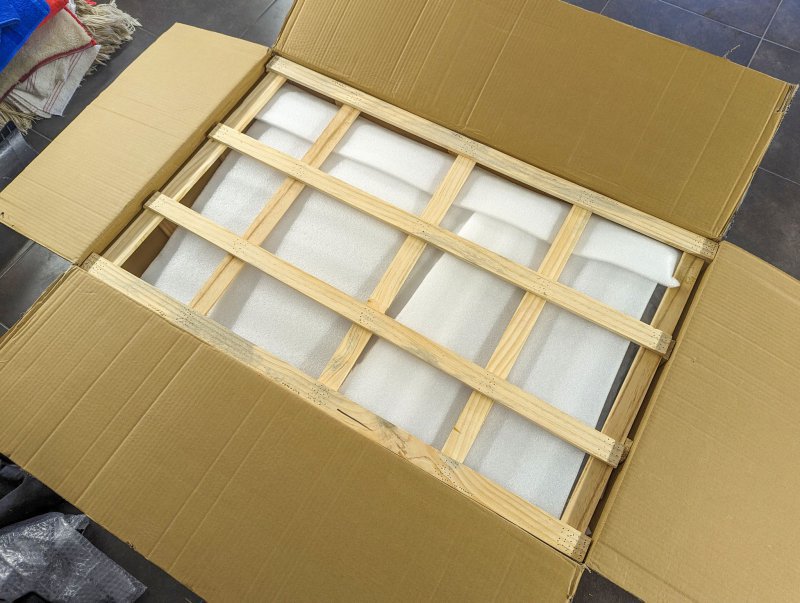
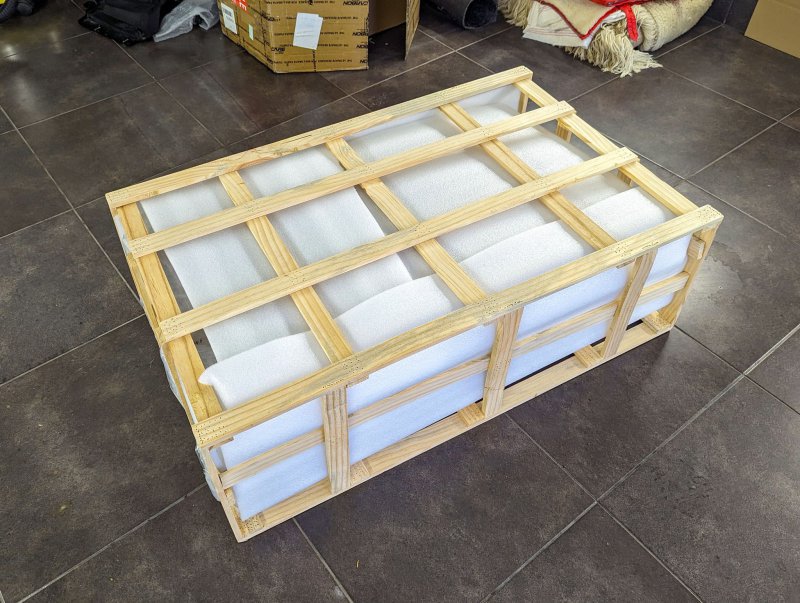
The packaging was really impressive. Big carton box containing wooden frame box hiding the covers wrapped in multiple layers of bubble foil and padding. I am sure it would survive any possible handling during the transport:

01.jpg

02.jpg


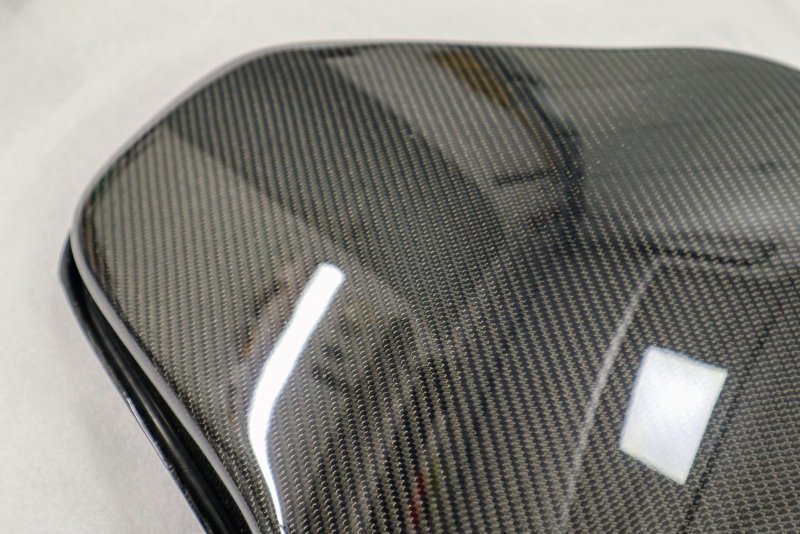
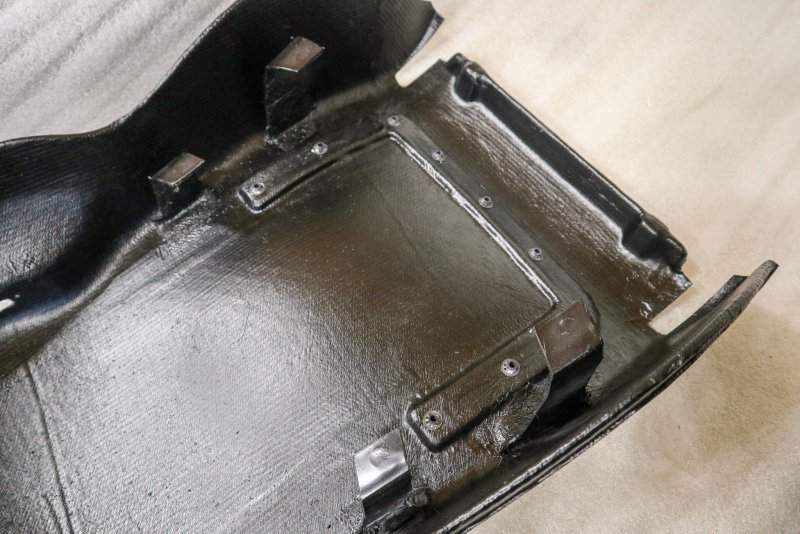
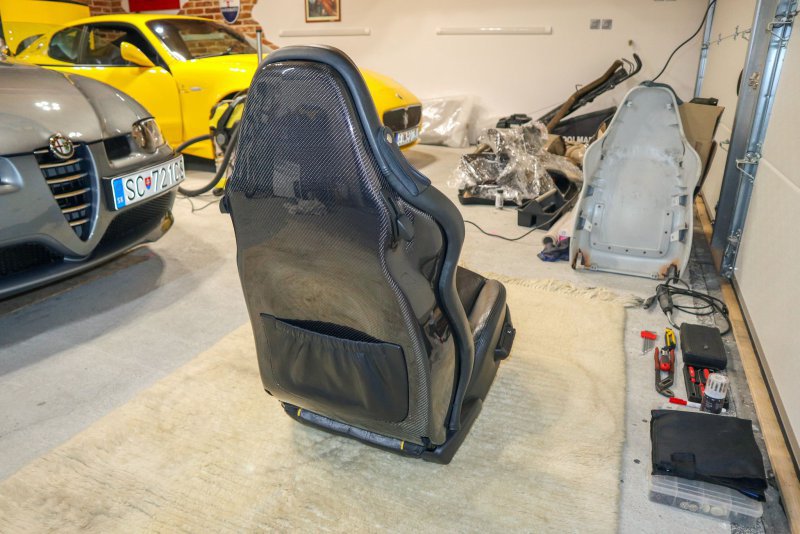
The finish of the covers is impeccable. Basically, nothing to comment, I have not found any flaw on the outside, just perfect job.

03.jpg

04.jpg


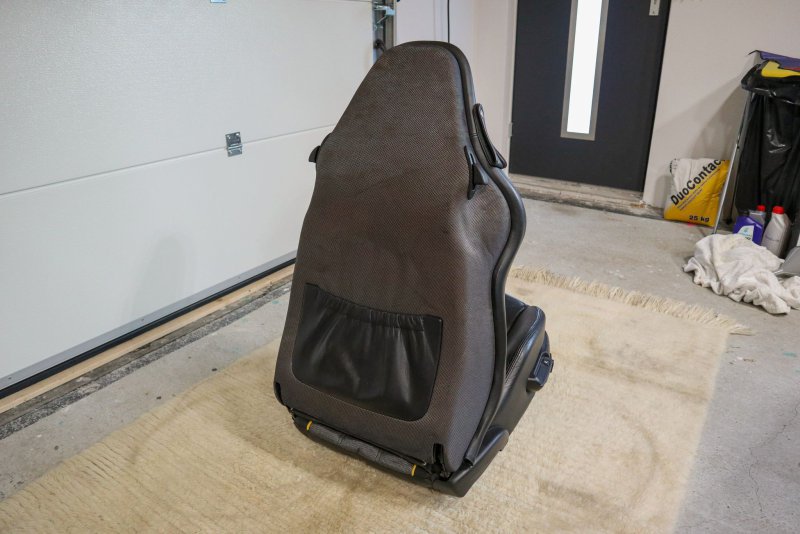
Removing of the seat is easy, just 4 bolts and one connector under the seat on passenger side and two connectors on drivers’ side (in my case of memory seats)

My seats were not particularly bad even though the cloth was a bit loose. But as I plan to re-trim them into leather I didn’t want the cloth covers. I would probably re-trim the back covers also into leather on another car, but as GS does already have some carbon parts in the interior I wanted to maintain the theme.

05.jpg


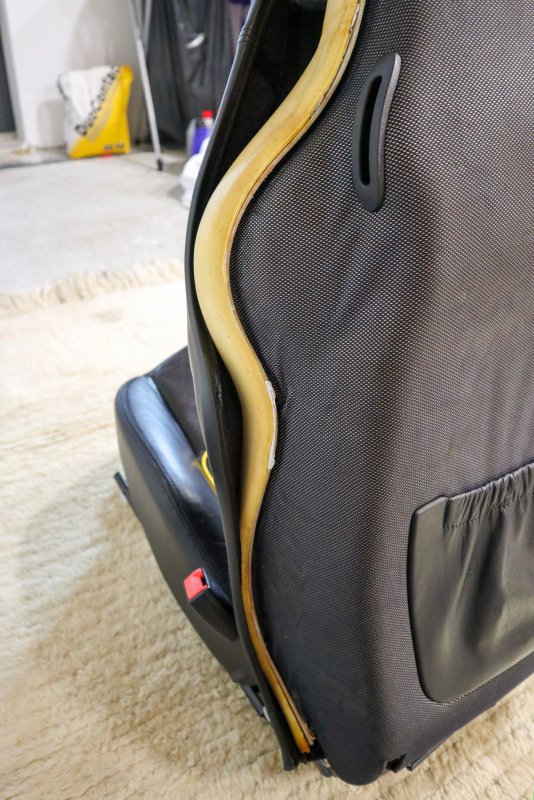
I released the leather from the channel on the cover perimeter. A not too sharp pick or some sort of hook is enough to start and once you start it is doable also with just fingers.

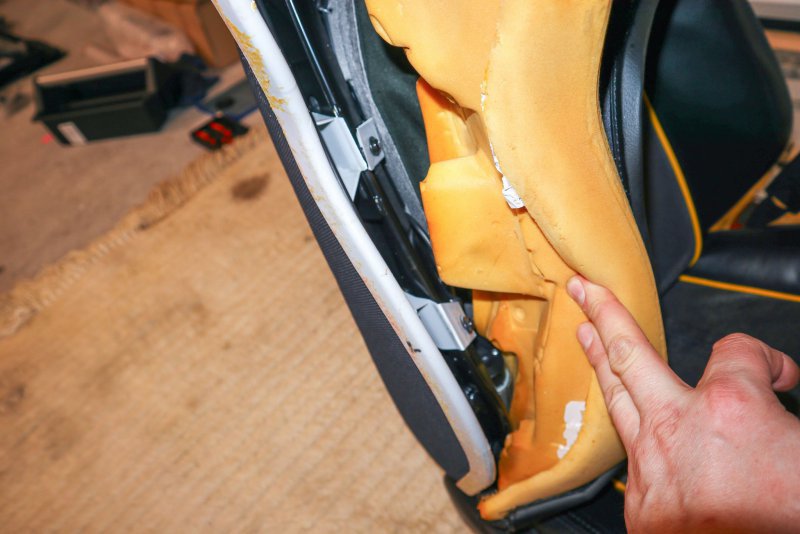
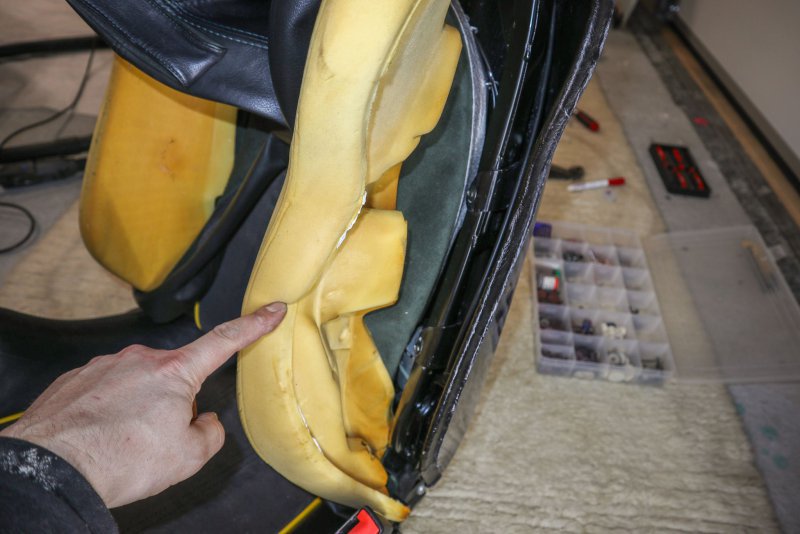
The foam was sticking to the cover as well. I was glued to the cover with pieces of double-sided table. It is almost impossible to remove it from foam as it will tear it, so only way is to carefully remove it from the cover not damaging the foam.

06.jpg


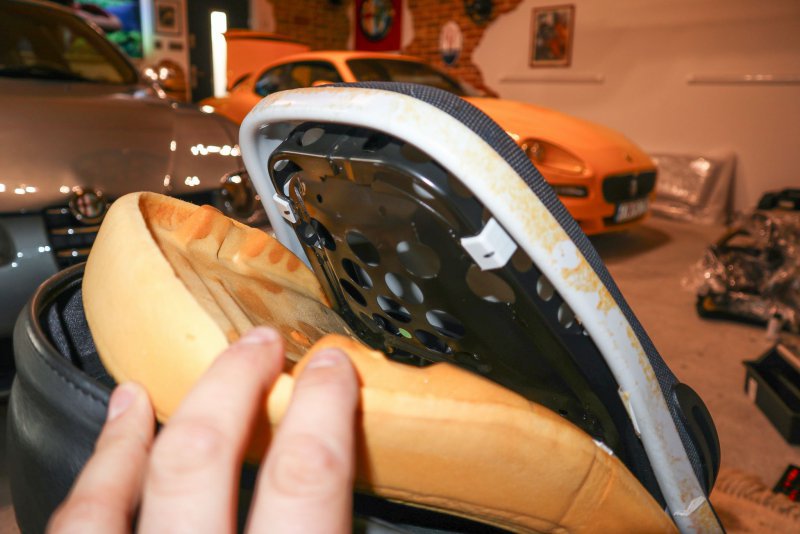
Then the foam can be lifted off the frame, exposing 2 latches at the top of the cover holding it in the headrest area.

07.jpg

On the sides, there are two let’s say flaps wrapping the cover around the seat frame and secured by 2 screws on each side. In my case one of them was already broken. If you step out of the car and push with your arm/weight on the side bolster to lift yourself off the seat, it is effectively pressing the seat back cover off the frame and the plastic flap broke in the weakest area.
After releasing the screws, the cover can be lifted off. As the flaps are quite soft on the OM cover it is basically enough to pull the cover backwards and lift off only the two headrest latches.

08.jpg


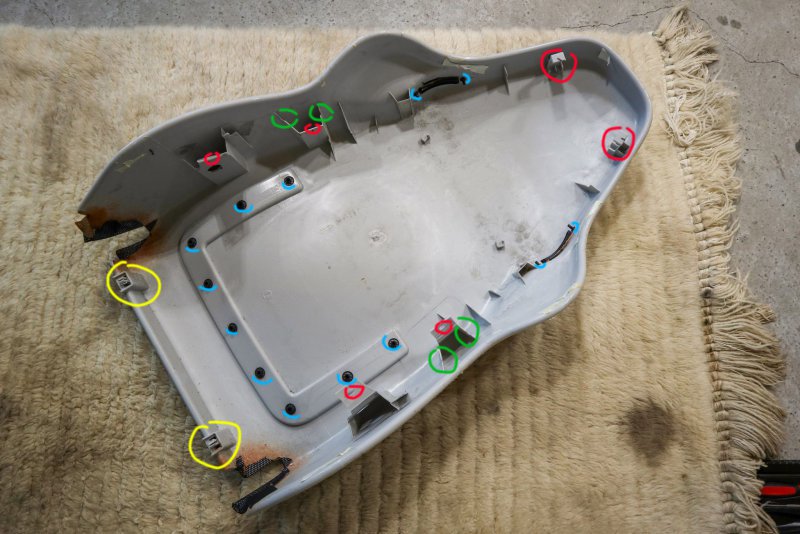
Here we have the back cover removed and I marked the areas of attention:

Yellow – the OEM cover has some plastic clips at the bottom that plug into the seat frame. The carbon cover does not have them. I don’t really find them necessary at all, I didn’t even notice the cover would be holding on them at all when removing it.
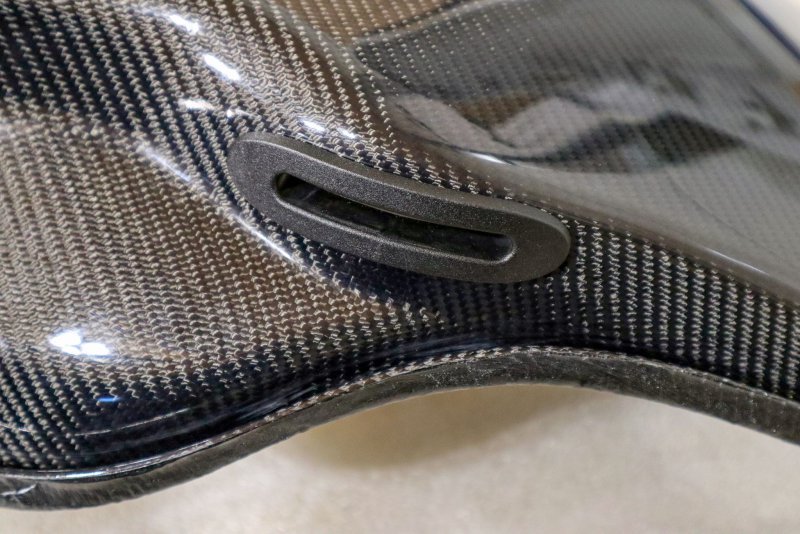
Red – Here are the 6 latches really holding the cover on the seat frame. They all need to be modified a bit on the carbon covers but any DIYer can do it with a Dremel. More on that later.

Blue – There is 9 shaft rings holding the rear seat pockets on the cover and 4 smaller ones holding the release handle plastic surrounds. They need to be removed to transfer these parts on the carbon cover.

Green – for the picky or overly careful people, the OEM cover has in its side ribs small channels that locate the Bowden cables to release the seat backrest. With carbon covers the cables would be loose in the cover. It is not a big deal; they are pretty stiff but there is a very slight chance they could vibrate or rub a bit and make a very slight noise. If you are very sensitive to noises and rattles, maybe it make sense to wrap them in a piece of foam as precaution.

09.jpg

Here is the rear seat pocket transferred on the carbon cover. The holes lined up absolutely spot on, was perfect fit. Regarding the locking rings, I highly recommend to get new ones in a hardware store. I could not find them locally quickly so I did re-use the old ones. It is for sure possible but save yourself time and fingers if you can. With sharp pick I lifted off few of their prongs and removed the rings. Then I made them flat again with a hammer and pressed on again using a socket with appropriate diameter. So, it can be done, but only if you really have to.

10.jpg
 

gotcha

Member
Messages
78
About the release levers surrounds, they do also fit very well. The holes for them were spot on, just a tiny bit small and I had to use 4,5mm drill to make them exact. The actual openings needed only very light filing to match and one small groove made as the plastic cover has sort of locating rib in the middle. It would squeeze the release handle too much without it so I needed to make it a bit of space.

11.jpg

12.jpg


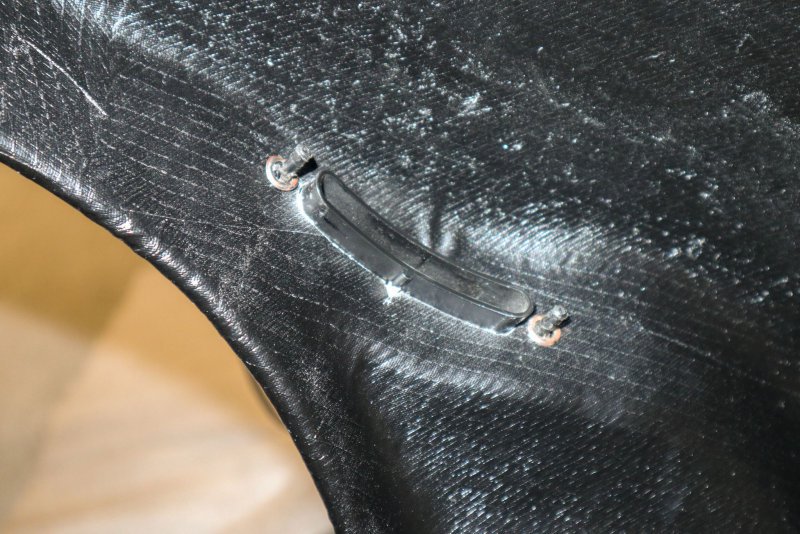
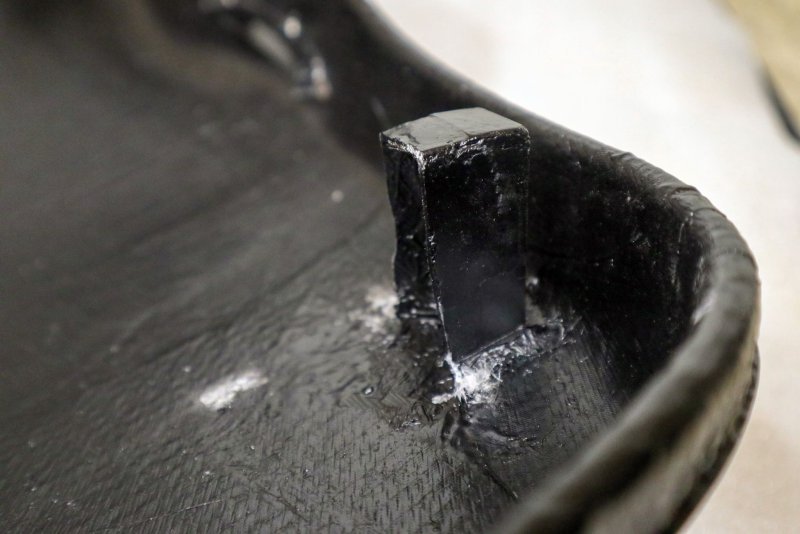
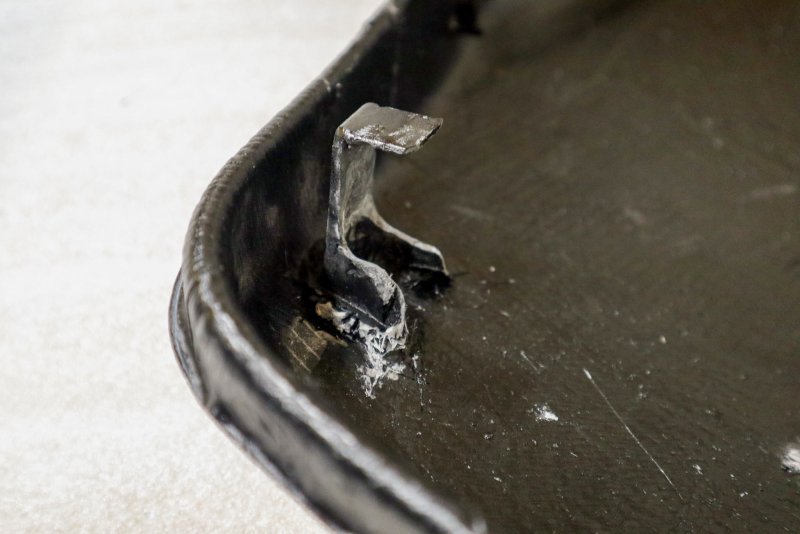
The two latches in the headrest area need some Dremel work, but generally it is 5 min job to make them right to fit

13.jpg

14.jpg


The flaps on the sides that are secured with the screws were my biggest pain. First of all, on one cover I had the holes for the bolts but they needed to be drilled on the other one. This is not a topic at all, just a thing to mention. The fitment itself is a bit painful. The originals are made from relatively thin plastic and have a soft spot at the bend so they are basically loose to be bent under any angle around the seat frame. The carbon ones are much thicker, stiffer and are made in about 90degree angle. This helps with the actual fitting, but makes extremely difficult to bend them to align with the frame and install the screws. You need to bend them at least 30degrees backwards to make them flat with the frame:

15.jpg


What I did is that first I made them a bit smaller. The material is very rigid. Even if they are smaller, they are still much stronger than OEM. I also cut a little of the surrounds of the bolt holes, there is not need for so much material around. But the most important and what needed to be done with the cover off, I pre-bent them. I used only my fingers and I started to very carefully bend them downwards. I recommend to do it only with fingers to have a bit more feel than with any tool. There will be cracking noises. It feels scary and you need to apply so much force that you are sure they would break. But no. There are cracking noises come from the resin but the fibers still hold it very strong. At worst, the cracking in the resin makes them a little bit more pliable but still more than strong enough. This way I was able to get them on. You still need strength in fingers to press them on the frame and install the bolt, but if you pre-bend them it is at least doable. If you try to install them as they come out of box, it is may not be totally impossible but I didn’t have so much strength in my fingers to do so in their original shape.


Two more notes, when installing the cover do not forget to alight the backrest release levers into the grooves int the plastic surrounds. And also the cover being stiffer than OEM, needs to be installed more in the direction of sliding it from the top on the frame rather than from back. A bit fiddly but not difficult at all.


The rest is simple, the foam padding fits back, aligns to the cover and the leather needs to be stretched back on it and pushed into the groove around the cover. No tools are needed; all can be done with fingers only.

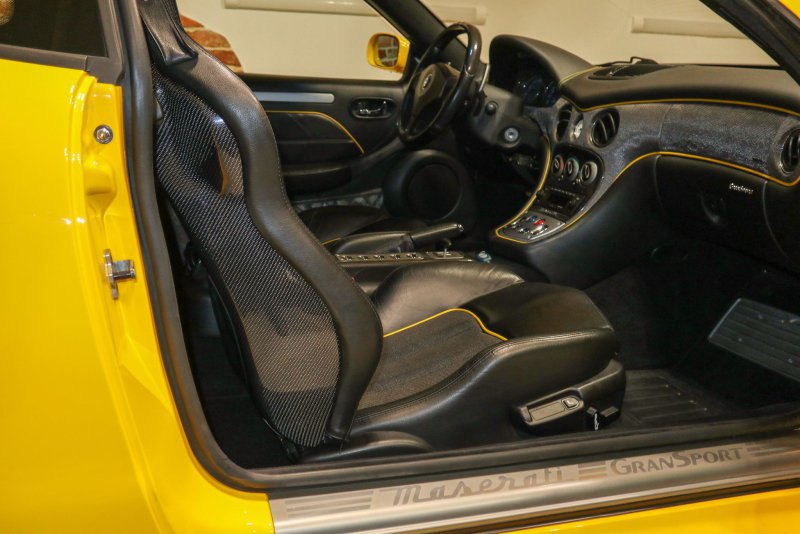
And finished result:

16.jpg


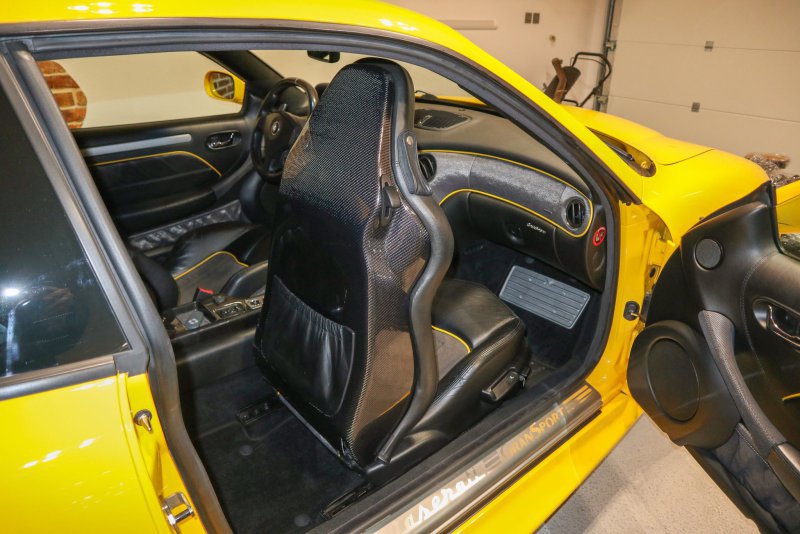
It is a beautiful upgrade that almost nobody will notice Unless you frequently have rear passengers. Who really does….

17.jpg

But I think I will often throw some bag or jacket on the rear seats just to have the pleasure to see them in their full beauty.

18.jpg
 

lozcb

Member
Messages
12,515
Absolutely Love it Gotcha...... Mega mega kudos , I had that disease once and took the tablets and managed to overcome it on old age lol