QPV Sport GTS - Grill Refurb Blog

makeshiftUK

Member
Messages
1,090
First and foremost - I drew my inspiration for undertaking this project from @WaveyDavey and his grill refurb: https://www.sportsmaserati.com/index.php?threads/gts-grill-refurb.29184/

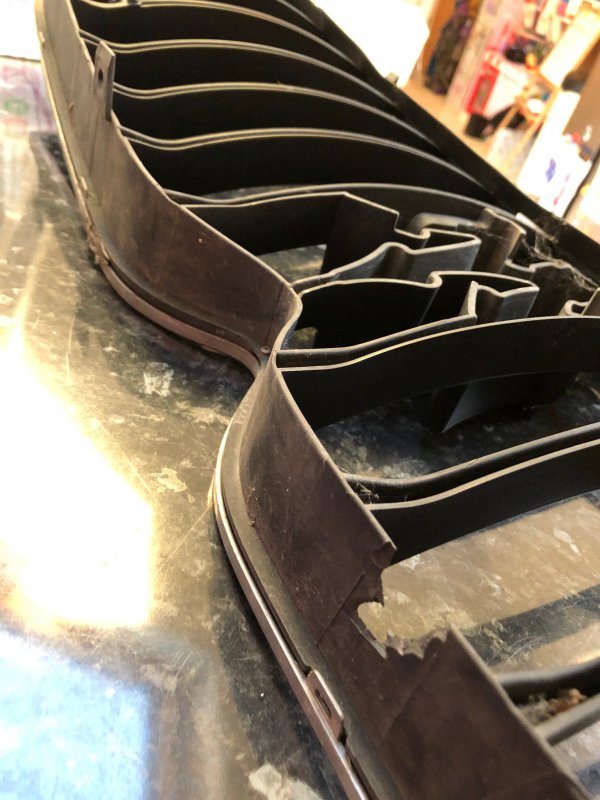
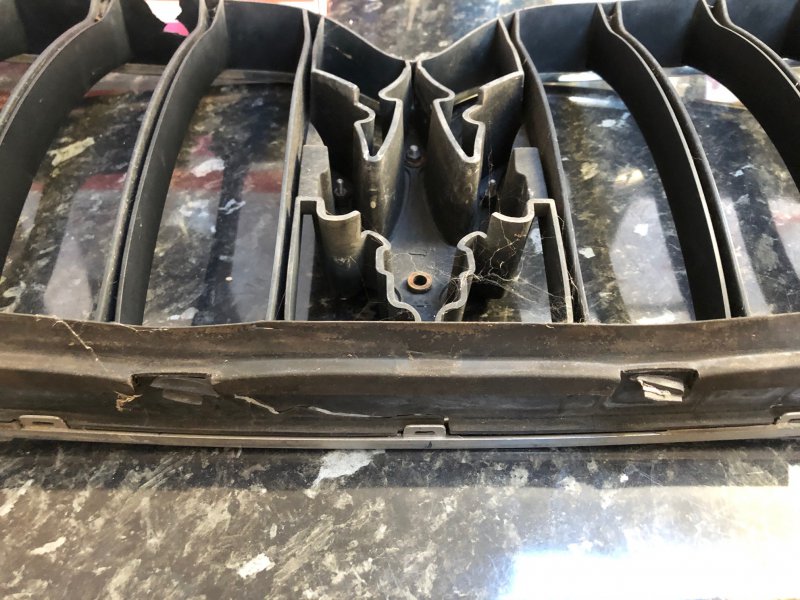
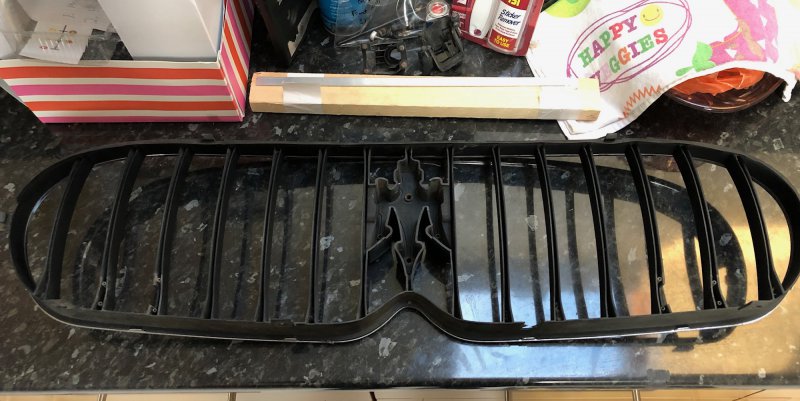
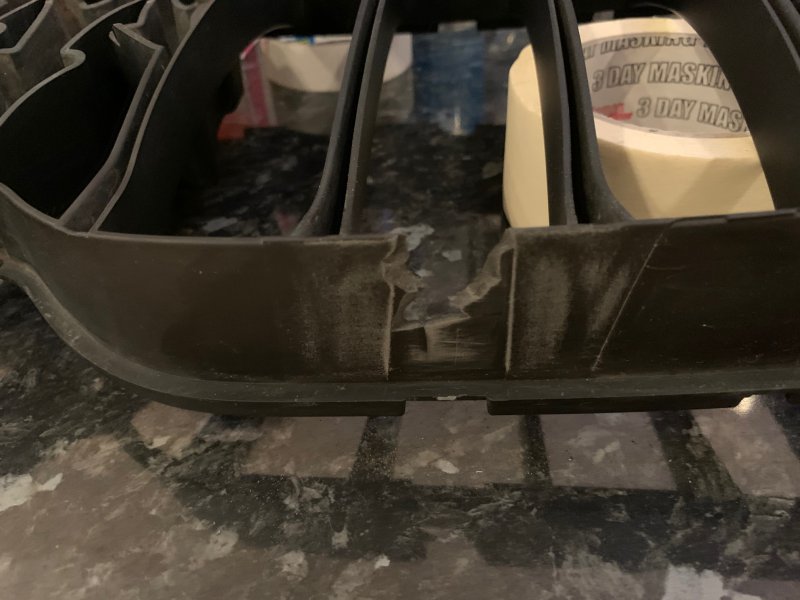
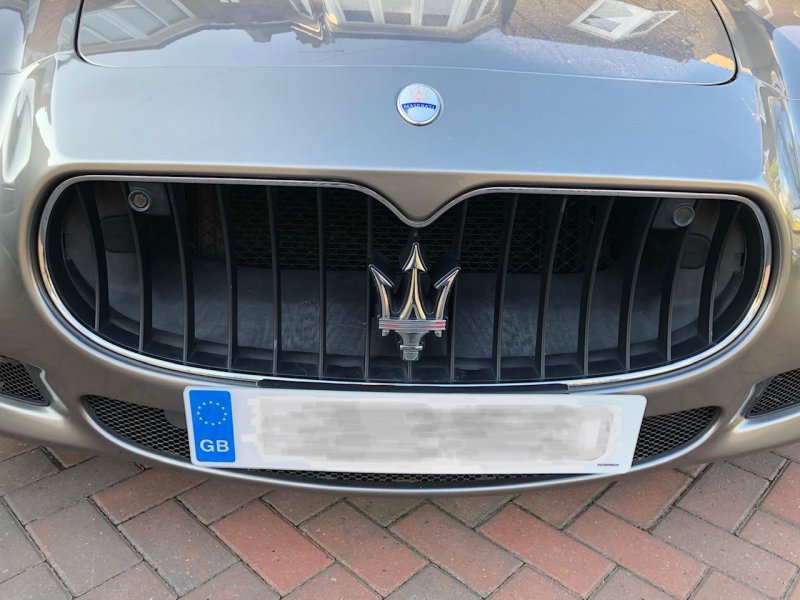
At some stage in it's life, it seems my QP sustained a minor head-on injury... the majority of my grill is intact but various clips/lugs are broken, the plastic faded, and the 'air dam' behind it is also partially cracked (not visibly so... another project given to replace it is a bumper-off job). A new grill is around £800ish... out of the question. This blog is to chart the refurbishment of said grill... what could go wrong ;)

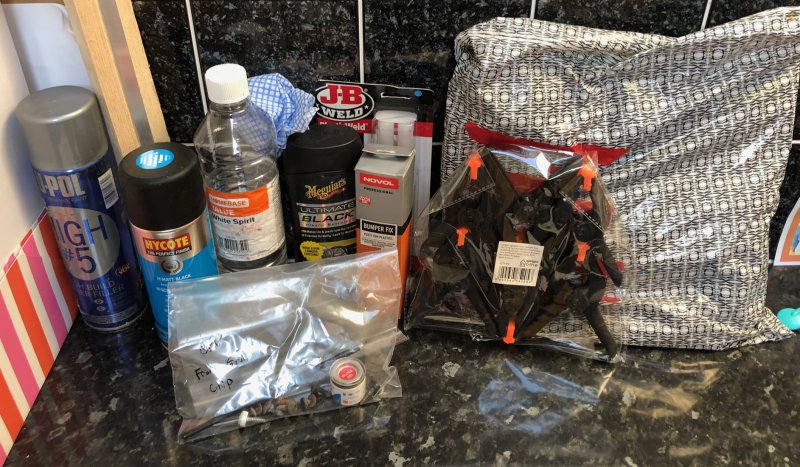
Parts involved:
  • 1.6mm x 12mm x 400mm aluminium strip
  • UPol High build primer
  • Hycote Grey primer
  • Hycote Matt Black
  • White Spirit
  • Meguiars Ultimate Black Plastic Restorer
  • JB Plastic Weld
  • Novol Bumper Filler
  • Spring Clamps
  • Various grades of wet and dry
  • Humbrol Gloss 220 'Ferrari' Red
  • Hammerite Black
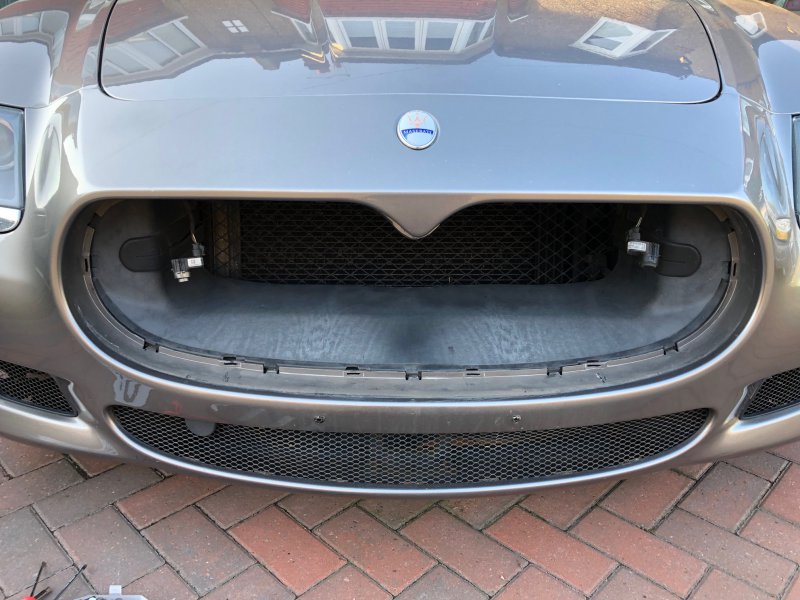
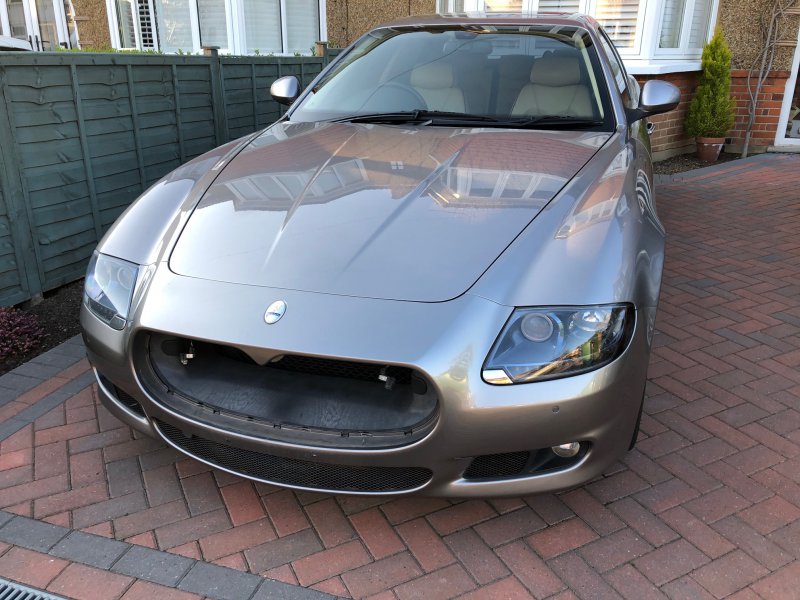
First step... removal of the grill on the facelift QPV involves unscrewing 4x torx head bolts across the top of the grill. With these out, you'll need to unclip 6x locating lugs that keep the grill in place - 2x at the side, 4x along the bottom. The side ones are the easiest to get to, followed by the outboard bottom lugs, and then the inboard bottom lug (I found that it was much easier to free the lugs from the bodywork by keeping the grill straight and upright... versus trying to wriggle it free at an axis). Finally, push the parking sensors through the parking sensor mounts... and it's off! Oh, and I had to remove my numberplate and numberplate holder to get the grill to come out... presenting me with a chance to clean underneath.

I suspect I'll get a chance to do more at the weekend...
68545
68546
68547
68548
68549
68550
68552
 

Gazcw

Member
Messages
7,754
I got a new gts grill from Scuderia for a lot less than 800. My chrome s grill was completely shot. Every fin broken and the badge too.
 

Hurricane52

Member
Messages
1,211
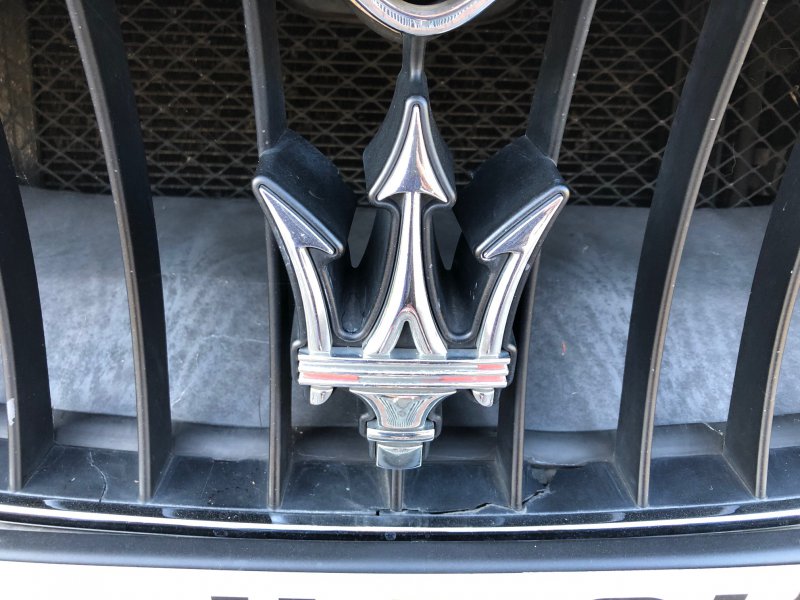
Looks like you’ve got the special “pink badge” edition like me. Can you get at the bolts underneath the badge now you’ve got the grill out?
 

makeshiftUK

Member
Messages
1,090
Looks like you’ve got the special “pink badge” edition like me. Can you get at the bolts underneath the badge now you’ve got the grill out?
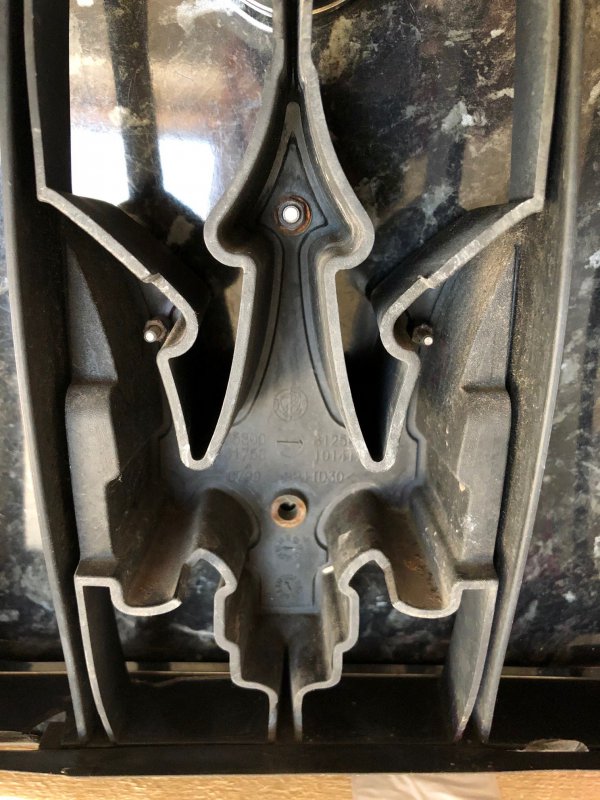
You bet! Viewed from the underside of the grill:

68602

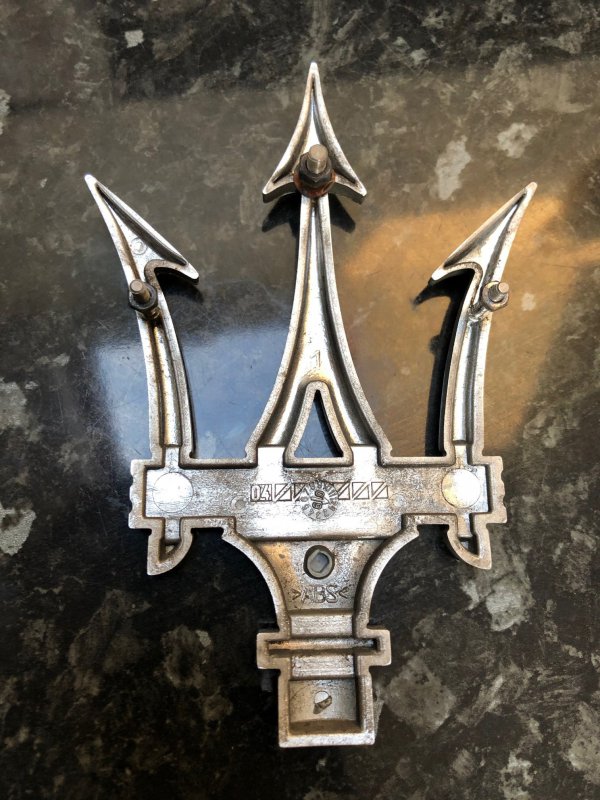
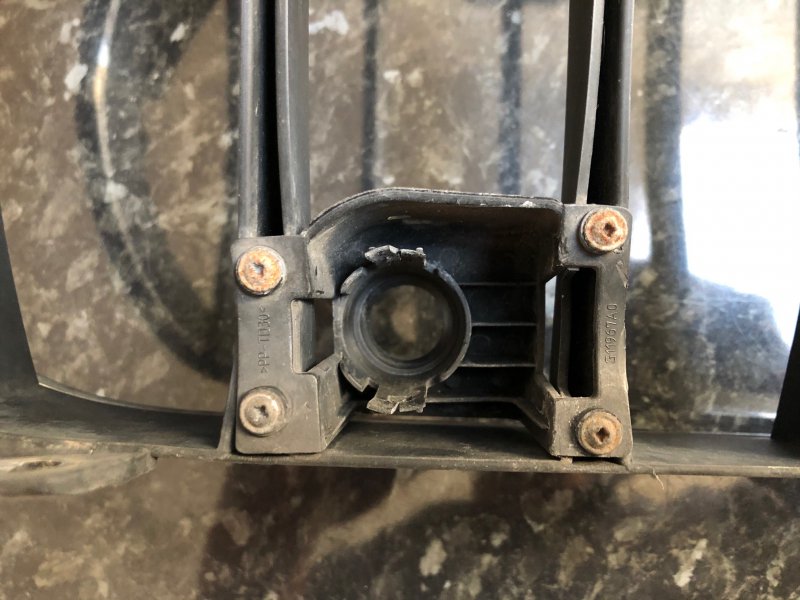
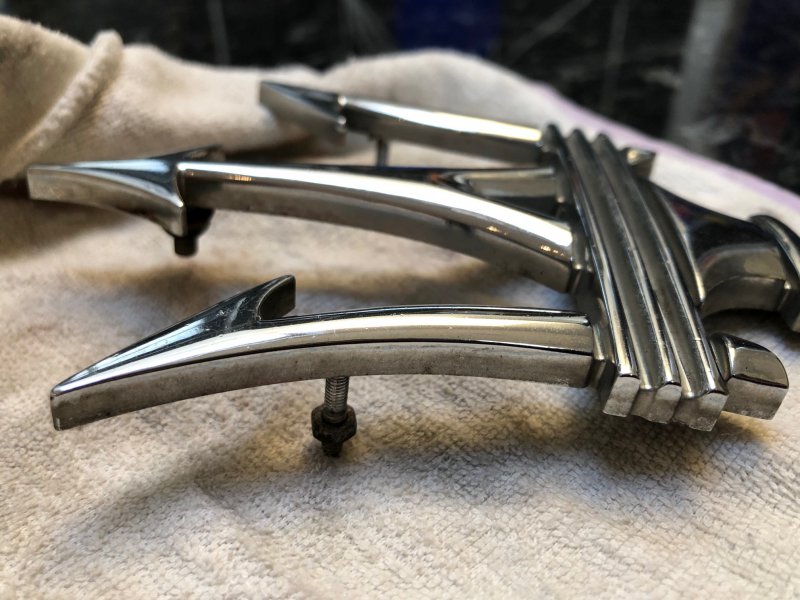
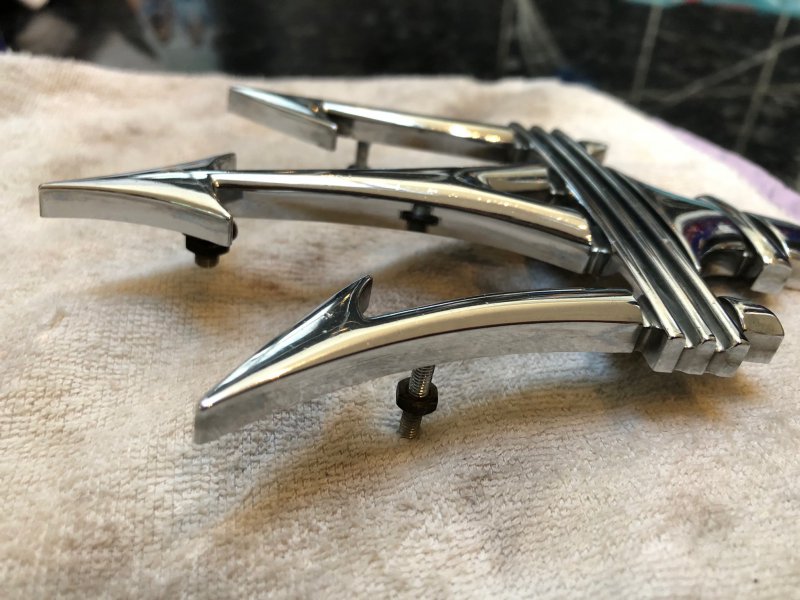
Note the absence of the central locating screw at the bottom - looks it snapped off at some stage. The retaining 3x nuts are hard to get to, but a set of small, deep sockets did the trick. With the nuts removed, you can lift off the chrome plastic trident from the front:

68606

Parking sensor mounts removed too - 4x screws on each one:

68603

68605

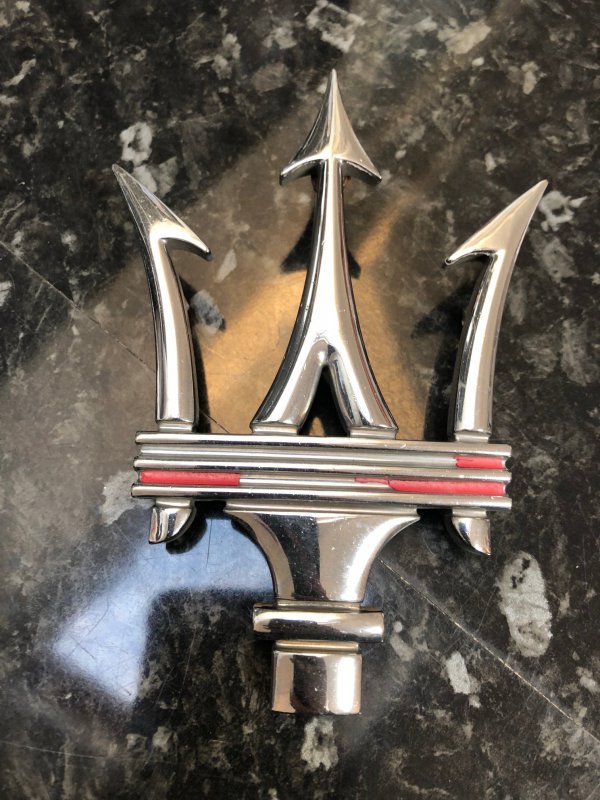
Now, to get rid of the 'pink' bits...

68607

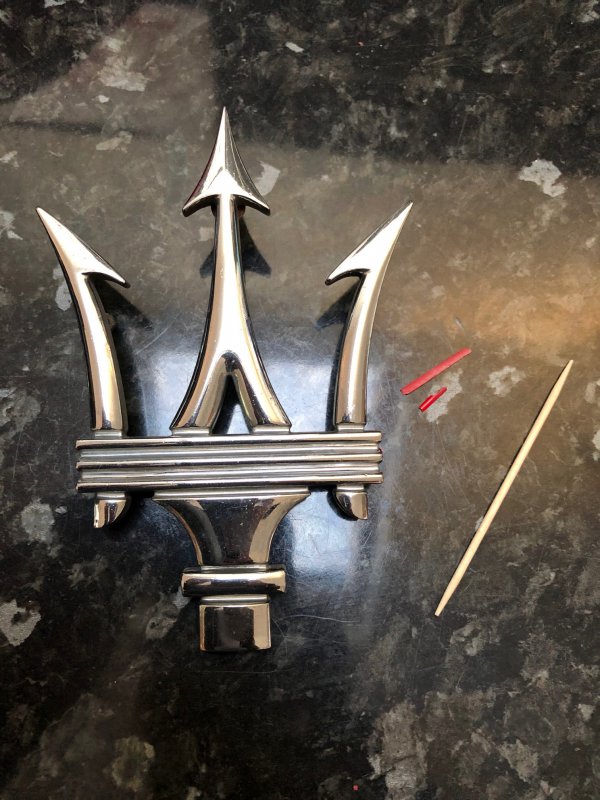
I used a cocktail stick...

68608

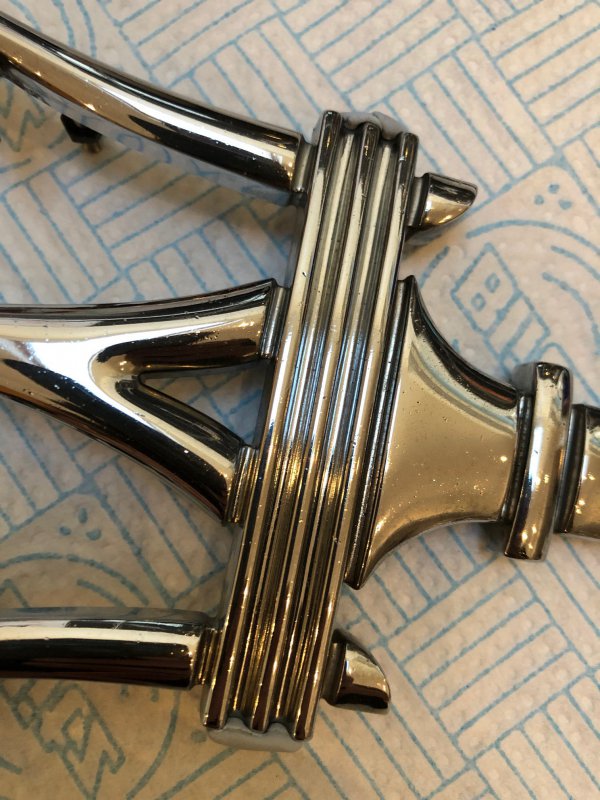
Bit of polishing required:

68609

Post-polish...

68610

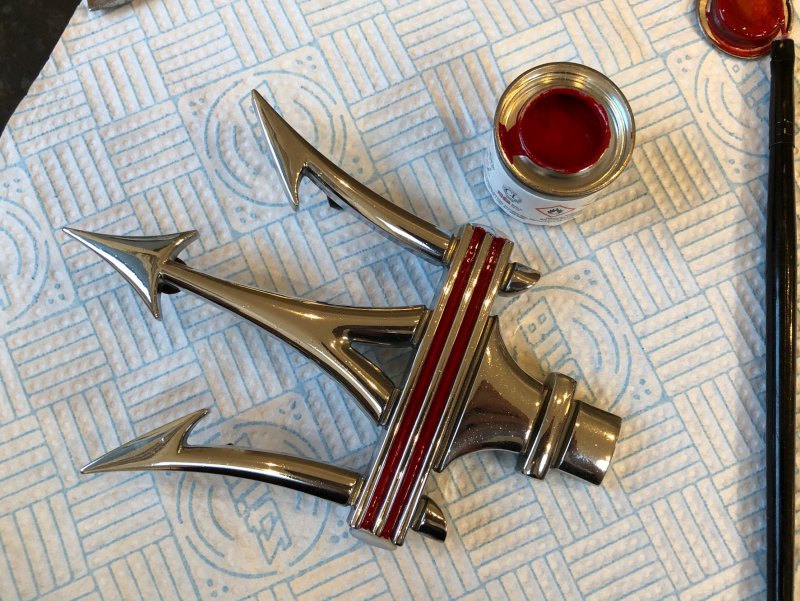
Applied bluetack each side of the recessed 'channels' to keep the paint in place:

68611

First application of Humbrol red paint:

68612

Looking more like a proper GTS badge now!
 

ChrisQP09

Member
Messages
2,996
I might buy a Rosso Fuoco touch up paint to re-do my GTS grill emblem.

Mask off your side emblems and do those too. Good job

Gd tip on the blutack
 

makeshiftUK

Member
Messages
1,090
Sorry, but I meant the badge on the nose, not in the nose?
Ah. No - the Maserati manual states that it’s a bumper off job, it’s not accessible from either the grill aperture nor via the engine bay.

The alternative is to drill it out - I don’t have the guts to do it myself...
 

Hurricane52

Member
Messages
1,211
Ah. No - the Maserati manual states that it’s a bumper off job, it’s not accessible from either the grill aperture nor via the engine bay.

The alternative is to drill it out - I don’t have the guts to do it myself...
Thanks. Perhaps we should devise a story to go with them instead?

I once bought an Elan with a black badge marking Jim Clark’s death. I was told it was very rare as they only added them for a short time. I wanted the car, so I didn’t have the heart to tell the chap Jim Clark was still alive and well when it was registered in 1966.
 

makeshiftUK

Member
Messages
1,090
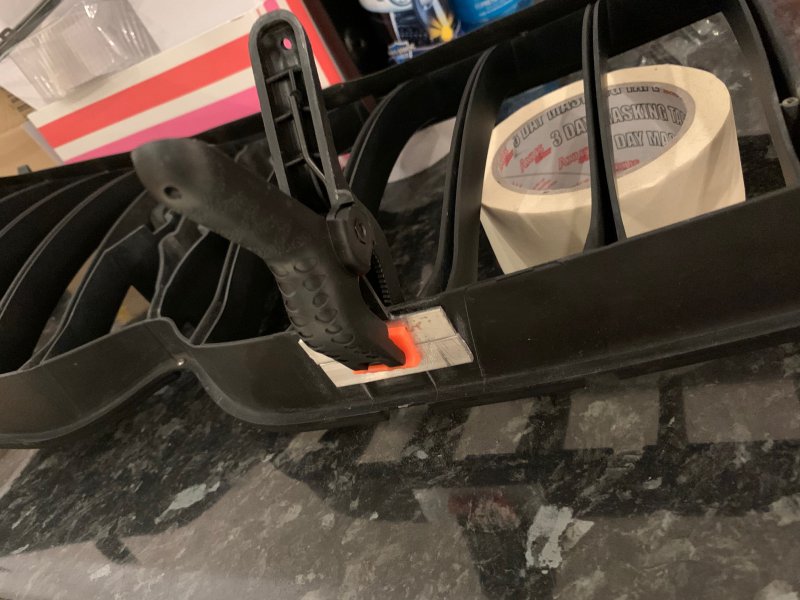
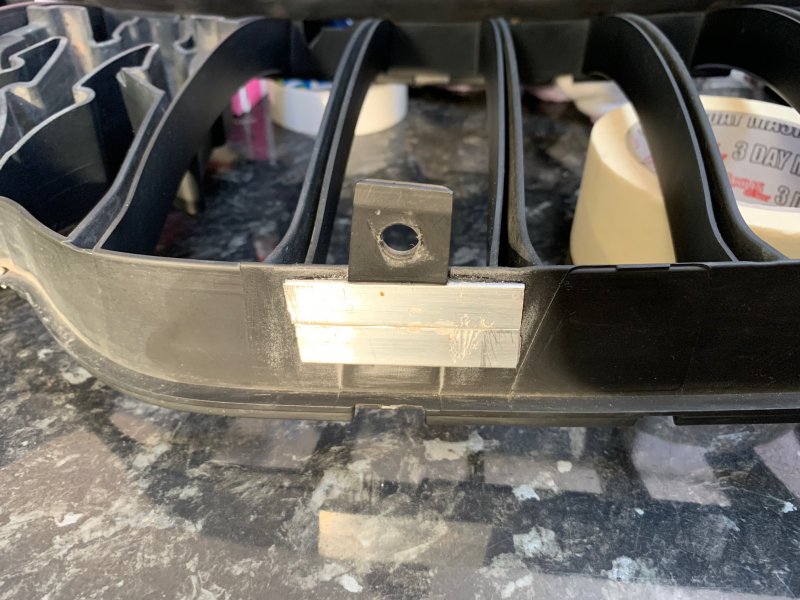
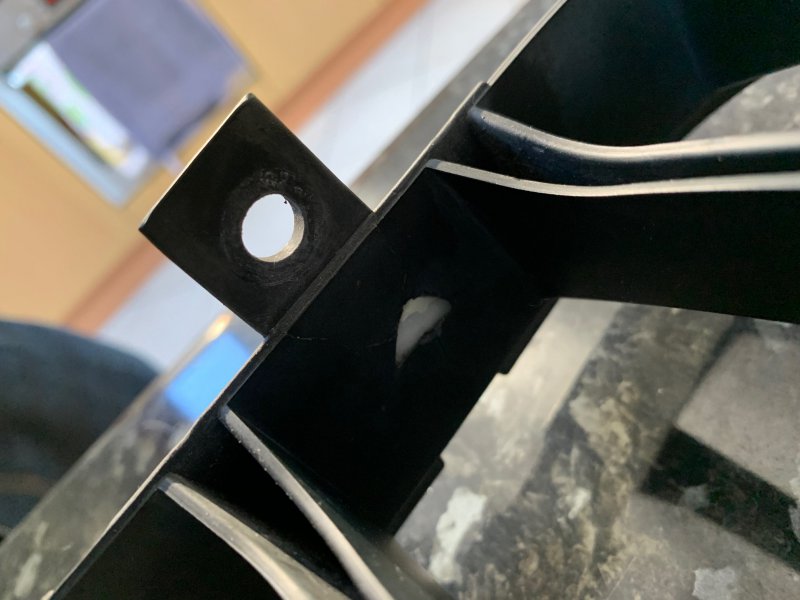
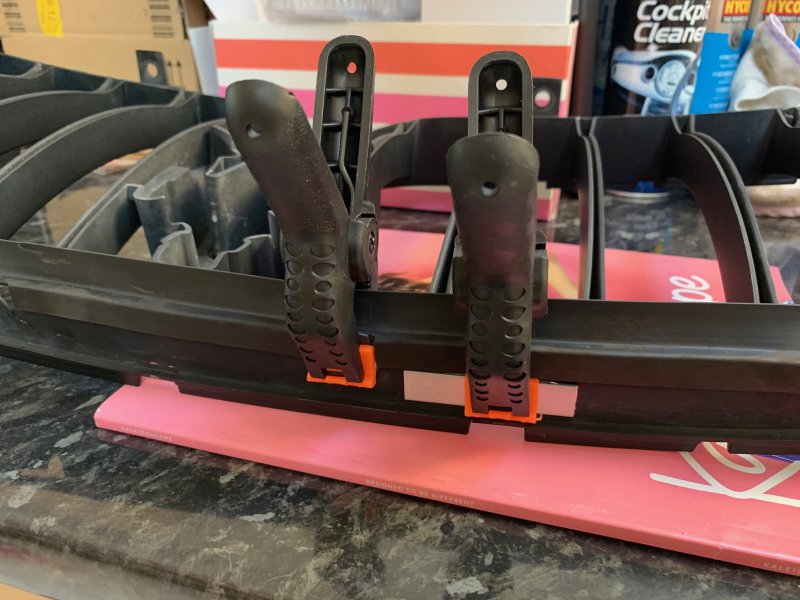
Made a bit of progress this week with re-attaching a broken clip and in the process reinforcing the strength of the grill with aluminium strips.

I used a hacksaw to cut down my aluminium strip into small appropriately sized pieces, and keyed both of the 'mating' surfaces with 180 grit sandpaper to improve adhesion. With the JB plastic weld applied to both the grill and the strips I stuck them together, and used a spring clamp to maintain force overnight.

And this morning, it seems to have worked!!

68863
68864
6886668865

A few observations
  • I was liberal with the JB weld and had some excess... I'll be more conservative next time
  • Putting a slight 'bend' in the aluminium strips helped them sit more flush on the grill
  • I'll filler in the hole from the exposed/visible side when all the tabs are back in place
 

IanU

Member
Messages
336
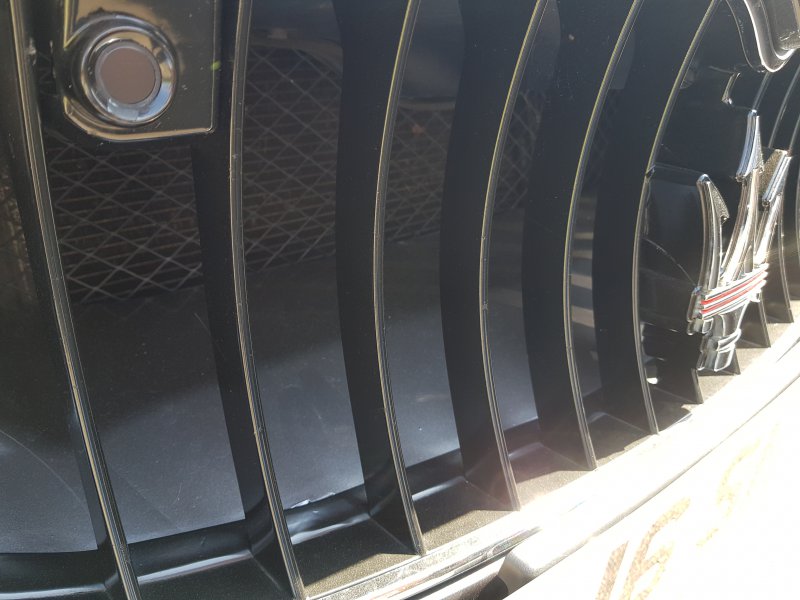
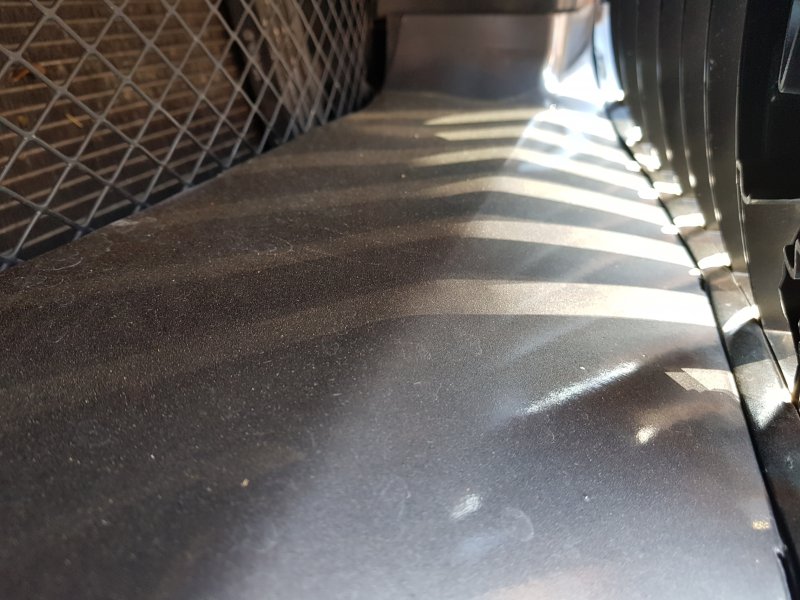
I did a similar project last year and repaired some cracked fins on the grill and around the badge. Looked like it had probably had a bird strike or something. I used Araldite to fix it all back together and then finished it all off with smooth black Hammerite. The tunnel behind the grill I managed to work in a sheet of metallic grey vinyl wrap to give it a cleaner look. Difficult to see in the pictures, but looks a lot better than the distressed plastic look.
6891268911
 

makeshiftUK

Member
Messages
1,090
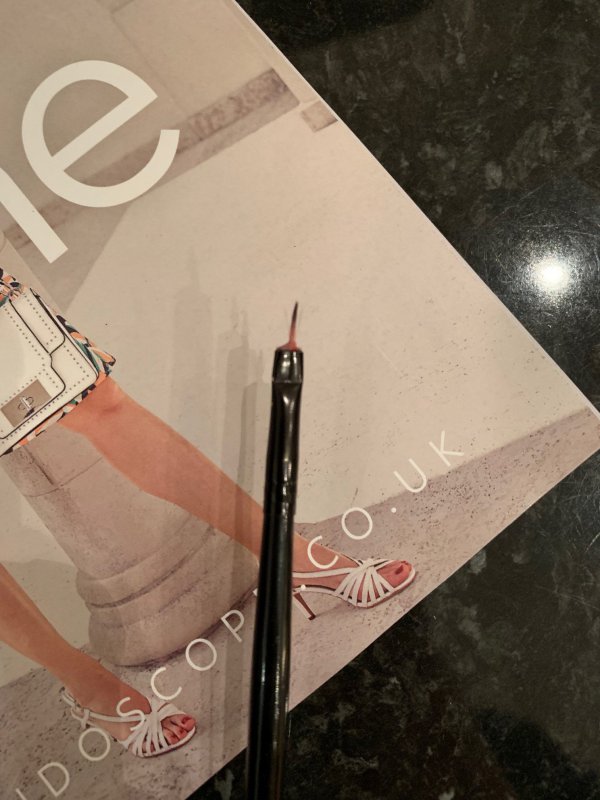
Can ask what type of brush u used? I've actually got a set of Tridents with red flashes but the dismantling and glueing is putting me off when I could try your method for less hassle....
The thinnest paint brush I could find, and then I cut away some of the bristles to further narrow the head.

68934