conaero
Forum Owner
- Messages
- 34,631
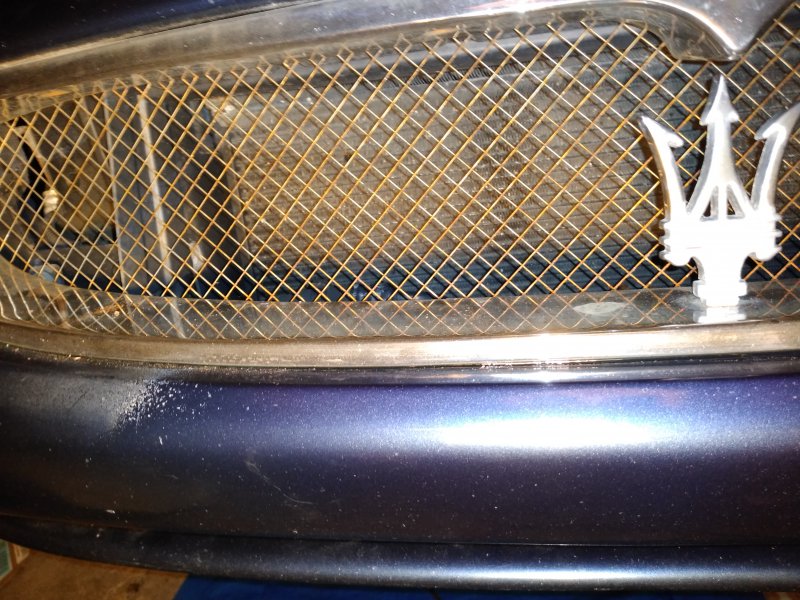
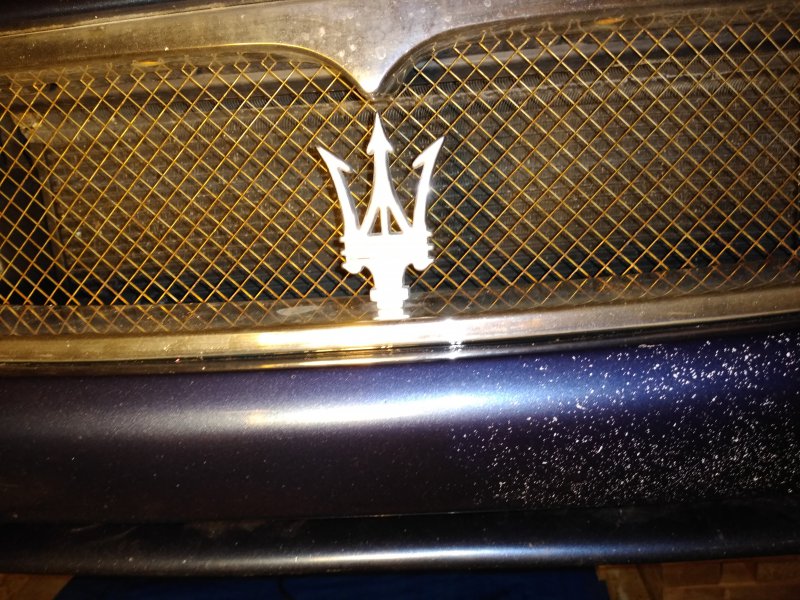
Front Bumper:
EST time: 6-8hrs due to corroded fixing and terrible access
1. Jack up the front of the car and remove the wheels
2. Remove both arch liners

3. Remove bumper under tray
4. Remove the front grill and the fixings on the top of the bumper where the bonnet shut is, making sure you make a note of the shims.

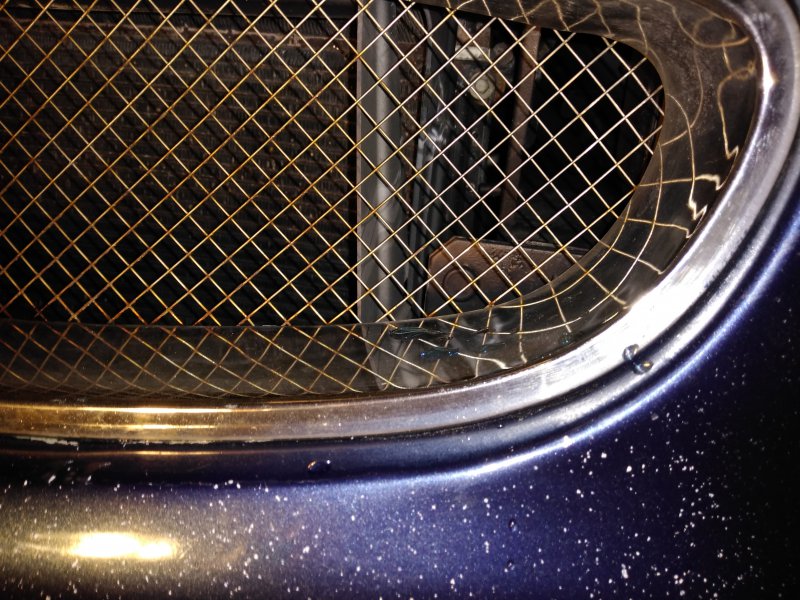
5. From underneath, with a long extension, undo the sidelight retaining bolts, use a suction cup and extract both sidelights out the front.

6. Remove the front headlight retaining bolt by putting a small socket through the sidelight hole and up

7. Remove the headlight rear bolts from the L brackets and the lower mounting and remove the brackets as this aids removal

8. Right headlight - Remove the headlight to inner wing mounts with a 10mm spanner, the nut facing the engine (See above pic)
8a. Left headlight - You cannot gain access to the inner wing mount from behind, you need to remove the left hand engine cover and access it from the engine bay.

9. Unhook the rubber gaskets and pull to give more space, remove the headlight out the front of the car, watching not to drag the underside over the bumper as it will scratch it

10. undo the 3 fixings down the inner wing to bumper, NOTE, the furthest forward on the right side is a LEFT HAND THREAD
11. Undo the 2 bolts on the underside of where the top the wing meets the top of the bumper.

12. Undo the main bumper mounting bolts

13. Remove the washer jet supply pipes if you have washer jets
14. Mask up the front wings where the bumper meets it with thick bodyshop tape (you will thank me later)

15. Remove the bumper from the car, collapse on the floor and recover with your hand bleeding all over the place.

EST time: 6-8hrs due to corroded fixing and terrible access
1. Jack up the front of the car and remove the wheels
2. Remove both arch liners
3. Remove bumper under tray
4. Remove the front grill and the fixings on the top of the bumper where the bonnet shut is, making sure you make a note of the shims.
5. From underneath, with a long extension, undo the sidelight retaining bolts, use a suction cup and extract both sidelights out the front.
6. Remove the front headlight retaining bolt by putting a small socket through the sidelight hole and up
7. Remove the headlight rear bolts from the L brackets and the lower mounting and remove the brackets as this aids removal
8. Right headlight - Remove the headlight to inner wing mounts with a 10mm spanner, the nut facing the engine (See above pic)
8a. Left headlight - You cannot gain access to the inner wing mount from behind, you need to remove the left hand engine cover and access it from the engine bay.
9. Unhook the rubber gaskets and pull to give more space, remove the headlight out the front of the car, watching not to drag the underside over the bumper as it will scratch it
10. undo the 3 fixings down the inner wing to bumper, NOTE, the furthest forward on the right side is a LEFT HAND THREAD
11. Undo the 2 bolts on the underside of where the top the wing meets the top of the bumper.
12. Undo the main bumper mounting bolts
13. Remove the washer jet supply pipes if you have washer jets
14. Mask up the front wings where the bumper meets it with thick bodyshop tape (you will thank me later)
15. Remove the bumper from the car, collapse on the floor and recover with your hand bleeding all over the place.