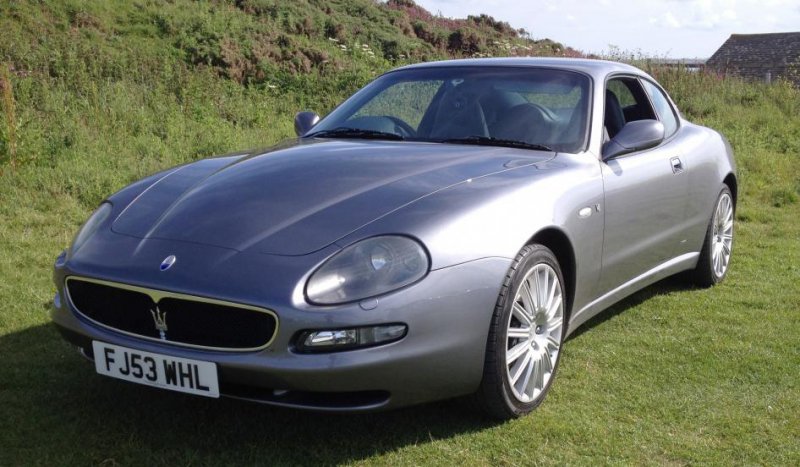
Maserati 4200 Detail

beemaser

New Member
Messages
53
I purchased my 4200 at the beginning of August. We (father and I) collected the car the first weekend of the summer holidays, not an ideal time I know, but this was the only time we could get away and collect it.

Apart from the 10 hours it took get back home, as we collected fathers new Saab en-route, we parked up an hour or so from home to have a quick bite and a fuel up. We both parked up and I jumped out of the Maser and in to the Saab to have a sandwich, when a caravan entered the car park and hit the front of my new car. It caught the bumper, driving light and the chrome grill.
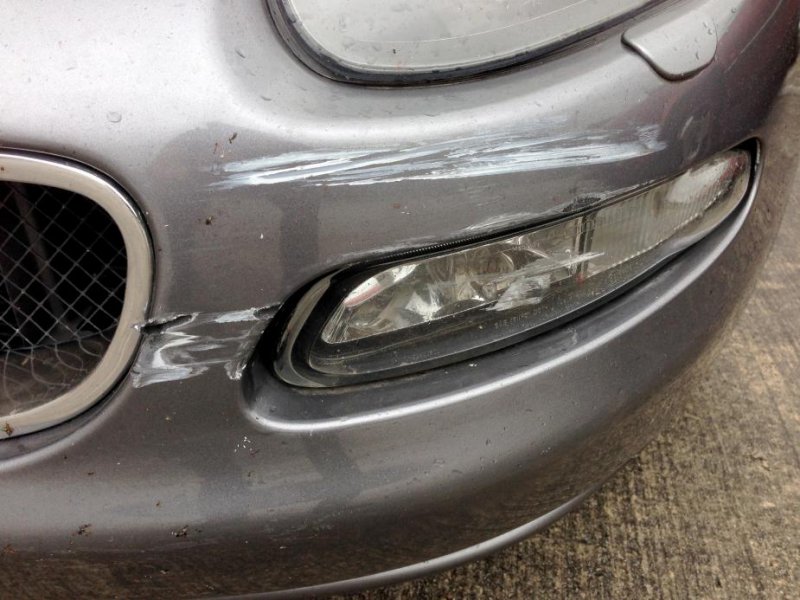
IMG_5194.jpg

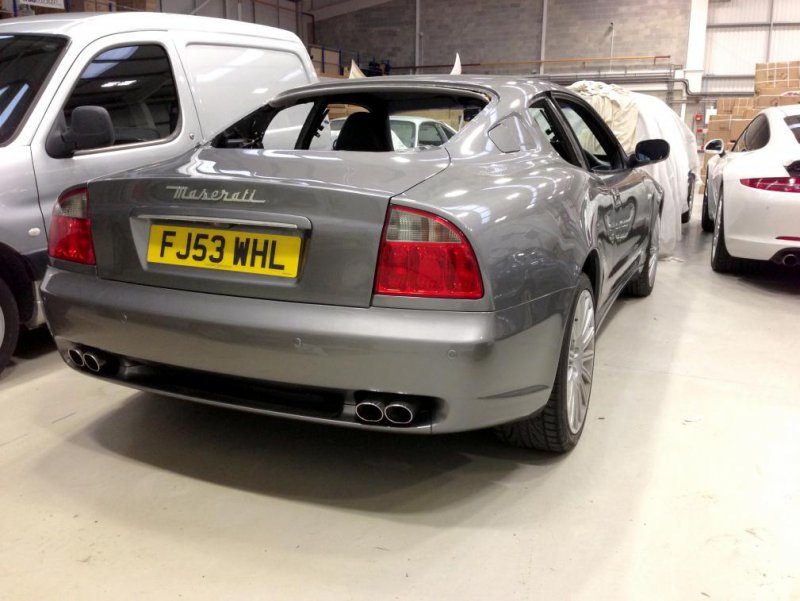
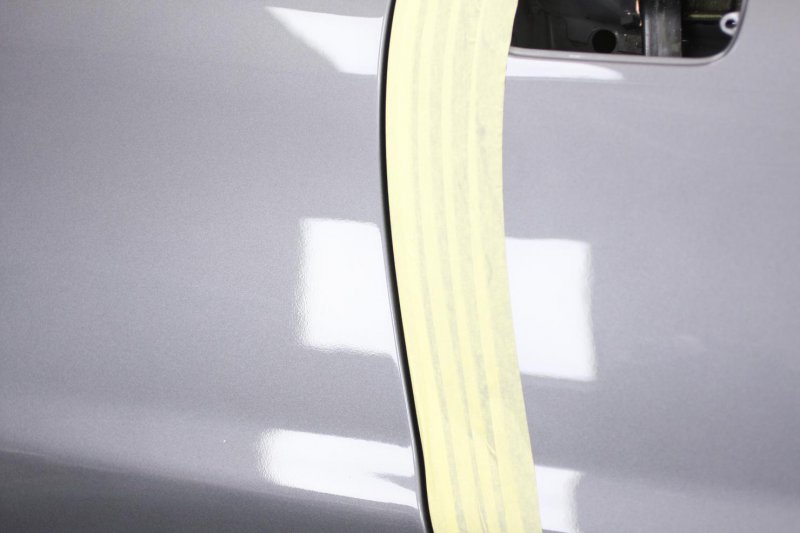
The car was taken in to the body shop and while they had it I asked them to repaint the rear end as its previous smart repair, was not so smart (bad colour match). We thought it would be easier to paint with the glass out. So my mates and I pulled the car to bits and popped the glass out.
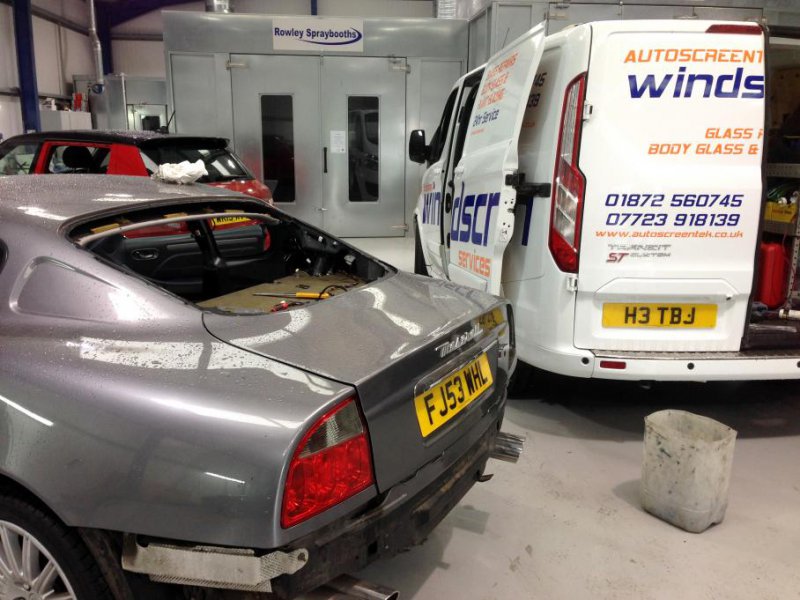
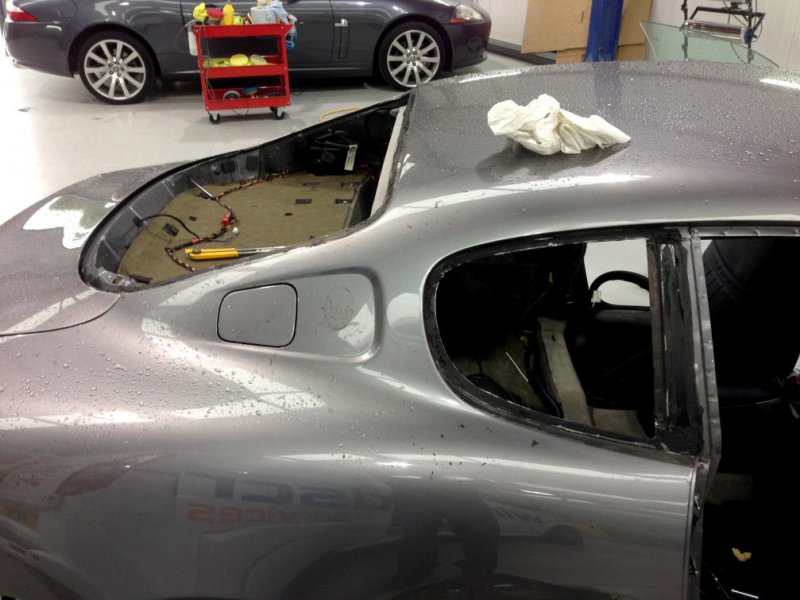
IMG_5352.jpg

IMG_5353.jpg

With the car now back in our unit. Here are a few quick pics after painting. The light was replaced with a new one and the grille was sent to London to be rechromed.
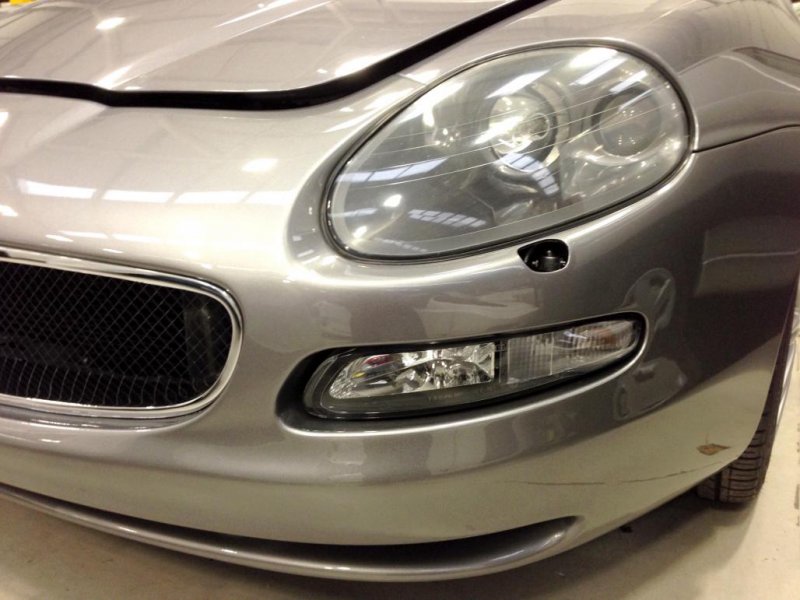
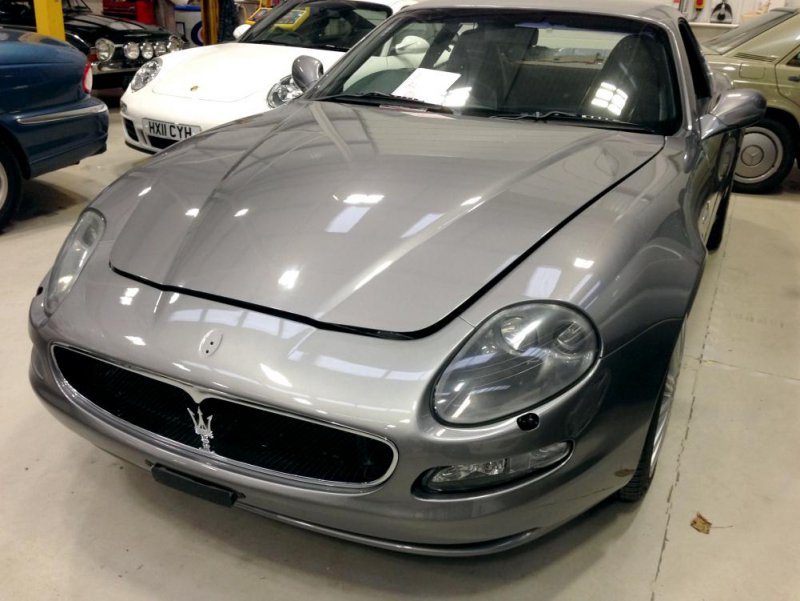
IMG_5619.jpg

IMG_5617.jpg

IMG_5626.jpg

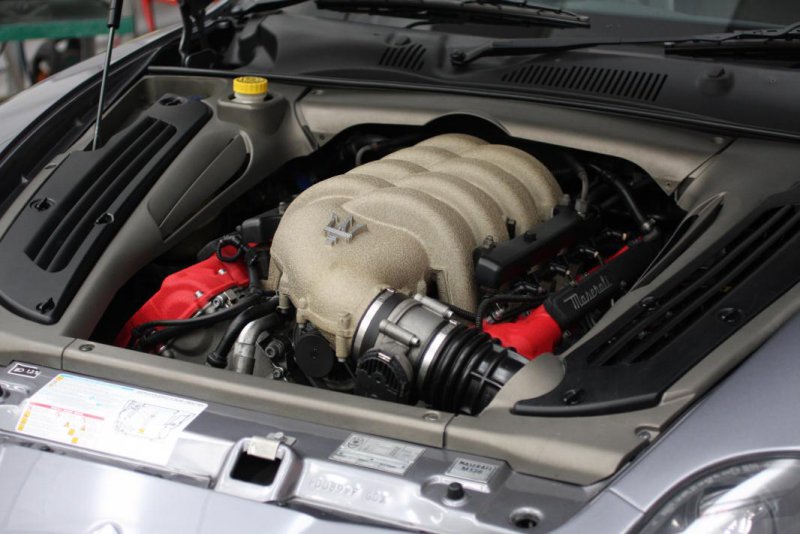
All we have had time for is to detail the engine.
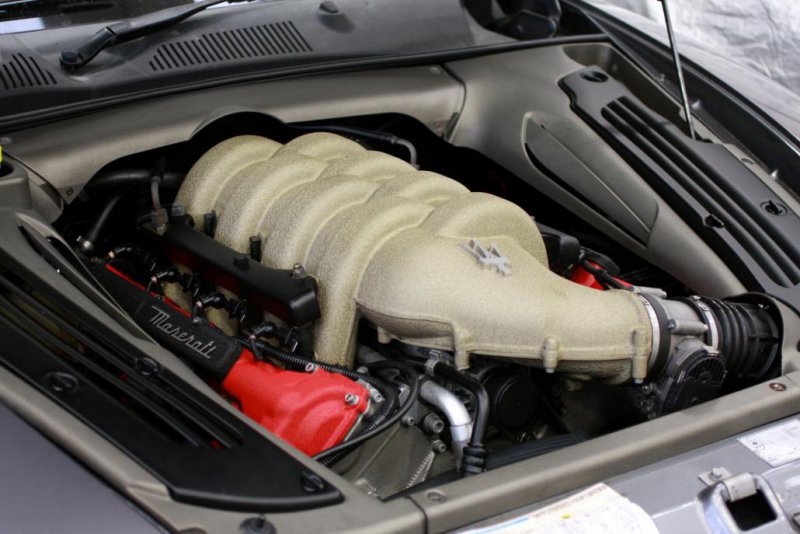
IMG_6767.jpg

I will keep you posted on the progress.
 

mjheathcote

Centenary Club
Messages
9,046
Looks lovely :)

What are you doing about the rear glass?

C

I was just thinking the same.
Popping out the rear window I believe has just been one expensive mistake, a £1,700 mistake, you can't buy a new seal only a complete rear new window and seal.
 

beemaser

New Member
Messages
53
I was just thinking the same.
Popping out the rear window I believe has just been one expensive mistake, a £1,700 mistake, you can't buy a new seal only a complete rear new window and seal.

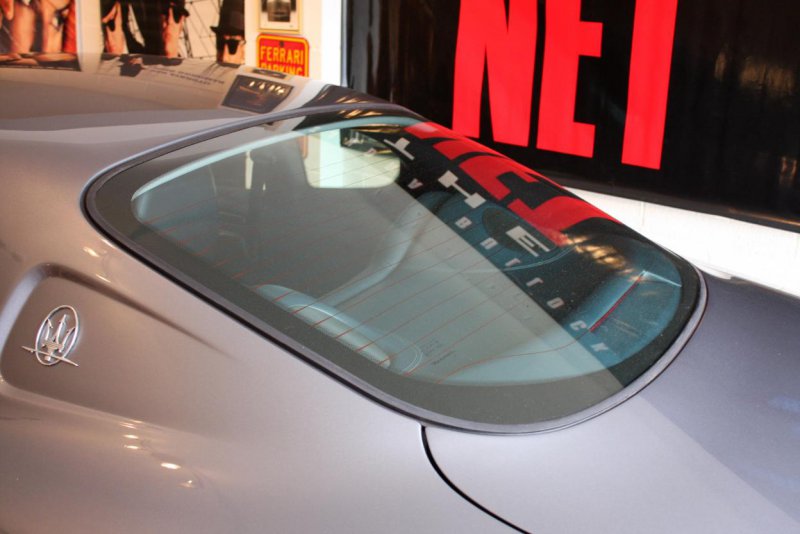
The rear window is like the side quarter windows (and I believe the front screen is the same), they have a bonded trim around them. These were removed with the trims in place. They will be reinstated with a sealant, just like any other window would be. Looking at the amount of sealant that was holding the glass in place, we think that the window many have been removed before.

The only reason we removed the glass was both quarters and roof were repainted and we ended up with a much better result.
 

mjheathcote

Centenary Club
Messages
9,046
If it can be re-used great, most don't even try because if the seal is damaged you can't buy a new seal alone.
 

jluis

Member
Messages
1,703
It's incredible how quality craftsmaship can repair a car to the point you cannot even guess it was previously damaged.
Unfortunately, the opposite is also true and most commonly is the rule.
 

beemaser

New Member
Messages
53
It's incredible how quality craftsmaship can repair a car to the point you cannot even guess it was previously damaged.
Unfortunately, the opposite is also true and most commonly is the rule.

Running our own detailing company, you have to have an eye for detail and these guys, truly have done an exceptional job.
 

beemaser

New Member
Messages
53
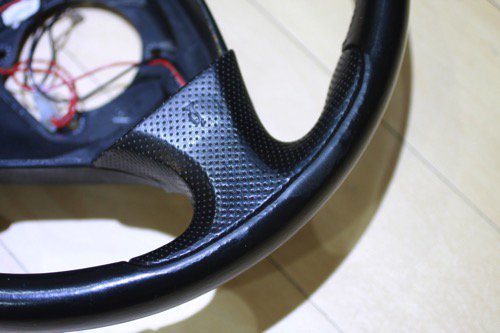
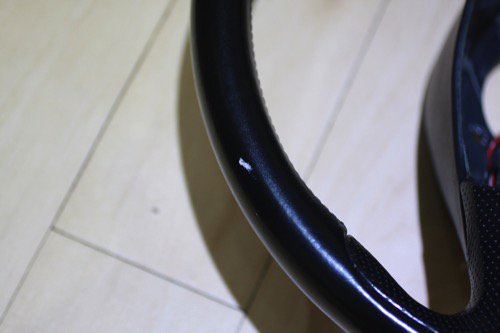
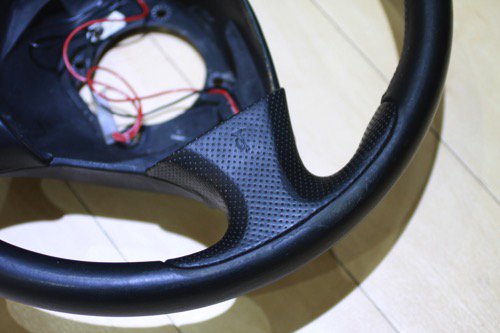
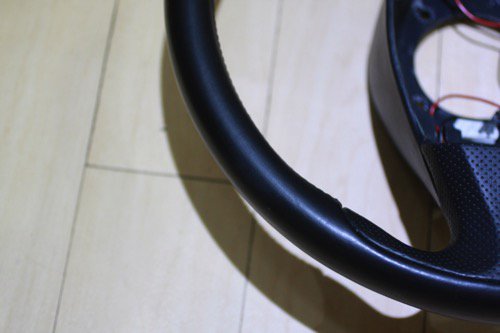
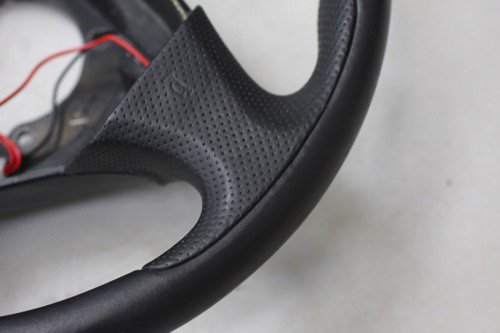
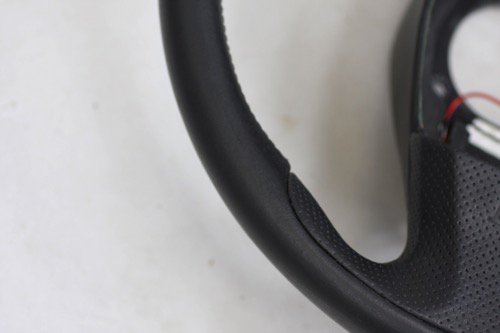
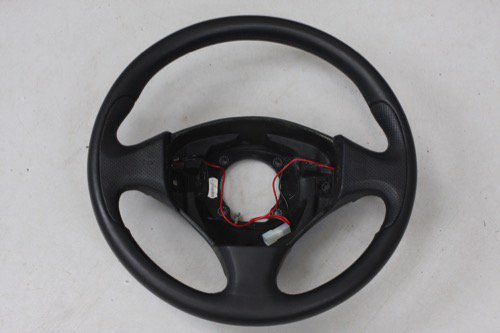
Just completed my steering wheel refurb.

The wheel as it was.
Motomotion_Detailing_Valeting_WindowTinting-0.jpg
Motomotion_Detailing_Valeting_WindowTinting-1.jpg

Sanded and cleaned.
Motomotion_Detailing_Valeting_WindowTinting-2.jpg
Motomotion_Detailing_Valeting_WindowTinting-3.jpg

Leather recoloured and sealed.
Motomotion_Detailing_Valeting_WindowTinting-4.jpg
Motomotion_Detailing_Valeting_WindowTinting-5.jpg
Motomotion_Detailing_Valeting_WindowTinting-6.jpg
 

beemaser

New Member
Messages
53
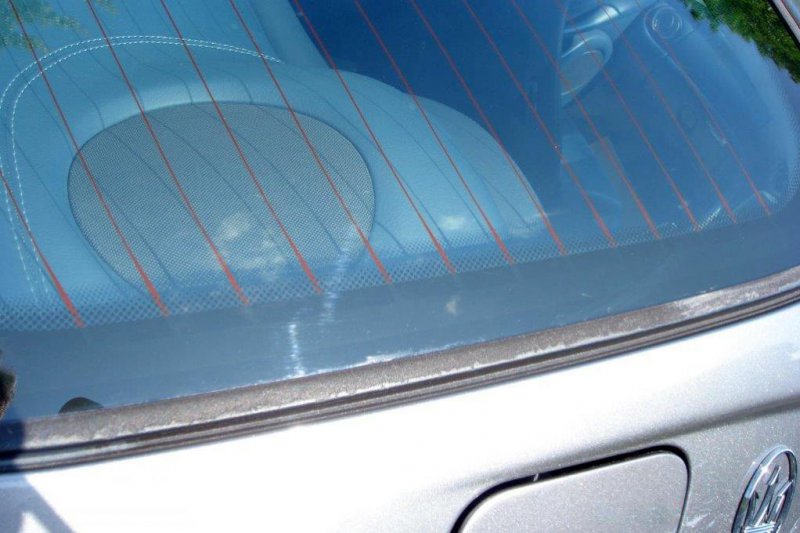
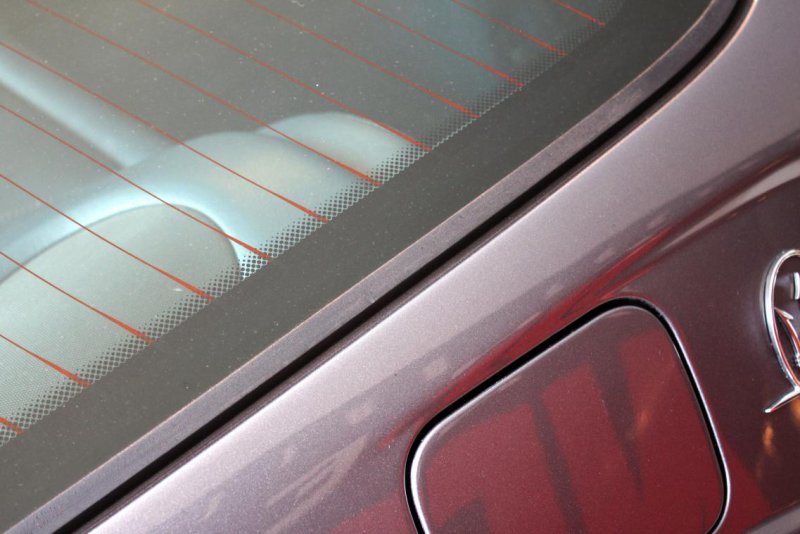
I know some of you were concerned about the rear window coming out, so the car could be painted.

As you can see, all back together now.

While the window was out, I had to file the bonded seal as it was in poor condition.

Before...
IMG_0021.jpg

...and after.
IMG_3679.jpg


IMG_3674.jpg
 

beemaser

New Member
Messages
53
Here are a few images of our detailing process.

IMG_0232.jpg

Before...
IMG_0304.jpg

...and after.
IMG_0306.jpg

50/50 of orange peel. We carried out a wet flatting process to remove this.
IMG_2469.jpg

After a few more machine polishing stages. This was the result.
IMG_2480.jpg

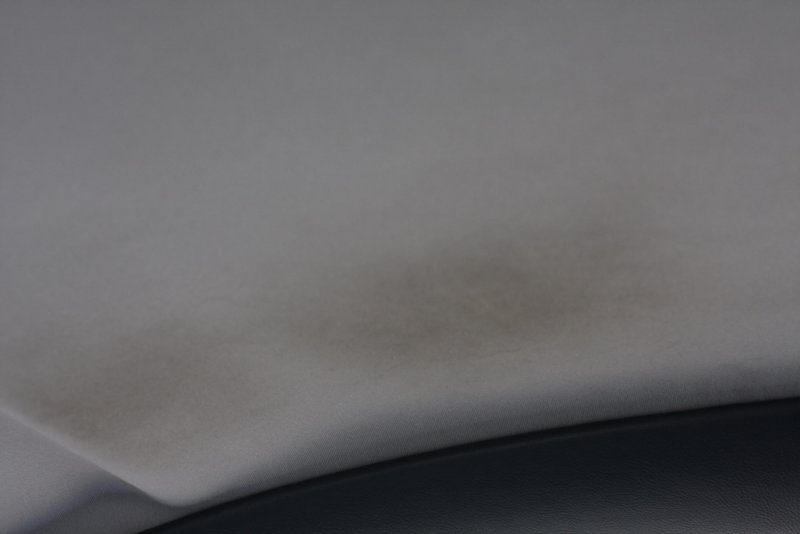
The roof lining, above the drivers head...before
IMG_2717.jpg

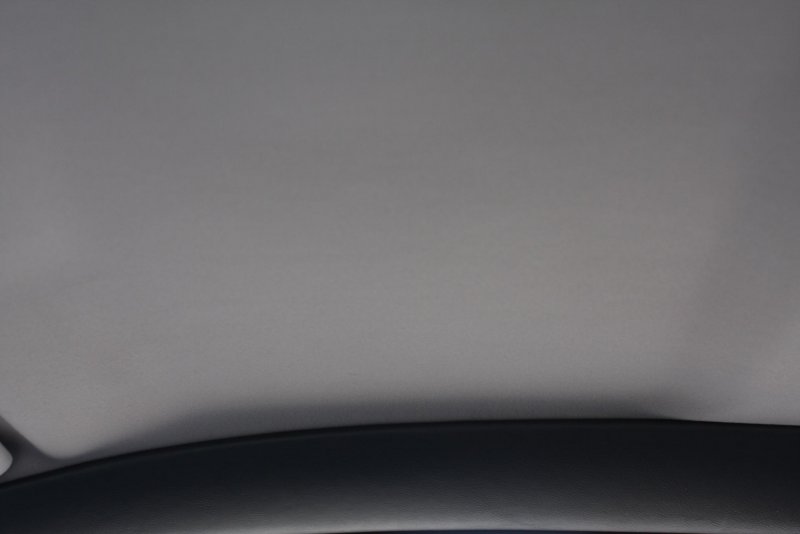
...and after.
IMG_2720.jpg

The finished results.
IMG_3000.jpg