highlander
Member
- Messages
- 5,225
are you offering odds on that position being maintained?Gave up selling cars when I retired!


are you offering odds on that position being maintained?Gave up selling cars when I retired!
Haha possibly not.are you offering odds on that position being maintained?
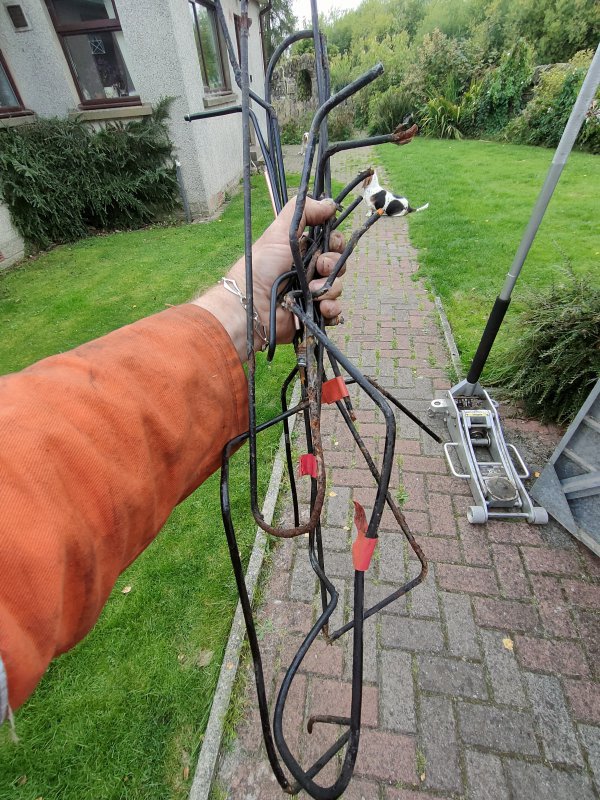
My advice is fill the reservoir and open a nipple let gravity do its thing on each one once you get one dripping and closed off.Out with the old, in with the new. All brake pipes front to rear now replaced, and ditched the old after using for patterns. Bleeding next, no doubt that will be another job in itself! All bleed nipples now free, including the rear inboard ones which I thought may sheer!
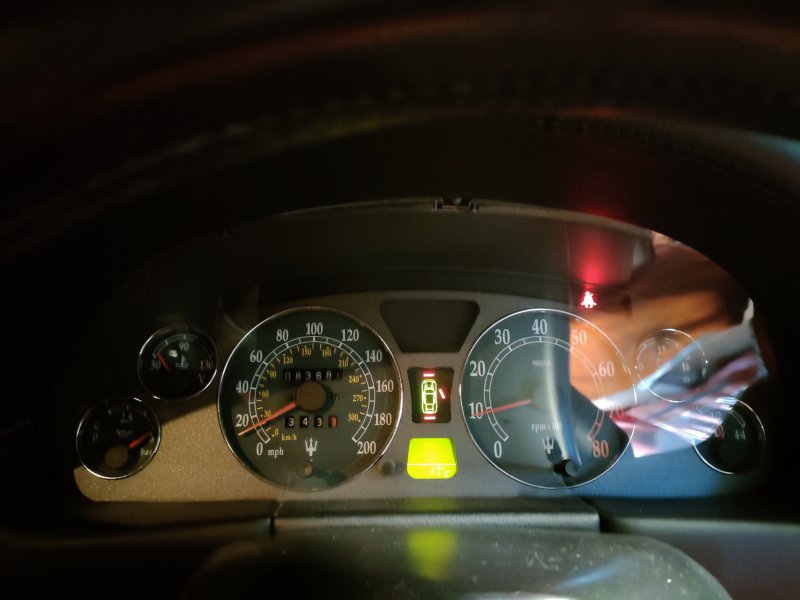
I saw this posted elsewhere it made me chuckleWell, brakes bled, did as Phil suggested, then forgot to close the rears as I pumped up the bleed kit, where's that leaking from me thinks! lol All good , 10psi in pump then bled from furthest points in. Firm pedal, although I haven't started the car yet as still to refit the rear exhausts which were removed for access. Have had ignition on, but not started. Hopefully pedal will still be ok when I do.

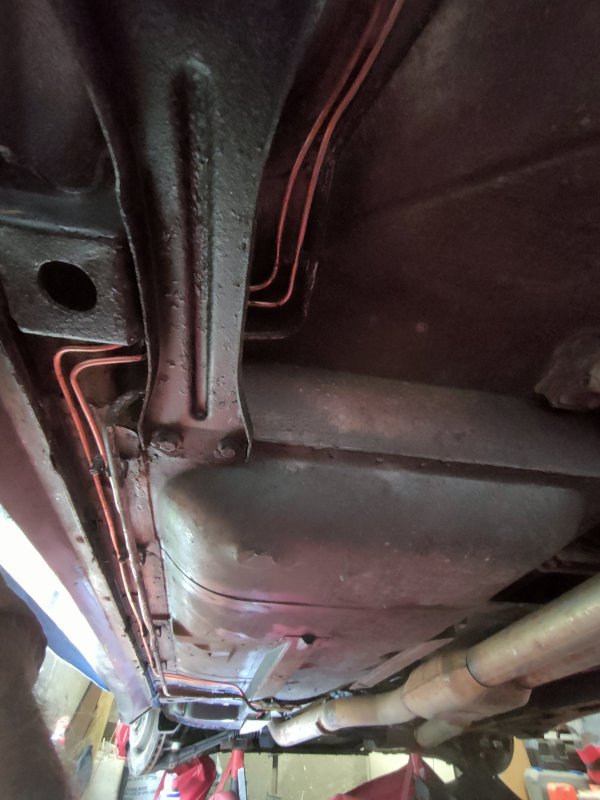
Trawled Amazon, looked for UK manufacturer. You may regret that simplest statement lol . I put penetrating oil on all the union's two days in a row before tackling them. A split ring spanner is a must, they are very tight into the ABS, plus it moves a wee bit as it's on rubber mounts.Great job! thankfully I only have one to do and its surely the simplest on the whole car! ABS straight down into the wheel arch.
Do you remember where you got ur lines from? Always gd to use a product used by someone else.
Was working on it on friday and was about to try and crack it off and then remembered the lower one haha split spanner and a few days soaking will hopefully take care of it.Trawled Amazon, looked for UK manufacturer. You may regret that simplest statement lol . I put penetrating oil on all the union's two days in a row before tackling them. A split ring spanner is a must, they are very tight into the ABS, plus it moves a wee bit as it's on rubber mounts.