JAGPURR
New Member
- Messages
- 91
FRONT SEAT REMOVAL
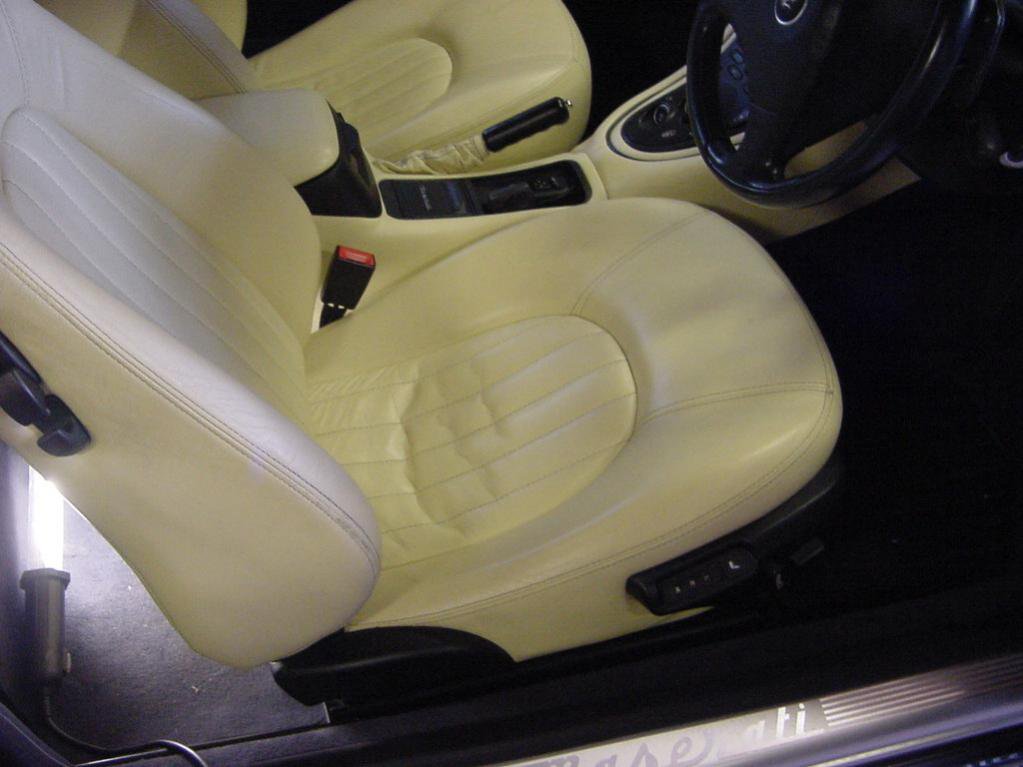
My driver's seat has always seemed pedestrian compared to the passenger's seat. So I decided to investigate. Various jobs could mean the removal of either front seat, this may sound a daunting task but is actual very simple and your seat could be out in less than ten minutes, really. And you only need a 6mm Allen key.
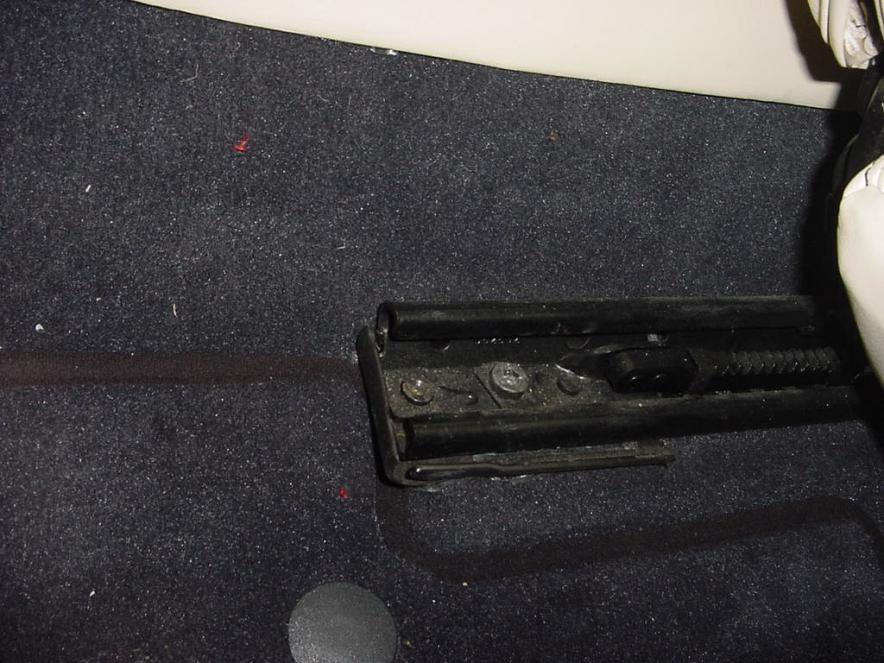
First motor the seat all the way forward, then remove the two 6mm Allen bolts they are tight to start but then come out easily, make sure you retrieve the square washers before they disappear under the carpet forever.
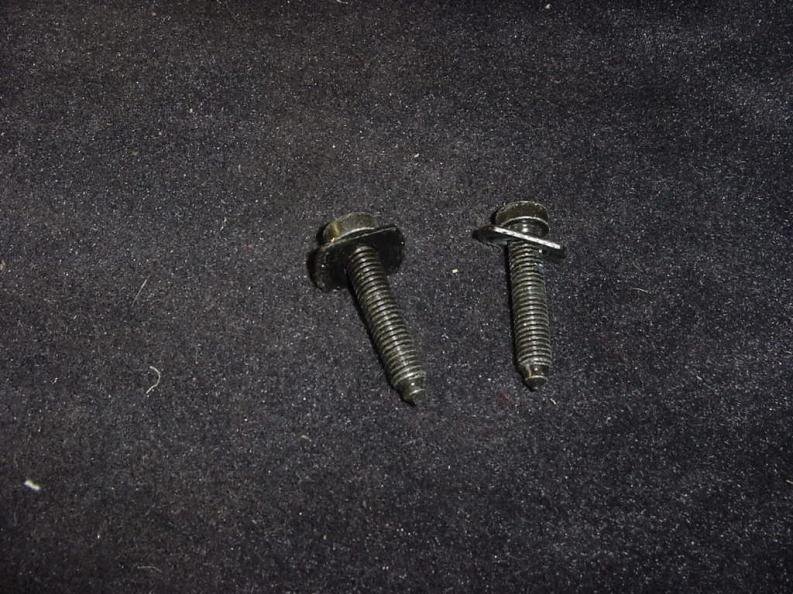
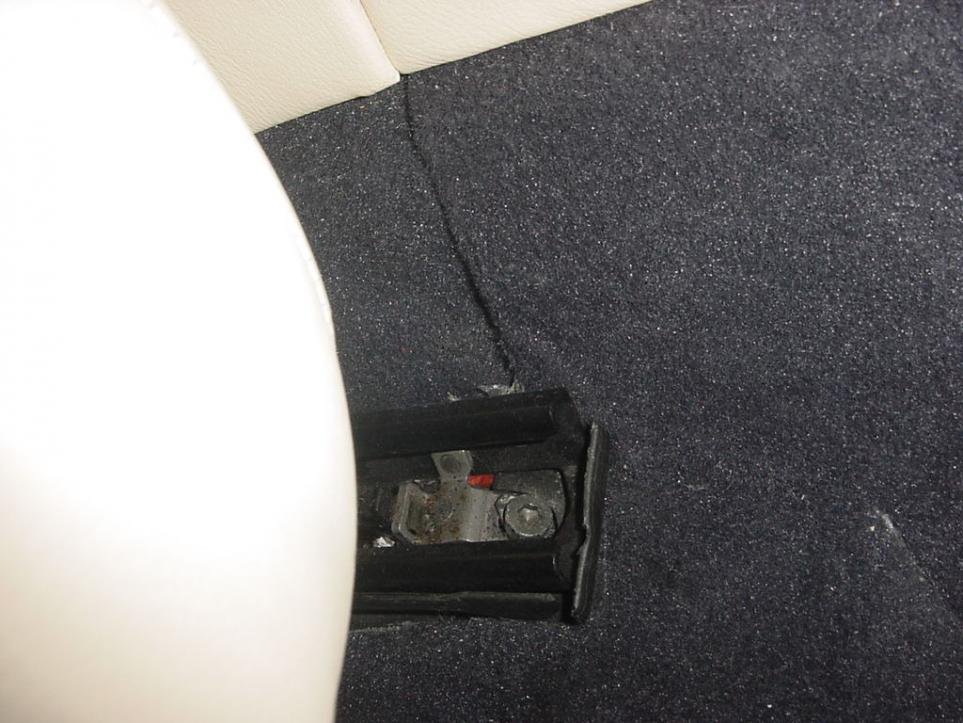
Now motor the seat all the way back to expose the front two bolts, not quite as accessible as the rear but ok.
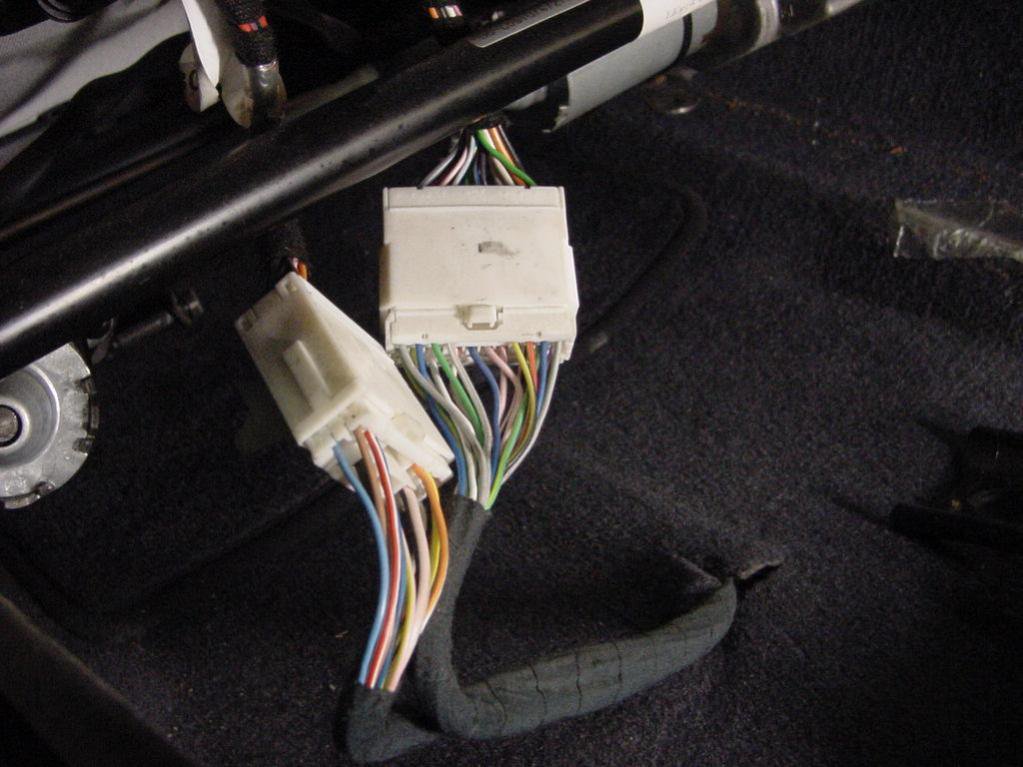
Now lift the seat up to get at the two large white connectors, depress the side clip to separate. Note that the passenger seat will probably have only one plug unless this also has the memory functions. The driver's seat, if it includes heating and memory will have about forty odd wires knocking around but don't be alarmed we are not messing around with all of them. Also the manual suggests disconnecting the battery I didn't bother so my seats kept their memory regarding their pre-set positions and auto rear entry function.
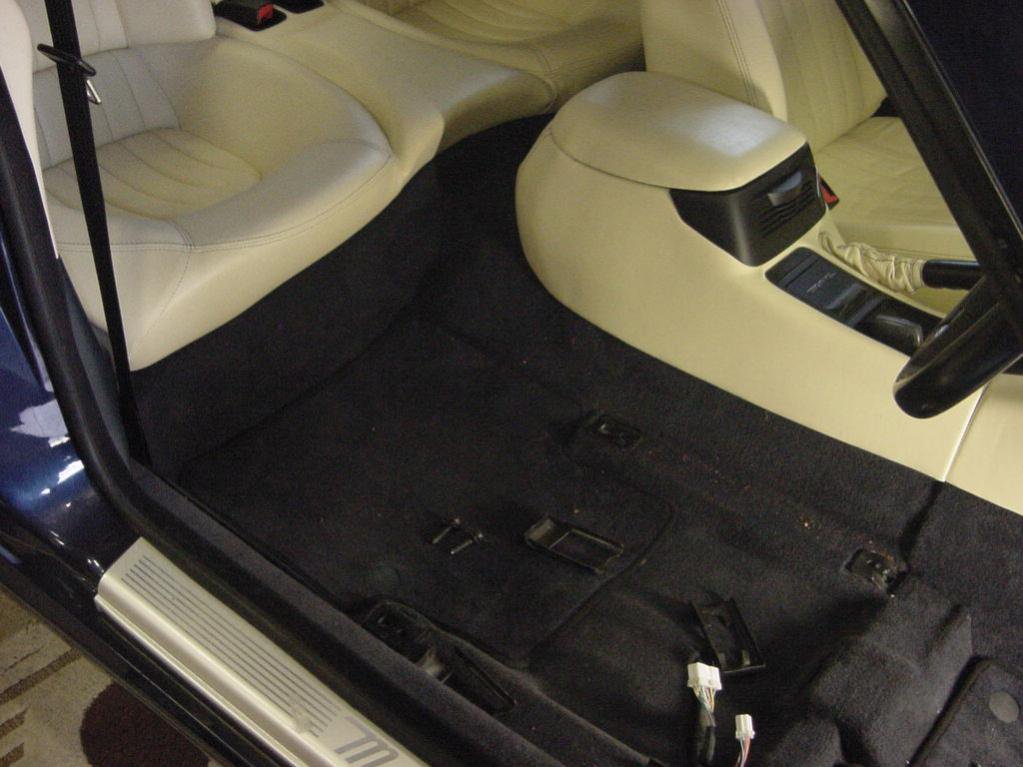
Carefully lift the seat out, it is more cumbersome than it is heavy. Place on some soft clean surface like a bit of carpet or in this case some old curtains. Notice the four plastic shouds from each corner. Now that's what you call rear leg room.
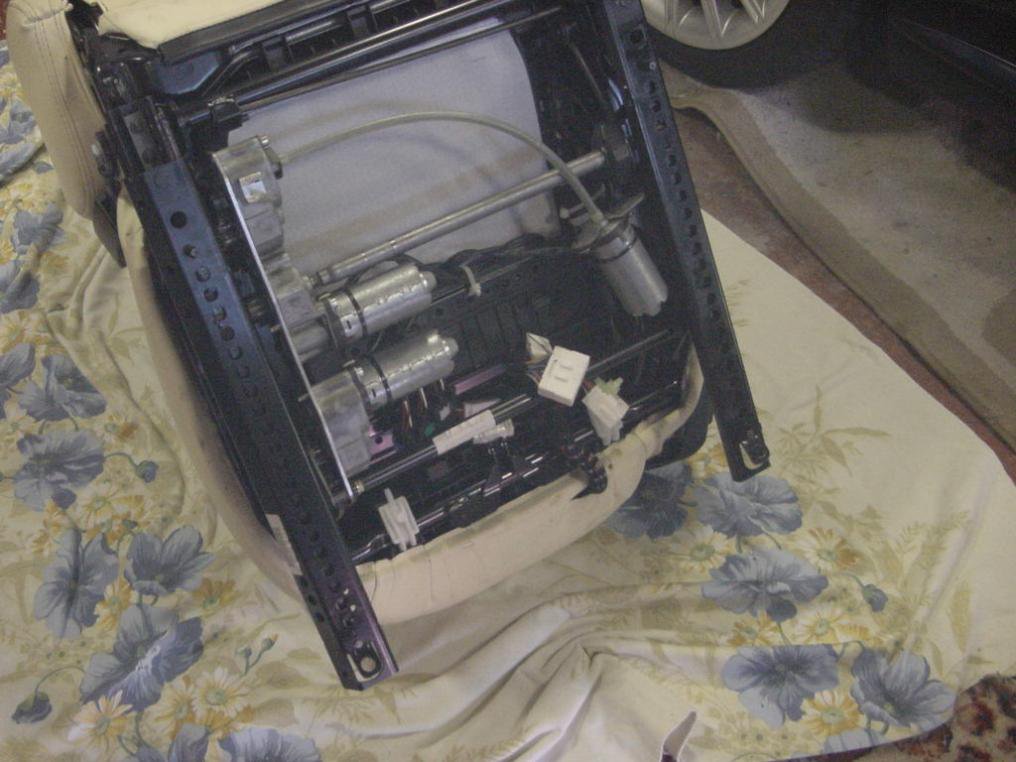
The underneath exposed, you can see the motors for the seat squab. The bottom left one is for lifting the seat front, the top left one for fore & aft movement and the one on the right with the flexible drive shaft is to lift the seat rear. The motors for the seat back and lumber adjustment are hidden in the seat back and are therefore a lot harder to get at, involving unclipping some upholstery so we won't go there.
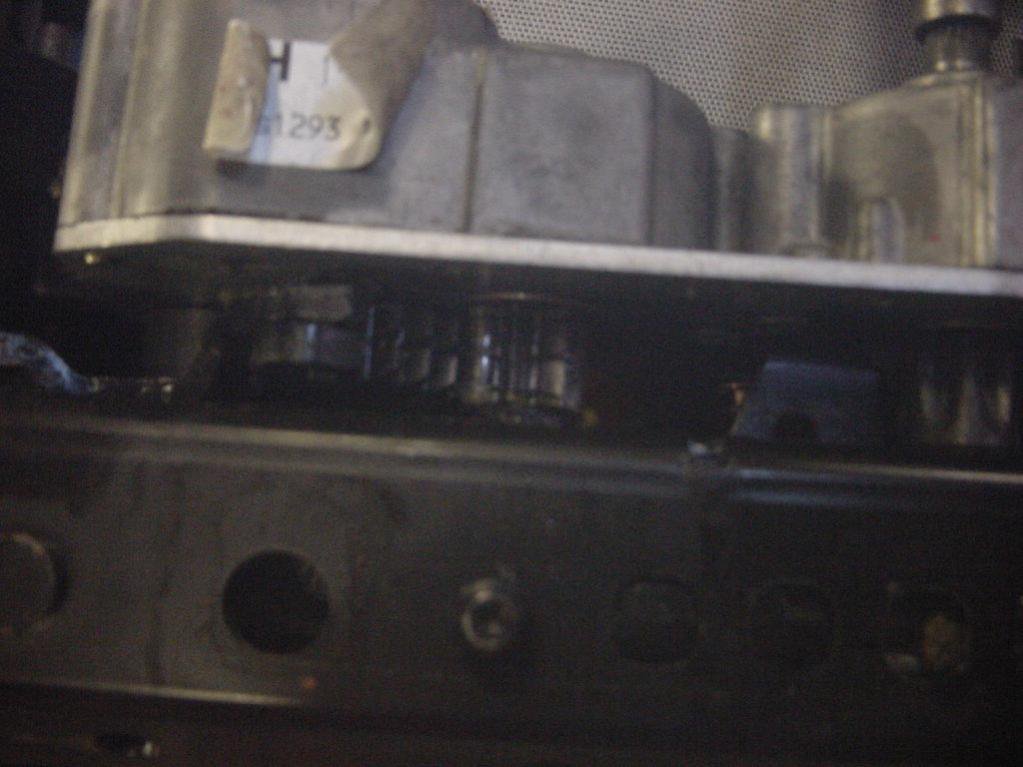
Check the drive gears for debris and clean and re-grease if necessary.
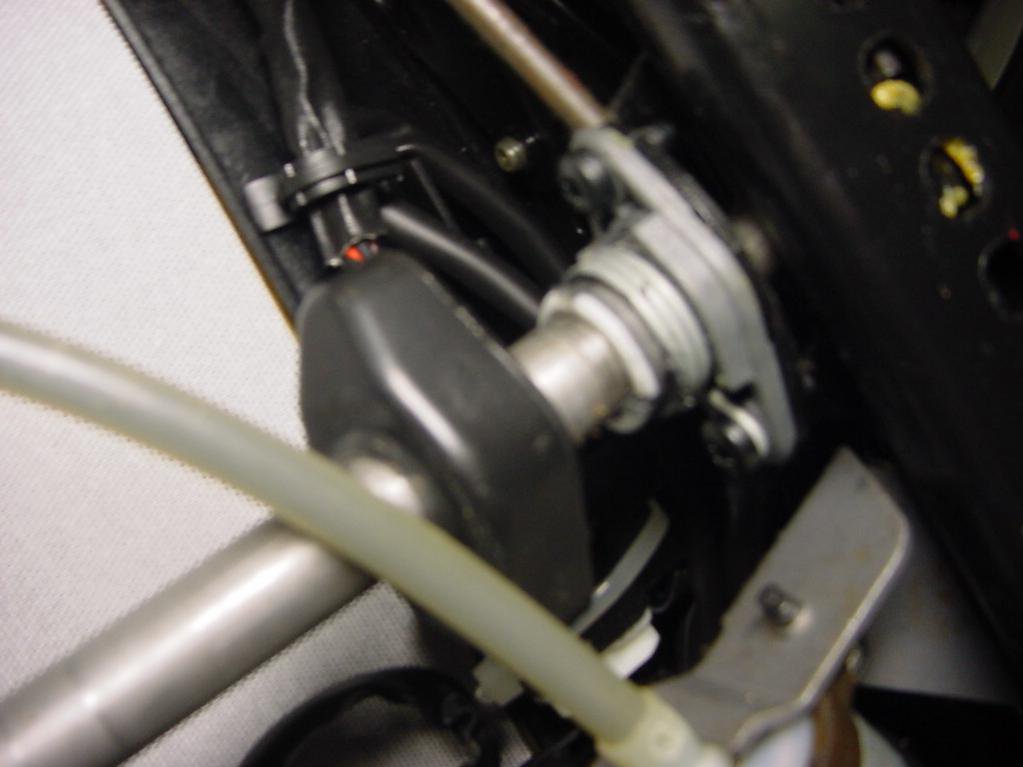
Pull back the plastic cover exposing fore and aft shaft tension spring and apply new grease.
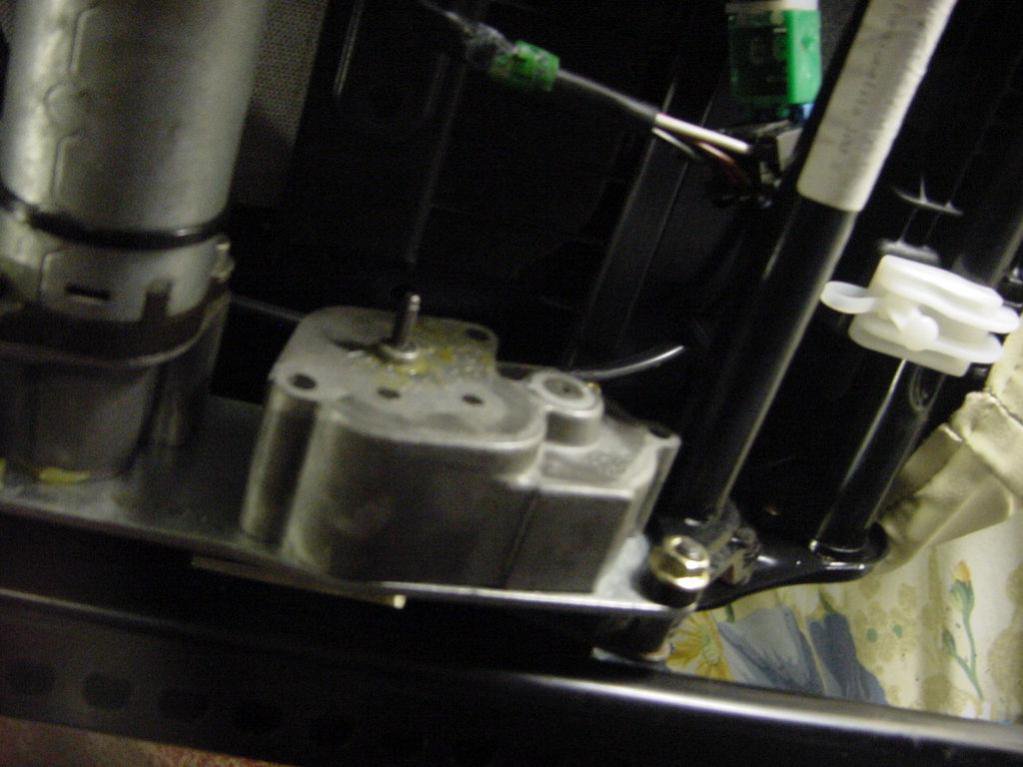
After removing one of the motors it is pretty obvious that they are not meant to be serviced and would probably end up as a pile of bits if you tried to dismantle one.
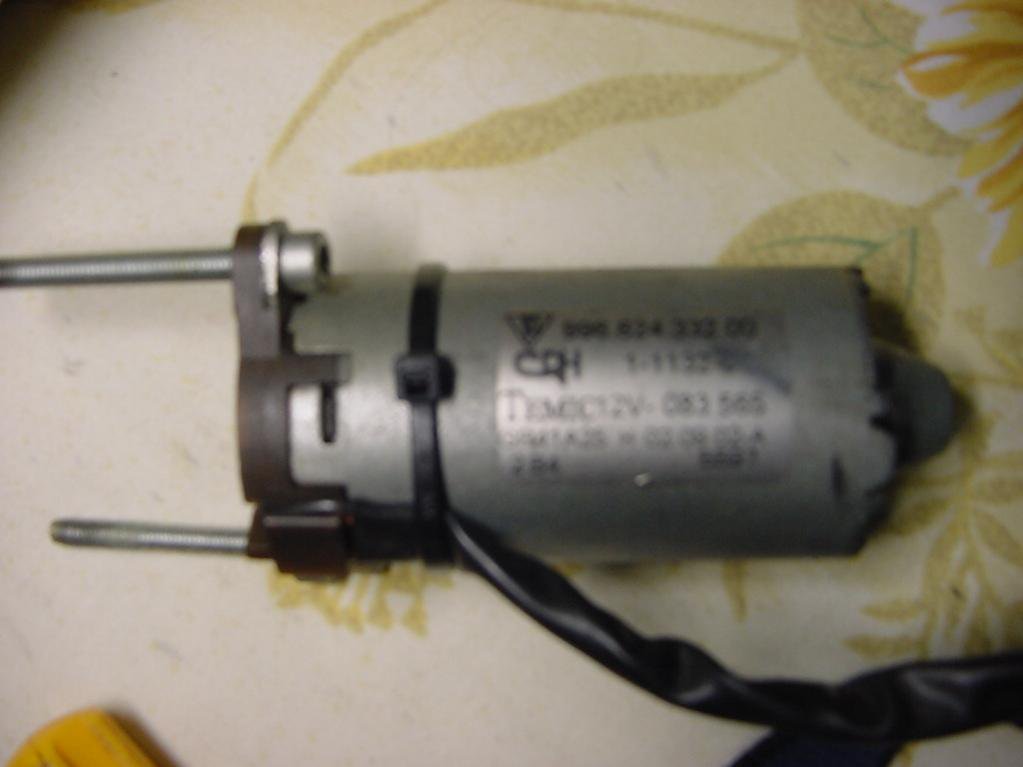
These were my thoughts. Over the last 8 years the fore & aft motor has had considerably more wear that the front squab lift motor, so why not swap them round? Remove with a T25 torx driver, make sure you don't loose the short square drive shaft that is lose so may or may not come out with the motor. Swap the motor positions and re fit the torx screws.
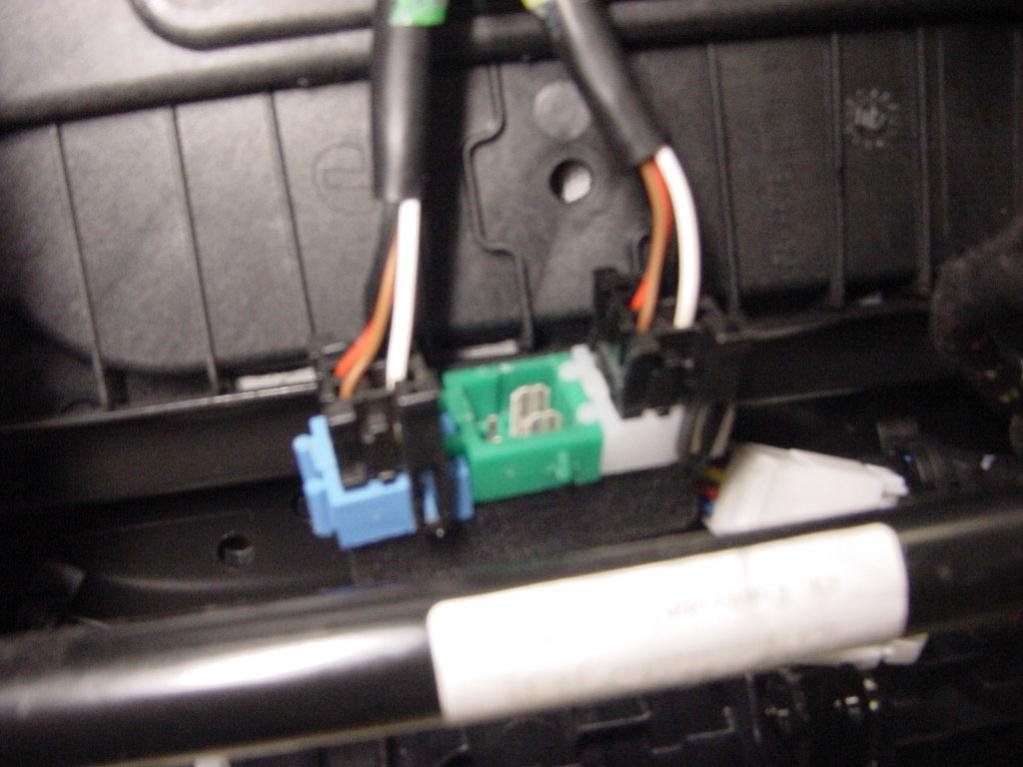
Now swap the motor connections or the seat movement will become very confusing. In the picture you can see three coloured sockets.
BLUE = FORE & AFT MOTOR
GREEN = FRONT SEAT LIFT
WHITE = REAR SEAT LIFT
We swapped the front lift and the fore & aft motors so we must swap the plugs in the BLUE and GREEN sockets. Sounds a little complicated but with it in front of you it will fall into place.
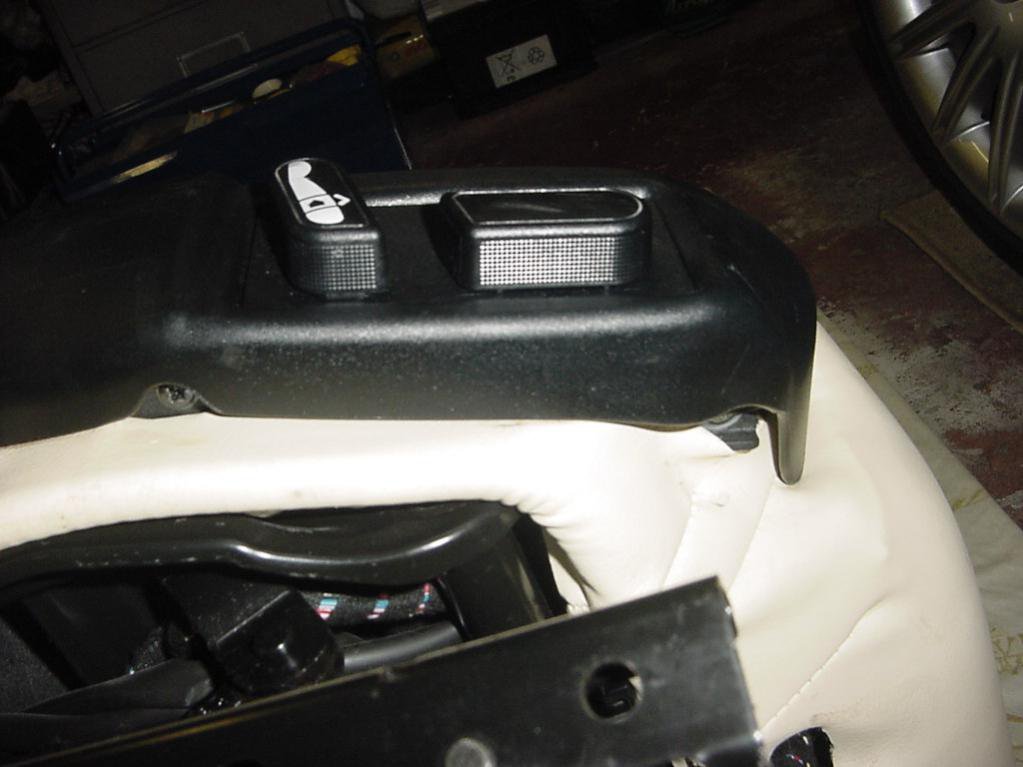
If you have removed the seat to fix or replace the operating switches, her you can see the two screws that need to be removed. It would be virtual impossible to get at them with the seat in place. There are also three plastic studs hidden behind the top holding the assembly on which have to be eased out.
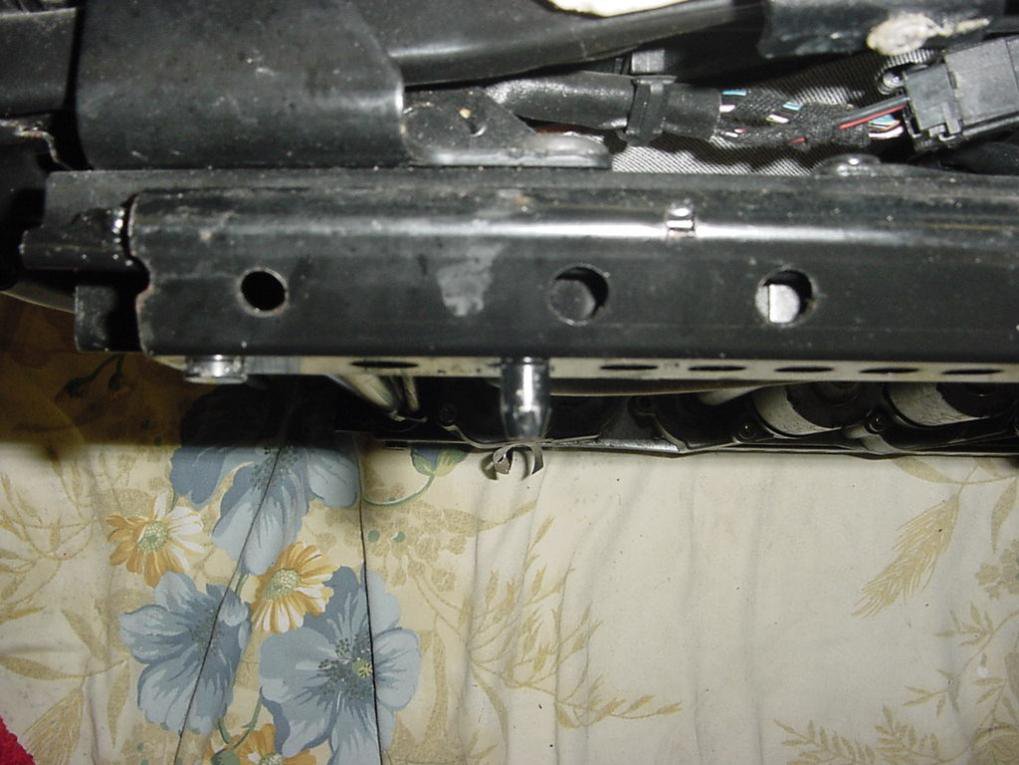
Re fitting is just a reversal of the above. Place the seat in position, remember to plug the wiring back in, the pin arrangement differs so you can't get them wrong, this normally produce a little chime from the seat module. Then wiggle the seat about until the two locating lugs shown drop into place, you will probably have to re-position the four plastic shrouds before fitting the bolts. Front two first but do not tighten fully before fitting the rear bolts. These bolts fit into captive nuts but they are loose (if that makes sense) so you might have to jiggle them about to get them started. Tighten all bolts,
Job done! And yes it did make a lot of difference to the seat movement.
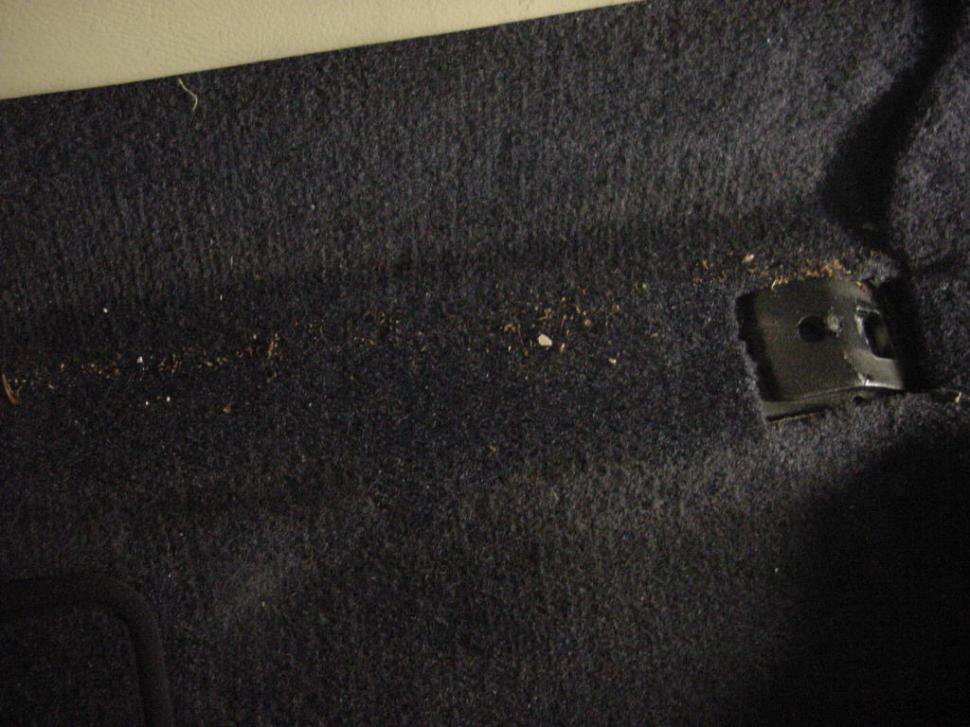
One of my cars previous owners must have been a smoker, and I have tried all sorts of remedies to try and rid the car of the residue. Low and behold when removing the seat I found about half an ounce of old Holborn tobacco lurking about the runners. This was probably the source of the stink needless to say I had to get the Henry out. For this reason I also removed the passenger seat to remove more of the weed. But not before the good lady arrived with coffee and two hot cross buns, after all it's nearly Easter. And these were no ordinary hot cross buns these were Marks and Spencer Apple and Cinnamon hot cross buns. I know these Maserati's take over the head but the belly still rules.
JAGPURR

My driver's seat has always seemed pedestrian compared to the passenger's seat. So I decided to investigate. Various jobs could mean the removal of either front seat, this may sound a daunting task but is actual very simple and your seat could be out in less than ten minutes, really. And you only need a 6mm Allen key.

First motor the seat all the way forward, then remove the two 6mm Allen bolts they are tight to start but then come out easily, make sure you retrieve the square washers before they disappear under the carpet forever.


Now motor the seat all the way back to expose the front two bolts, not quite as accessible as the rear but ok.

Now lift the seat up to get at the two large white connectors, depress the side clip to separate. Note that the passenger seat will probably have only one plug unless this also has the memory functions. The driver's seat, if it includes heating and memory will have about forty odd wires knocking around but don't be alarmed we are not messing around with all of them. Also the manual suggests disconnecting the battery I didn't bother so my seats kept their memory regarding their pre-set positions and auto rear entry function.

Carefully lift the seat out, it is more cumbersome than it is heavy. Place on some soft clean surface like a bit of carpet or in this case some old curtains. Notice the four plastic shouds from each corner. Now that's what you call rear leg room.

The underneath exposed, you can see the motors for the seat squab. The bottom left one is for lifting the seat front, the top left one for fore & aft movement and the one on the right with the flexible drive shaft is to lift the seat rear. The motors for the seat back and lumber adjustment are hidden in the seat back and are therefore a lot harder to get at, involving unclipping some upholstery so we won't go there.

Check the drive gears for debris and clean and re-grease if necessary.

Pull back the plastic cover exposing fore and aft shaft tension spring and apply new grease.

After removing one of the motors it is pretty obvious that they are not meant to be serviced and would probably end up as a pile of bits if you tried to dismantle one.

These were my thoughts. Over the last 8 years the fore & aft motor has had considerably more wear that the front squab lift motor, so why not swap them round? Remove with a T25 torx driver, make sure you don't loose the short square drive shaft that is lose so may or may not come out with the motor. Swap the motor positions and re fit the torx screws.

Now swap the motor connections or the seat movement will become very confusing. In the picture you can see three coloured sockets.
BLUE = FORE & AFT MOTOR
GREEN = FRONT SEAT LIFT
WHITE = REAR SEAT LIFT
We swapped the front lift and the fore & aft motors so we must swap the plugs in the BLUE and GREEN sockets. Sounds a little complicated but with it in front of you it will fall into place.

If you have removed the seat to fix or replace the operating switches, her you can see the two screws that need to be removed. It would be virtual impossible to get at them with the seat in place. There are also three plastic studs hidden behind the top holding the assembly on which have to be eased out.

Re fitting is just a reversal of the above. Place the seat in position, remember to plug the wiring back in, the pin arrangement differs so you can't get them wrong, this normally produce a little chime from the seat module. Then wiggle the seat about until the two locating lugs shown drop into place, you will probably have to re-position the four plastic shrouds before fitting the bolts. Front two first but do not tighten fully before fitting the rear bolts. These bolts fit into captive nuts but they are loose (if that makes sense) so you might have to jiggle them about to get them started. Tighten all bolts,
Job done! And yes it did make a lot of difference to the seat movement.

One of my cars previous owners must have been a smoker, and I have tried all sorts of remedies to try and rid the car of the residue. Low and behold when removing the seat I found about half an ounce of old Holborn tobacco lurking about the runners. This was probably the source of the stink needless to say I had to get the Henry out. For this reason I also removed the passenger seat to remove more of the weed. But not before the good lady arrived with coffee and two hot cross buns, after all it's nearly Easter. And these were no ordinary hot cross buns these were Marks and Spencer Apple and Cinnamon hot cross buns. I know these Maserati's take over the head but the belly still rules.
JAGPURR


