How to: Outside Temp Sensor Replacement

conaero

Forum Owner
Messages
34,631
With thanks to Lorenzo for his permission to post:

PART 1 – DOOR CARD REMOVAL
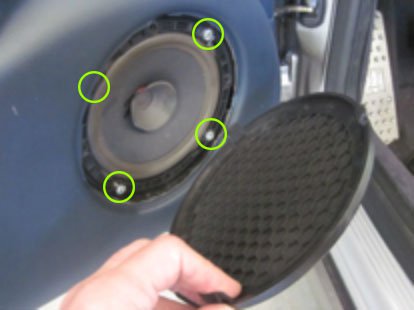
  • Remove the lower speaker grille and remove 4 screws, remove the speaker cover
  • Then remove the 4 screws, unplug the speaker wires then remove it
56345
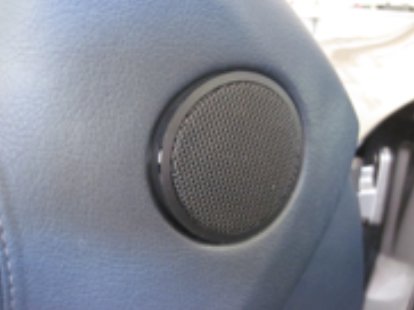
  • Remove the upper speaker by pushing in the cover tangs
56346
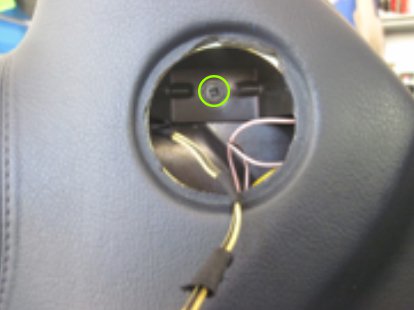
  • Unplug the speaker, then remove the screw behind it
56347
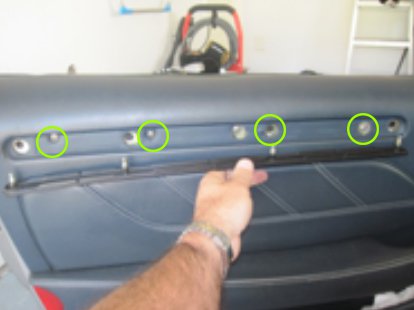
  • Using a pick remove the long strip panel insert at the top of the door
56348
  • Then remove the 4 screws behind it (note the 4 slots the panel fits into for reference)
56349
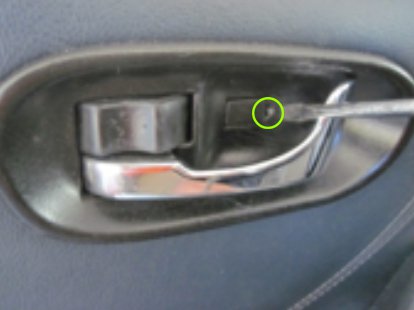
  • Remove the door handle plastic trim by lifting the small cover, then removing the screw behind it
56350
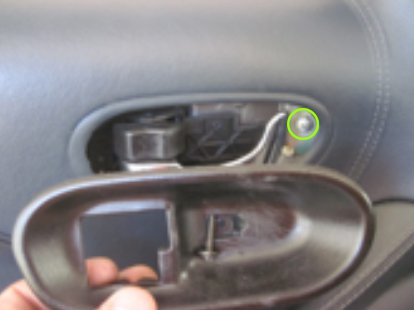
  • Then remove the screw behind the cover.
56351
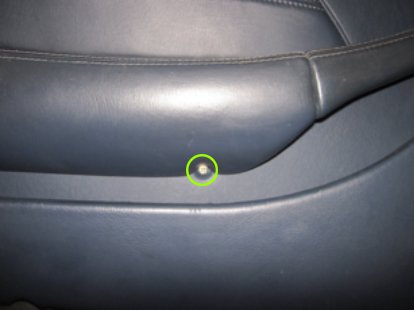
  • Remove the screw under the armrest - above the pocket
56352
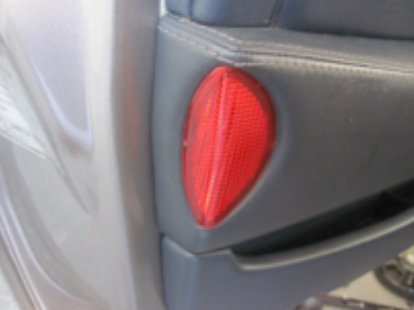
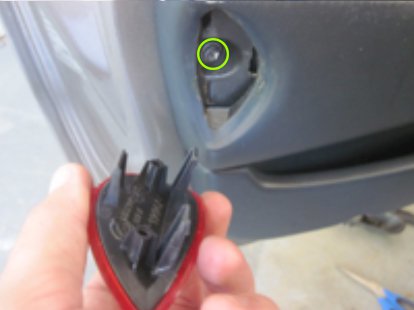
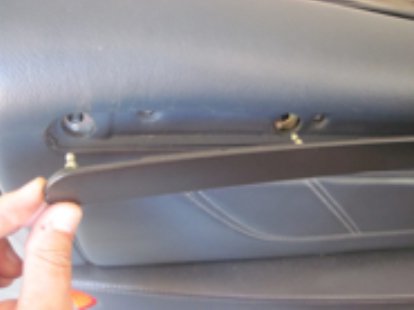
  • Remove the reflector at the lower rear of the door by gently prying it off
56353
  • Then remove the screw behind it
56354
 
  • Like
Reactions: Geo

conaero

Forum Owner
Messages
34,631
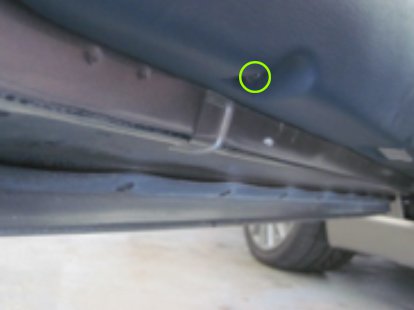
  • Remove the 4 screws on the bottom of the door
56355
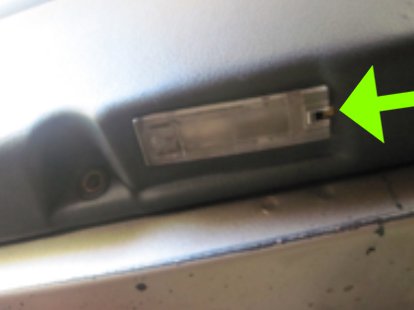
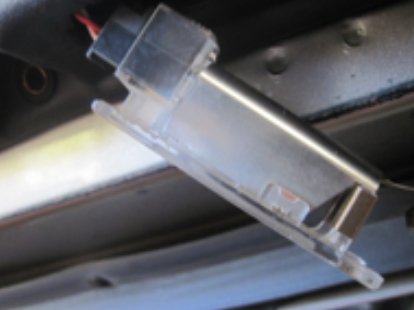
  • Then remove the light assembly and unplug it
  • Gently pry the light down from here
56356
  • Then pull out in the same direction like this
56357
  • Pry off the panel to unseat plastic clips first, then remove panel upward
56358
56359
 
Last edited:
  • Like
Reactions: Geo

conaero

Forum Owner
Messages
34,631
STEP 2 – OUTSIDE TEMPERATURE SENSOR REPLACEMENT

  • Unplug the 3 plugs coming from the mirror to the door
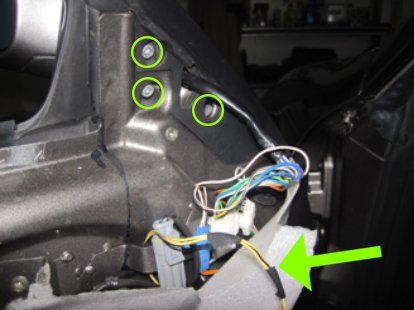
  • With the door card removed, the access to the 3 bolts affixing the mirror are shown
  • The 3 plugs are seen including the outside sensor wiring seen as Blue plug with 2 wires (black/yellow wires are from tweeter)
56360
  • Pull the wiring harnesses through the door section
56361
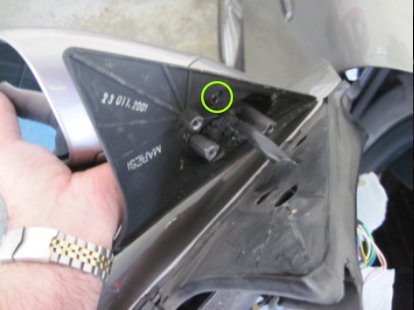
  • Once detached, remove the 1 bolt holding the plate to the mirror assembly
56362
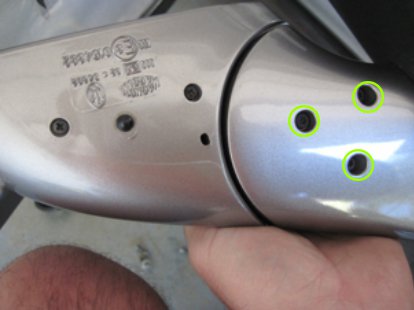
  • Then remove the 3 screws on the underside of the mirror “hinge” part
56363
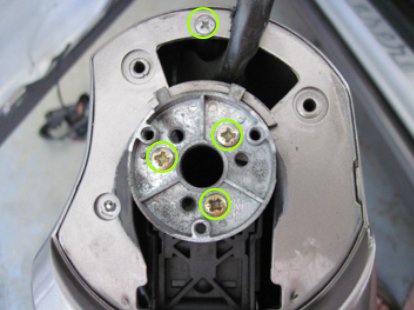
  • Next, remove the “hinge/swivel” cover then remove the 3 screws on the hinge, then the 1 screw here
56364
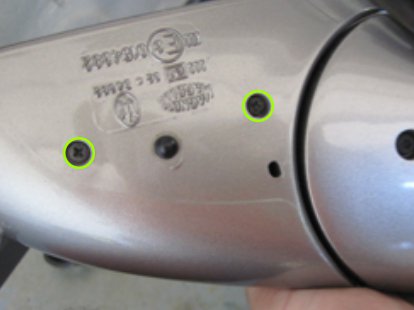
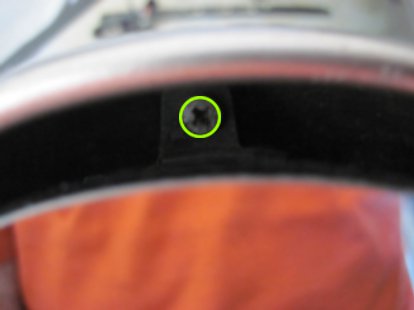
  • Next remove the 2 screws on either side of the temp sensor
56365
  • The last screw to remove is a little behind the mirror (furthest outside area of the mirror). Just gently press the opposite side of the mirror to gain access
56366
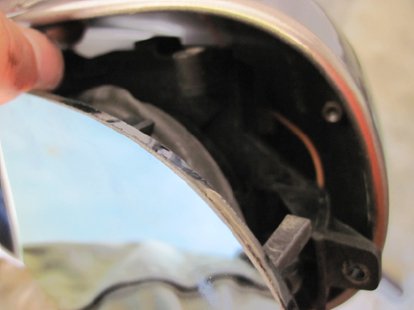
  • Then remove the mirror and all attached to it
56367
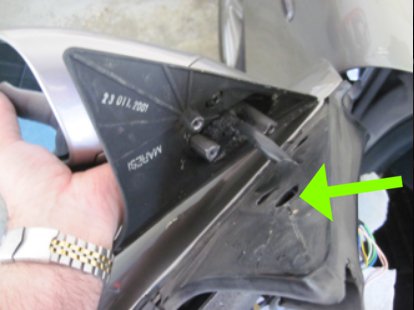
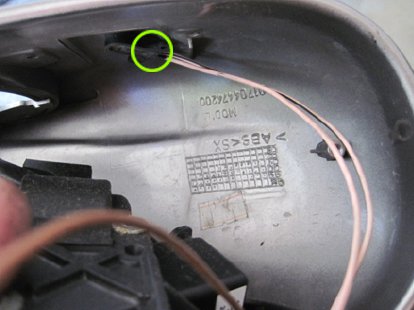
  • The temperature sensor is now easily accessed as seen here:
56368
  • To remove the old sensor simply push it in from the outside and put the new sensor in its place.
  • Lastly - reassemble in the reverse order and your done.
 
Last edited:

Hexadex

Member
Messages
827
That’s a lot clearer thanks Matt the part came yesterday and we’re doing it tomorrow. Will post how I get on.
 

conaero

Forum Owner
Messages
34,631
One thing to add. If you replace the sensor and its still not fixed, its probably a break in the wire where the door conduit goes to the body. As this is constantly flexed, eventually the wires start to break.
 

Hexadex

Member
Messages
827
Hi Matt followed your instructions and now have a fully functional air conditioning unit again, thanks a lot mate.
 

Boomerang_GT

Member
Messages
203
Before changing it’s worth checking the belonging plug at the climate control. A wrong contact with too much resistance would also be shown as a lower temperature. I changed my temperature sensor and in the end it was just the contact which was then fine after I disconnected and reconnected the switch again.
 

makeshiftUK

Member
Messages
1,091
Before changing it’s worth checking the belonging plug at the climate control. A wrong contact with too much resistance would also be shown as a lower temperature. I changed my temperature sensor and in the end it was just the contact which was then fine after I disconnected and reconnected the switch again.
Thanks Boomerang... would that be the same connector plug that controls the aircon/heater fan operation? If so, AV has had at this already - my fan was intermittent until he unplugged, cleaned the contacts and gave them a jolly ‘ol' bash together again.
 
Last edited:

makeshiftUK

Member
Messages
1,091
Yep, that exact connector!
Thanks - I'm satisfied my connector is now OK and not a potential culprit, given that my fan was intermittent until I had the connecting block examined.

Forgive my total ignorance, all the parts diagrams suggest the above OAT sensor part is on the drivers side, yet the how-to above seems to be for the passenger side... perhaps the instructions were from a European car?
 

CatmanV2

Member
Messages
48,788
Thanks - I'm satisfied my connector is now OK and not a potential culprit, given that my fan was intermittent until I had the connecting block examined.

Forgive my total ignorance, all the parts diagrams suggest the above OAT sensor part is on the drivers side, yet the how-to above seems to be for the passenger side... perhaps the instructions were from a European car?

Pretty sure it's the RHS. Check under the mirror for a small bulge.....

C
 

Boomerang_GT

Member
Messages
203
It seems the sensors are always on the drivers side. In UK on the right, in Germany on the left side. At least my German Maserati has it on the left outer mirror.
I have no idea why in the world that would be necessary. I mean I understand that you might need the pedals below the steering wheel but an outside temperature sensor?
 

CatmanV2

Member
Messages
48,788
It seems the sensors are always on the drivers side. In UK on the right, in Germany on the left side. At least my German Maserati has it on the left outer mirror.
I have no idea why in the world that would be necessary. I mean I understand that you might need the pedals below the steering wheel but an outside temperature sensor?

Beats me, but if there's only one bulge.....

C