You are using an out of date browser. It may not display this or other websites correctly.
You should upgrade or use an alternative browser.
You should upgrade or use an alternative browser.
GranSport Giallo Granturismo thread
- Thread starter gotcha
- Start date
gotcha
Member
- Messages
- 78
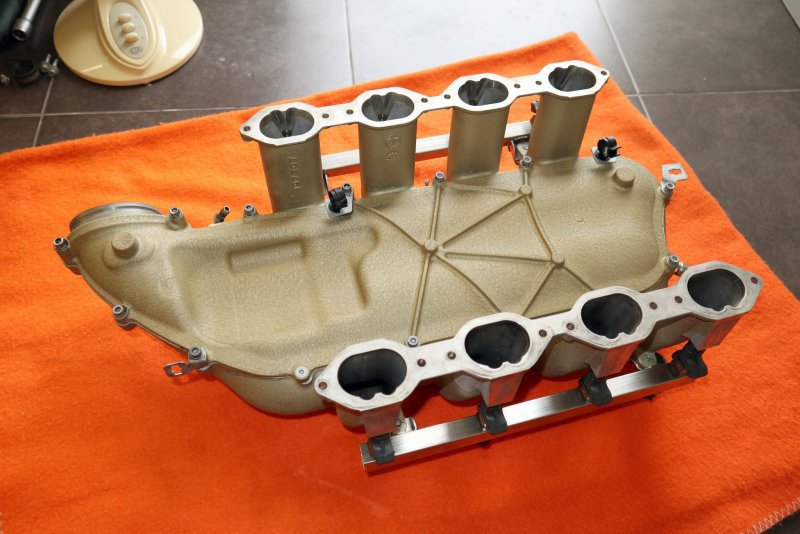
I did wash and clean the intake plenum. as it was really mucky. Turned up really nicely and I reinstalled the injectors:
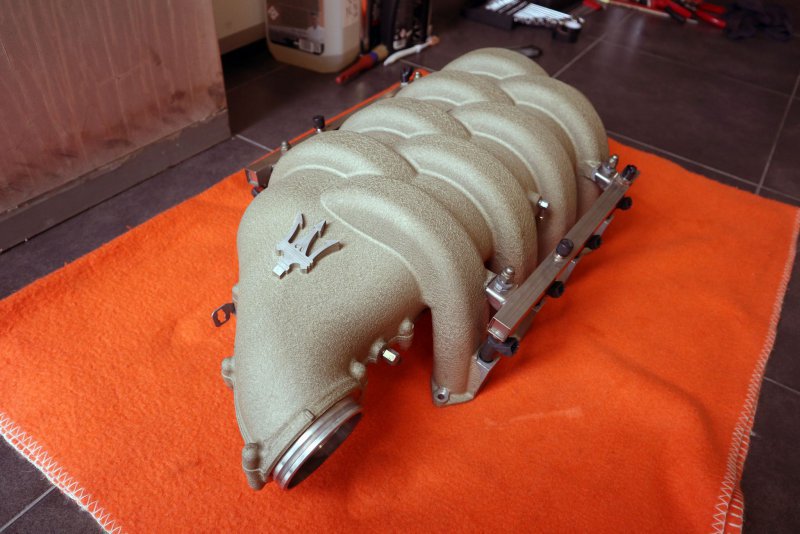
From some reason, the paint is much nicer from the bottom. I would expect it to be vice versa, from the bottom, where all the heat comes up I would expect the paint faded and peeling. However the bottom side of plenum is perfect and it is the visible top part that is peeling and fading...
Talking about peeling paint, for the moment the plenum looks OK-ish, but on closer inspection there are already many locations where the pint is cracked or flaking off. Lets see how long will it last.
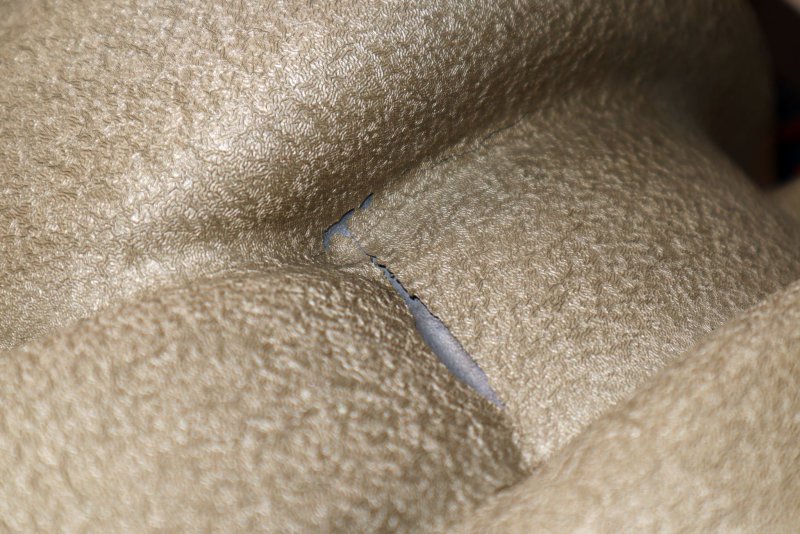
Has somebody found a way how to restore it in original color? I understand that the OEM paint should be Riloplast M962 Maserati beige, but I think it exists only in theory and I don't think anybody managed to find/buy it in reality.
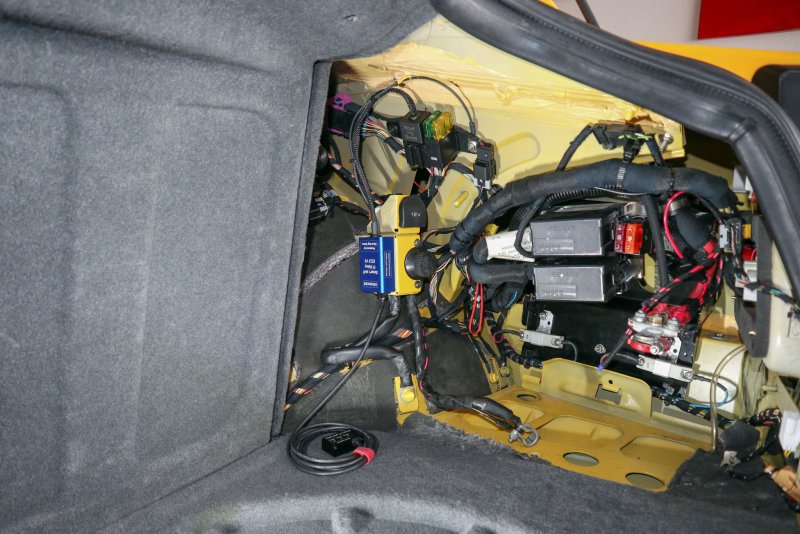
As the last update, waiting for the oil pressure sensor to arrive, I received the Scud Ing Swiss F1 pump relay and installed that one on the side of the battery cutoff switch. I don't expect to feel any differences, but good for the piece of mind, pump monitoring features and some additional things like activating the pump for system bleeding without diagnostics etc....

From some reason, the paint is much nicer from the bottom. I would expect it to be vice versa, from the bottom, where all the heat comes up I would expect the paint faded and peeling. However the bottom side of plenum is perfect and it is the visible top part that is peeling and fading...

Talking about peeling paint, for the moment the plenum looks OK-ish, but on closer inspection there are already many locations where the pint is cracked or flaking off. Lets see how long will it last.

Has somebody found a way how to restore it in original color? I understand that the OEM paint should be Riloplast M962 Maserati beige, but I think it exists only in theory and I don't think anybody managed to find/buy it in reality.
As the last update, waiting for the oil pressure sensor to arrive, I received the Scud Ing Swiss F1 pump relay and installed that one on the side of the battery cutoff switch. I don't expect to feel any differences, but good for the piece of mind, pump monitoring features and some additional things like activating the pump for system bleeding without diagnostics etc....

gotcha
Member
- Messages
- 78
Another great write up - One of our own members (Zep?) makes an modified sensor that sits higher up so it far easier to remove.
I was thinking about making a 1/2" extension, like tap water extension just with the right thread of course to extend it, but in the end I gave up. I will maybe replace it once/twice in life hopefully so I can live with the OEM design even thought silly one
Black Mazerati
Junior Member
- Messages
- 39
Re Oil Pressure sender. I haven't installed it yet I read on the other forum this is the same sender with a different thread. It's way cheaper than OEM and should be easier to remove next time.
https://www.ebay.com/itm/134138651015
Here is the adapter needed.
https://www.ebay.com/itm/124925453708
https://www.ebay.com/itm/134138651015
Here is the adapter needed.
https://www.ebay.com/itm/124925453708
gotcha
Member
- Messages
- 78
Re Oil Pressure sender. I haven't installed it yet I read on the other forum this is the same sender with a different thread. It's way cheaper than OEM and should be easier to remove next time.
https://www.ebay.com/itm/134138651015
Here is the adapter needed.
https://www.ebay.com/itm/124925453708
Thanks for the tip. I am sure there are alternatives, the OEM one is made by VDO as well and I am sure they don't make a unique sensor for Ferrari/Maserati but will have same one in their aftermarket range. This time I bought OEM Ferrari one for 169€ from ebay.de as that was the cheapest one where I expected quickest shipping to me. I hope it will show up this week and I will be able to finish the engine next weekend so that I can drive the car again
safrane
Member
- Messages
- 16,894
I did wash and clean the intake plenum. as it was really mucky. Turned up really nicely and I reinstalled the injectors:
View attachment 103162
From some reason, the paint is much nicer from the bottom. I would expect it to be vice versa, from the bottom, where all the heat comes up I would expect the paint faded and peeling. However the bottom side of plenum is perfect and it is the visible top part that is peeling and fading...
View attachment 103163
Talking about peeling paint, for the moment the plenum looks OK-ish, but on closer inspection there are already many locations where the pint is cracked or flaking off. Lets see how long will it last.
View attachment 103164
Has somebody found a way how to restore it in original color? I understand that the OEM paint should be Riloplast M962 Maserati beige, but I think it exists only in theory and I don't think anybody managed to find/buy it in reality.
As the last update, waiting for the oil pressure sensor to arrive, I received the Scud Ing Swiss F1 pump relay and installed that one on the side of the battery cutoff switch. I don't expect to feel any differences, but good for the piece of mind, pump monitoring features and some additional things like activating the pump for system bleeding without diagnostics etc....
View attachment 103166
Suspect washing or worse jet washing has caused most of the damage to the paint on the plenum... that and having the sharp edge to the finish around the Trident.
CatmanV2
Member
- Messages
- 48,849
Another great write up - One of our own members (Zep?) makes an modified sensor that sits higher up so it far easier to remove.
Correct
C
gotcha
Member
- Messages
- 78
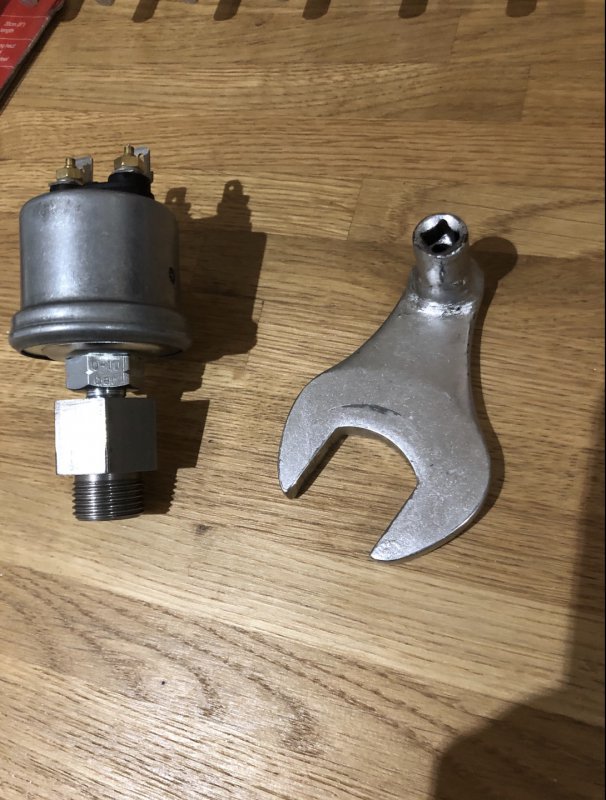
Along a similar vein I have had these made up plus a tool like yours to remove the sender.
View attachment 103182
A bit taller than standard thread adapters to deal with the issue of getting a spanner on them.
That´s the perfect solution. If it was regular servicing item than I would do the same, but hopefully I wont be doing it too often
Waiting for the new sensor I improved my tool as well. I made is smaller and slimmer.
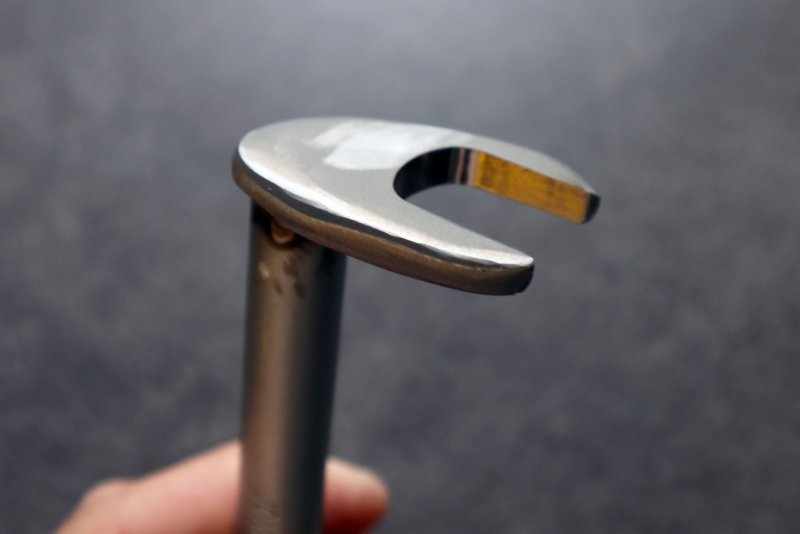
I also found a good way to manage the wire of the the crank sensor. Instead of trying to bend the wire out of the way and breaking it I just take in through the spanner "C" shape opening and grab the nut with wire inside. I just cannot press the spanner fully on the nut just leave enough space for the wire and turn only about 1/6 of a turn at once and than grab again in new position. The wire is loosely sliding through the spanner. Luckily the sensor does not need any huge torque so it is easy to loosen/tighten with spanner only partially on.
gotcha
Member
- Messages
- 78
Suspect washing or worse jet washing has caused most of the damage to the paint on the plenum... that and having the sharp edge to the finish around the Trident.
I used only soft brush, cleaner and rinse with water. Pressure washer would strip it fully for sure
gotcha
Member
- Messages
- 78
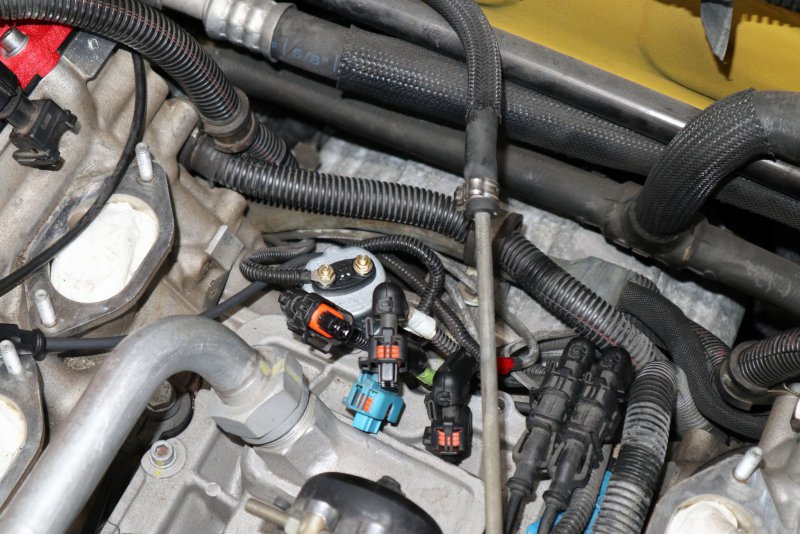
The oil pressure sensor arrived on Friday. Perfect for the weekend. Even though I got it on Ebay from Germany, it arrived in a box with Eurospares sticker. World is small.
I installed it yesterday morning:
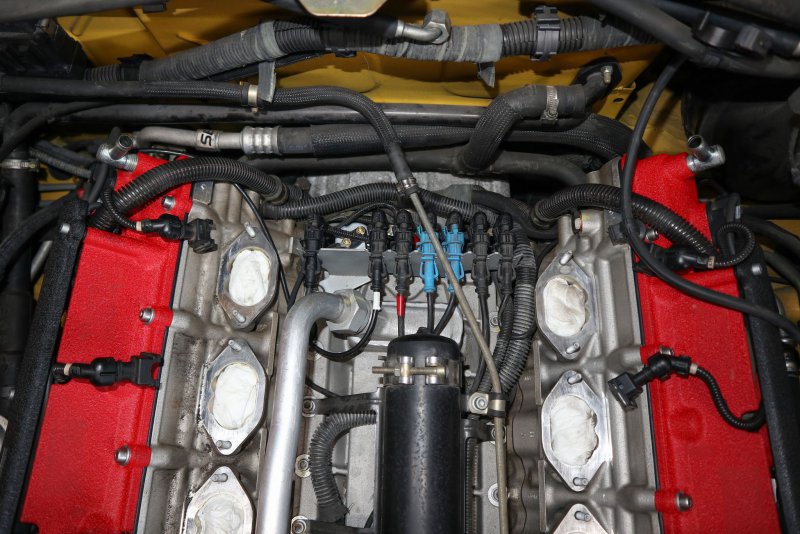
I sorted the wire mess above it:
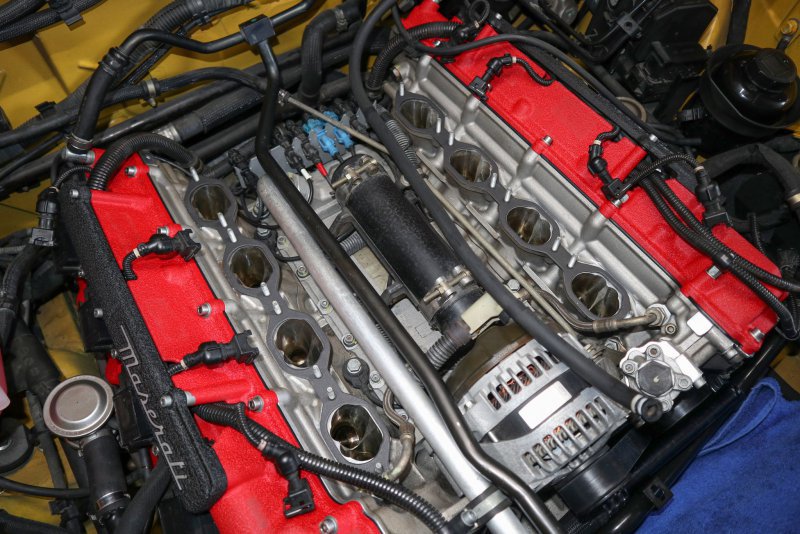
And go ready to reinstall the plenum. I cleaned the remaining bits, reinstalled the cam cover breather tubes, pre-positioned all the vacuum hoses and put new intake gaskets:
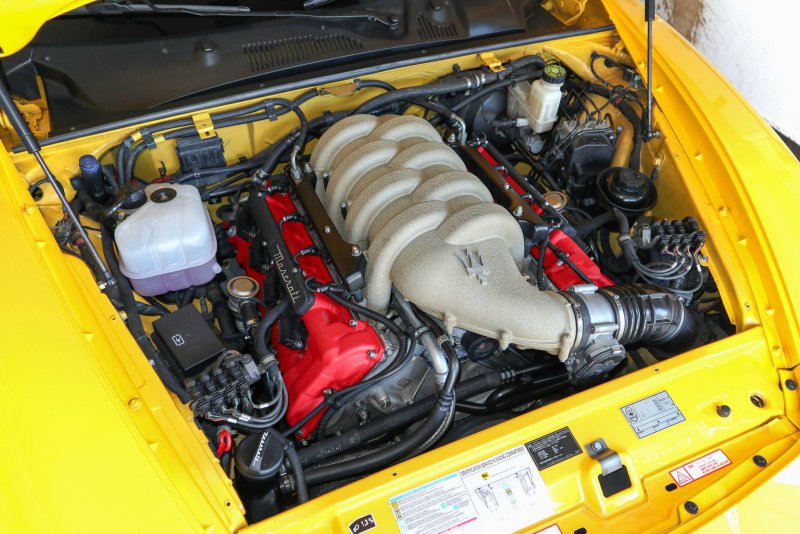
Plenum is on and all the hoses connected:
For the start I thought about pre-filling the fuel rails with petrol or just activating the ignition few times and bleeding them but I didn't. Due to variator filters replacement I expected them to be drained of oil so a long start and buildup of oil pressure should not hurt. So I just pressed the button. Engine was turning maybe 5 seconds only and than started. Smoothly, no rattles, all perfect. I than bled the fuel rails with the engine running. There was a hiss of air and squirt of fuel afterwards so there was still some air trapped at the top of them.
And with beauty covers re-fitted:
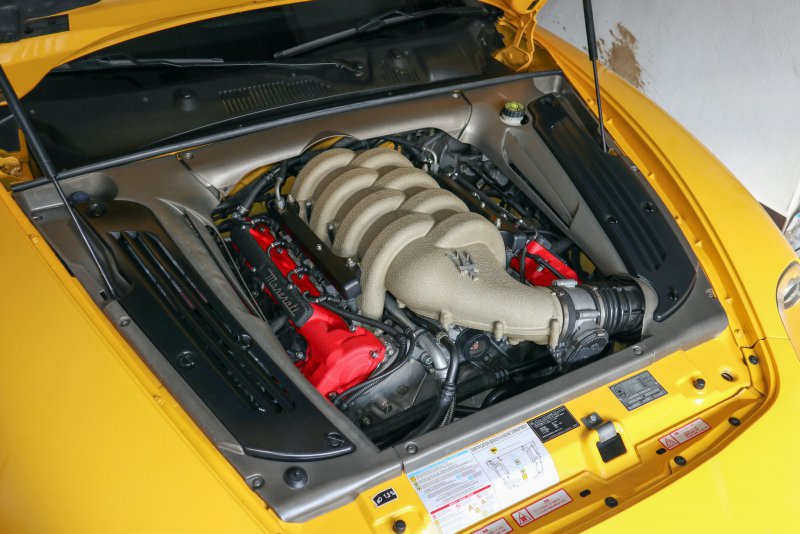
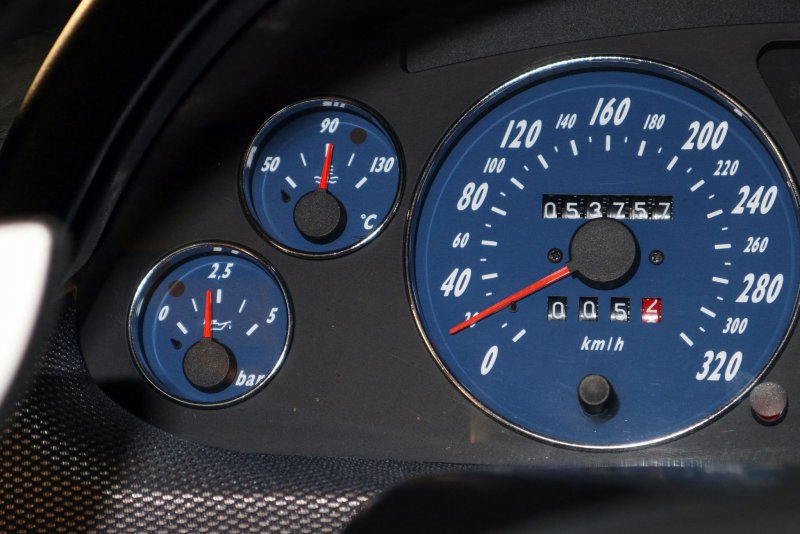
Oil pressure gauge finally works now as well. After start went to end of the scale and as the engine warmed up it slowly dropped to fraction under about 2,5 bar. The picture is take from the right angle, looking at the gauge straight the needle just lightly touches 2,5 mark form the left. Today I went for a "spirited drive" and after pushing the car quite a lot and with oil really warm idle pressure drops a small bit below 2,5 but after relaxed driving again when the oil has chance to cool down the idle is again almost 2,5. When driving it sits mostly at the top of the scale.
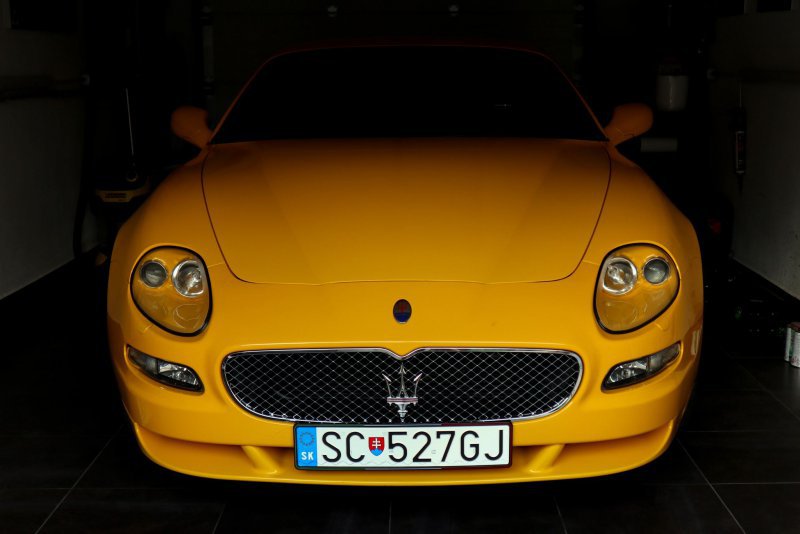
Good night GS:
I installed it yesterday morning:

I sorted the wire mess above it:

And go ready to reinstall the plenum. I cleaned the remaining bits, reinstalled the cam cover breather tubes, pre-positioned all the vacuum hoses and put new intake gaskets:

Plenum is on and all the hoses connected:

For the start I thought about pre-filling the fuel rails with petrol or just activating the ignition few times and bleeding them but I didn't. Due to variator filters replacement I expected them to be drained of oil so a long start and buildup of oil pressure should not hurt. So I just pressed the button. Engine was turning maybe 5 seconds only and than started. Smoothly, no rattles, all perfect. I than bled the fuel rails with the engine running. There was a hiss of air and squirt of fuel afterwards so there was still some air trapped at the top of them.
And with beauty covers re-fitted:

Oil pressure gauge finally works now as well. After start went to end of the scale and as the engine warmed up it slowly dropped to fraction under about 2,5 bar. The picture is take from the right angle, looking at the gauge straight the needle just lightly touches 2,5 mark form the left. Today I went for a "spirited drive" and after pushing the car quite a lot and with oil really warm idle pressure drops a small bit below 2,5 but after relaxed driving again when the oil has chance to cool down the idle is again almost 2,5. When driving it sits mostly at the top of the scale.

Good night GS:

gotcha
Member
- Messages
- 78
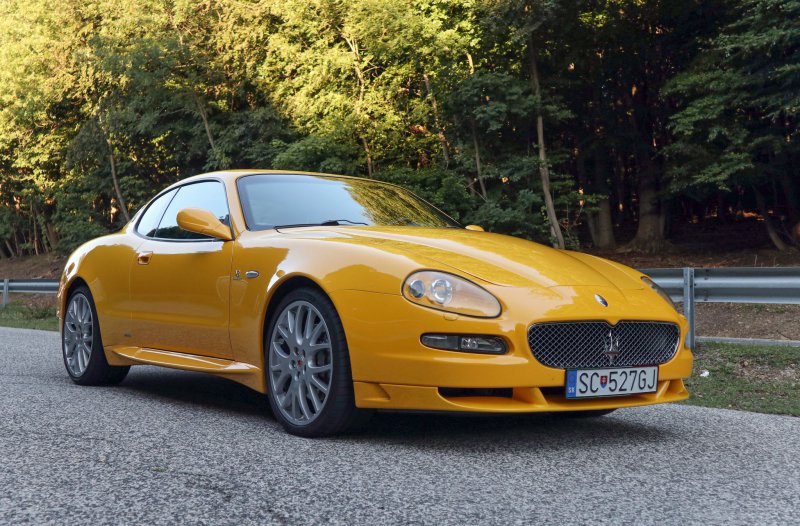
Today I went for an early morning drive. It was perfect. 14 degrees of cold morning air still before 6AM, empty roads, blue sky, rising sun.
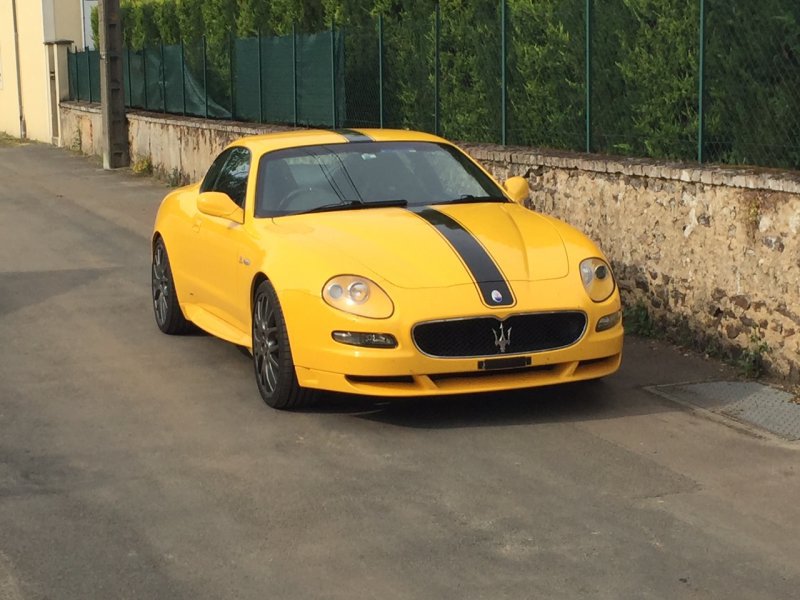
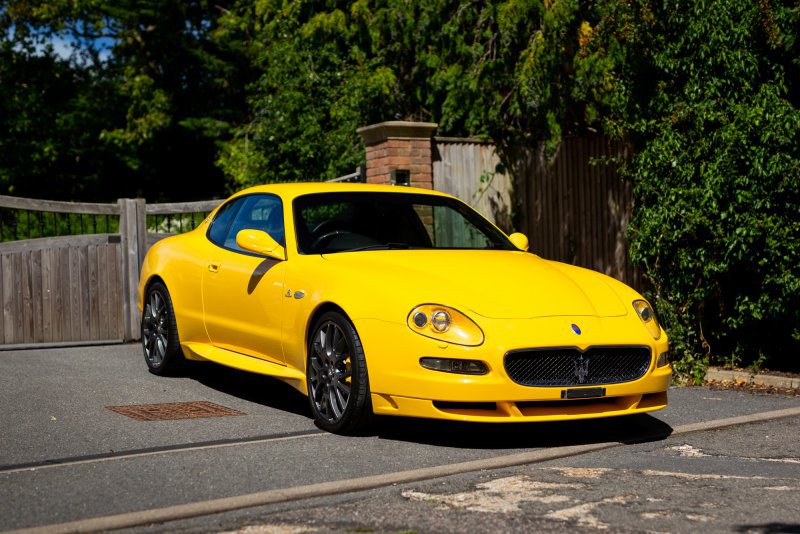
I realized that I almost don´t have any pictures of my car. I took some shots when buying it and one shot at the start of this thread during registration process. I have a lot of pictures of details and my work but none of the complete car somewhere outside of garage So today I finally took few shots:
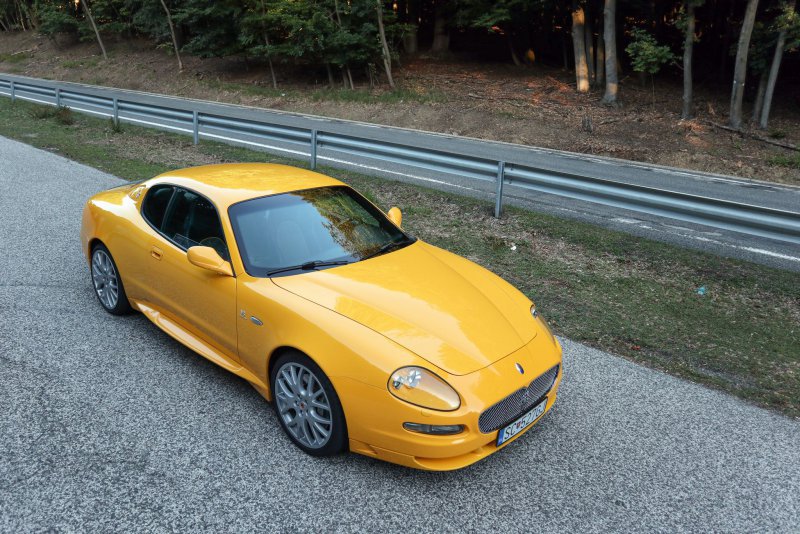
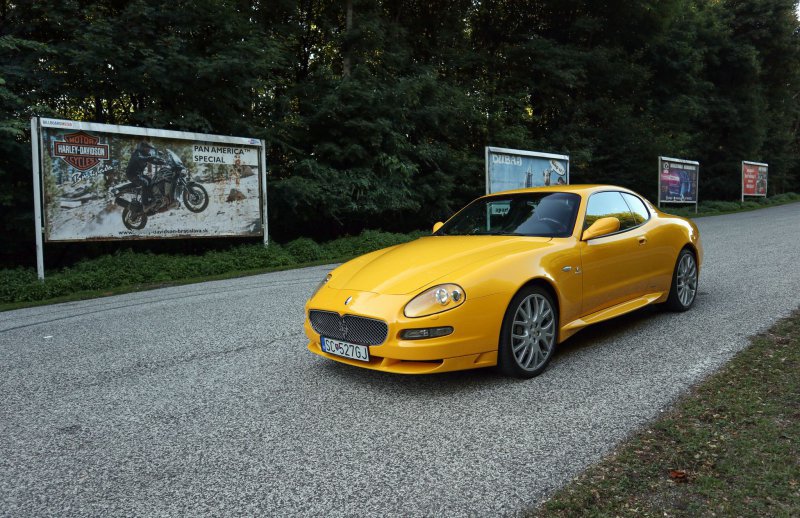
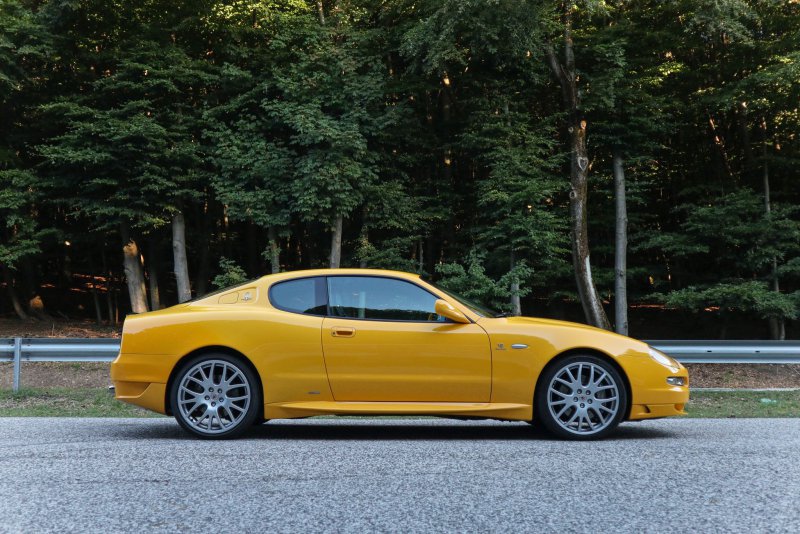
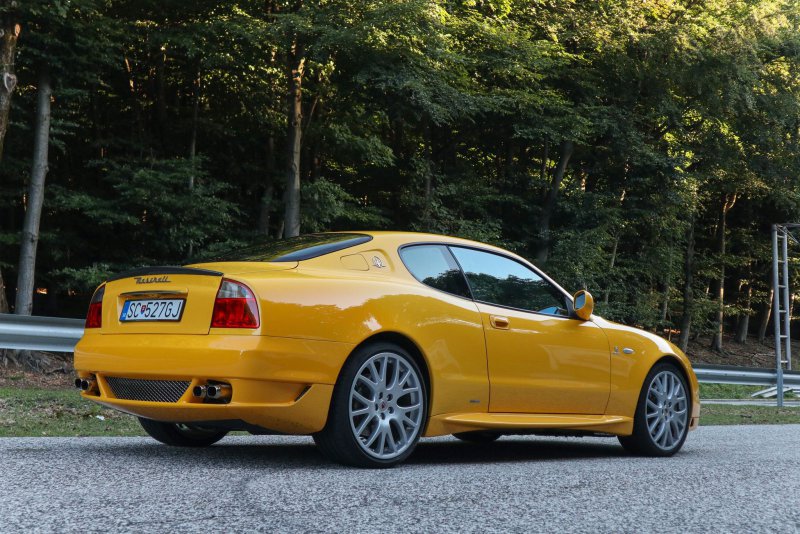
I realized that I almost don´t have any pictures of my car. I took some shots when buying it and one shot at the start of this thread during registration process. I have a lot of pictures of details and my work but none of the complete car somewhere outside of garage


Black Mazerati
Junior Member
- Messages
- 39
Your car looks like it's begging for some tastefully placed Black Stripes! 
gotcha
Member
- Messages
- 78
That does look good indeed. Something I can think about. At this moment I cannot say if I prefer with or without. I need some time. 
Another point I am not decided, since the purchase I was planning to get the wheels resprayed in Grigio Mercury like on the pics above. I was really decided to do it. But over the last months the silver wheels grew on me as well and I feel now undecided. Still leaning towards grigio over silver, but I don't feel so convinced as I was . My wheels were already resprayed, it is confirmed when I changed the rear tyres, the current paint ends at the tyre lip. So I would not be touching the "originality" as they were already resprayed anyway.
What is the general preference on yellow car? Silver or grey?
Church of Noise
Member
- Messages
- 208
Well, if you get them done in Grigio Mercury (I think mine are now, were ballpolished before), then you need to also make your grills darker, to avoid having bright and darker grey and yellow and black (I intend to on my car, grill still is shiny) 
Not helping, am I?
All kidding aside, both look really good. Do whatever you like best, and if you don't know now, then maybe just wait?
Seems there is no urgent need to respray them anyway, so time might help you get some clarity...
Not helping, am I?
All kidding aside, both look really good. Do whatever you like best, and if you don't know now, then maybe just wait?
Seems there is no urgent need to respray them anyway, so time might help you get some clarity...


