JT's 2001 Maserati 3200GT Rebuild! Story, Parts and Advice

davy83

Member
Messages
2,823
excellent work sir. Its a great chance to do work on the engine while its out. any thoughts on timing chains? I would also make sure to do valve timing, silicone hoses on all water hoses. Get the turbos checked out (maybe refurbished?) they don't last forever the bearings go and this would be a great time to change them. Check end float? and depending on the miles on the engine maybe replace the water pump? Looking at 60-70k miles out of the water pump so consider how long it will likely last? Also remember the crank and CAM sensors will have been damaged by the fire, and you will need to check the clutch on the AC compressor also for fire damage (or replace) I also note Bosch 0 986 016 530 Starter is easily converted for the 3200 I can highly recommend that.
 

JTop

Junior Member
Messages
47
excellent work sir. Its a great chance to do work on the engine while its out. any thoughts on timing chains? I would also make sure to do valve timing, silicone hoses on all water hoses. Get the turbos checked out (maybe refurbished?) they don't last forever the bearings go and this would be a great time to change them. Check end float? and depending on the miles on the engine maybe replace the water pump? Looking at 60-70k miles out of the water pump so consider how long it will likely last? Also remember the crank and CAM sensors will have been damaged by the fire, and you will need to check the clutch on the AC compressor also for fire damage (or replace) I also note Bosch 0 986 016 530 Starter is easily converted for the 3200 I can highly recommend that.
Cam chains? I am taking the covers off both heads to get them refurbished, as well as to check the condition of the lobes on the cams and the gaskets especially what is left of them given the fire was on the LHS. I ordered the few silicone hoses from Here and well.. After checking again, realised they have more than I initially saw hahaha, another order it is, given there is not much to the cooling system anyway! Fire touched it all, so better be safe than sorry.
I'll borrow a kit to check the valve timing, so too for the end float as I have no gauges for precise measurements.
So given the car has 142,000 kilometers, and has a new pump only 8,000 kms ago(9 years ago), which really isn't mated super nice to the block, I'll just remove and update the seal hopefully. Whoever done the job just slapped so much gasket sealant everywhere I'm just peeling it all off...
As the fire was at the rear end of the block, and the powder gone everywhere, the crank and cam sensors are looking fine, I'll take them out and test them on the bench and see if they are within specification as mentioned in the Maserati book, so too the water temp, oil level sensor and the only knock sensor that survived, as the one at the rear had taken quite a lot of heat.
I'm yet to dismantle the starter and check for wear or if it needs new brushes. Will do that, thank you for the heads up on the alternate option!
AC, I'll take the pulley off and inspect the clutch. Had a lot of the fire retardant so will do that! Need to divide the Alternator too, as that has a lot of this stuff still stuck inside.
Thank you :D

I can't upload one photo and it's bugging me :mad:
 

davy83

Member
Messages
2,823
There are short CAM chains on the rear end of the cylinder head linking each CAM, one chain for each head and you can't buy them any more!!
 

JTop

Junior Member
Messages
47
There are short CAM chains on the rear end of the cylinder head linking each CAM, one chain for each head and you can't buy them any more!!
Yeah I believe you, once these go... Custom chains no? Haha
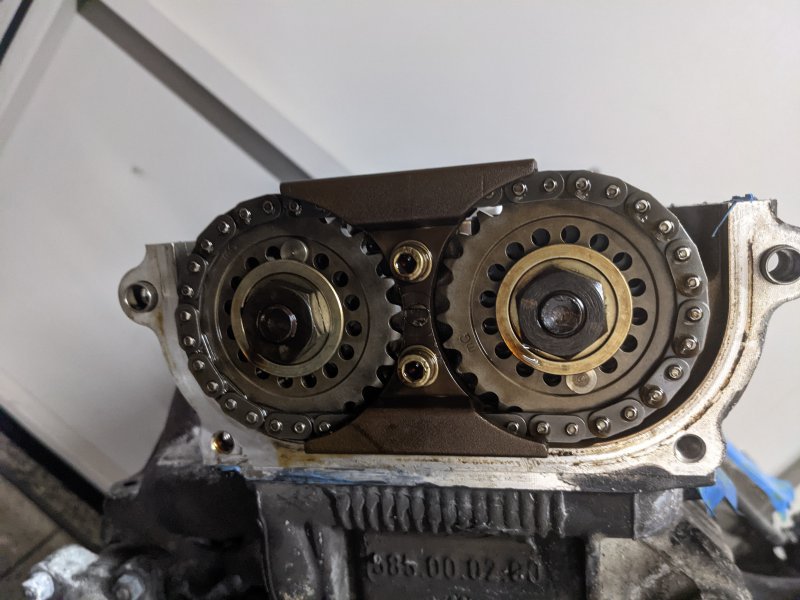
Took the covers off, cam lobes are still smooth and not scored, engine definitely been looked after. Except I'm unsure of the gasket under this half of the head. To check or not to check
Given all the other rubber seals are ok(I've still ordered new to replace) BUT the sealant for them has all melted
I'd not be taking the full head off, but half of it. Maybe do both sides and their gaskets and be certain it'll not leak for a very long time!
88830
 

davy83

Member
Messages
2,823
I am not sure (perhaps some one will come along and confirm) but i think there is a plastic chain guide in this assembly and you might want to check the fire did not damage that.
 

MRichards

Member
Messages
283
Complete Sachs clutch kit available from Australian Clutch Services,known as Clutchpro in Adelaide, Part No. KMS24001. It cost about $1200 a few years ago. See www.clutchpro.com.au

Somewhere on here (couldn't locate the link) there are some pics of a modification to the throwout bearing to prevent the ears breaking. Just involves a bit of welding to strengthen the ears.

Failure of bearing is said to be a problem. Prolly for those who habitually ride the clutch ?
 
Last edited:

JTop

Junior Member
Messages
47
I am not sure (perhaps some one will come along and confirm) but i think there is a plastic chain guide in this assembly and you might want to check the fire did not damage that.
I'm yet to compare it with the other side, tomorrow might be a good day to get that done. Need to get the covers and intake manifold painted

Complete Sachs clutch kit available from Australian Clutch Services,known as Clutchpro in Adelaide, Part No. KMS24001. It cost about $1200 a few years ago. See www.clutchpro.com.au

Somewhere on here (couldn't locate the link) there are some pics of a modification to the throwout bearing to prevent the ears breaking. Just involves a bit of welding to strengthen the ears.

Failure of bearing is said to be a problem. Prolly for those who habitually ride the clutch ?
So I've been quoted that clutch for $1500 and when I asked if it was genuine Sachs, I got, "No, it is aftermarket" so given they couldn't provide me any specifications to it. Germany has the kit for 760Euros plus shipping so same same.
I chose the Borg and Beck kit from Eurospares which looks ok.. Not doing anything fancy because the parts I'm looking for are nowhere to be found. eg. billet CHRA's that fit the IHI RHF5B-VA660054 and 55 turbos. I'll see this weekend what to do if they will come off and get rebuilt fully.
Also thought I found the post for the mod, but I got to look again, maybe now as I'm not doing anything..

Lockdown so will see what gets done this weekend. Lots of uni work to do
SO full car paint, got quoted $18,700 to get it redone by Luxury Auto Body in Cliffton Hill. Maserati Approved. I mean the gent immediately told us "We are expensive" and "This is a Backyard job" lol. He knew for the value of the vehicle it's not worth it in this given year.. Maybe in a few years time when rarity and collectors item becomes a thing, that's when it becomes a different situation. But anyway 142k kms, so it doesn't matter either way. The car's going to be restored to be driven and enjoyed before moving on eventually. I know I'll have a completely different fleet next year, will see how different though haha
 

JTop

Junior Member
Messages
47
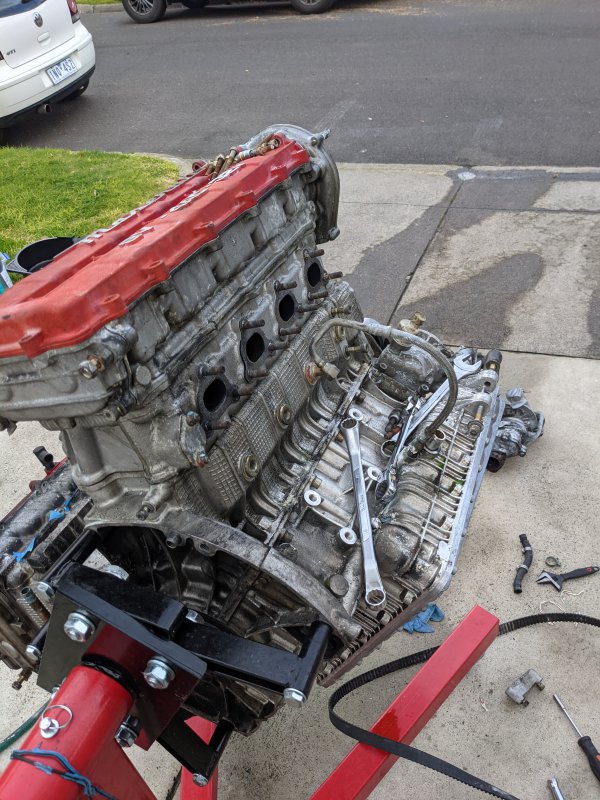
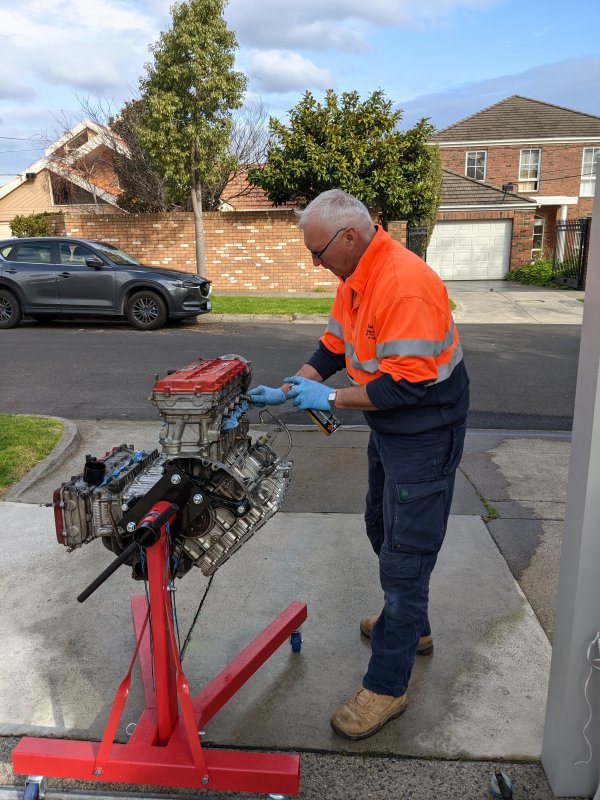
So the final set of parts have been removed, and I'm up to the part where I question doing anything further. But getting there I found a few things of concern.. To begin:
89159
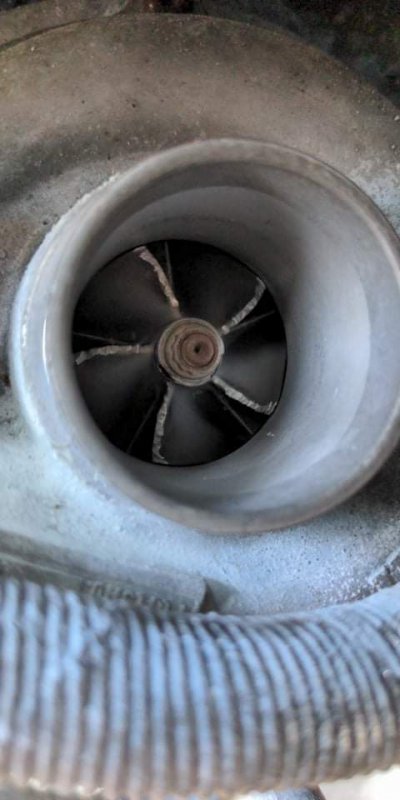
RHS turbo had sucked in an object, and after further inspection found it to be a rock of some sort, as there was a small amount of sediment sitting oily on the bottom, rear section of the intake manifold's under-tray. No trace anywhere else. Give the manifold sucks air from the top down into each intake port, and the velocity that this sediment had to receive in order to get that far, some must have gone in. But in such minuscule amounts that there are no other traces of it. Nothing in the pipes, nothing in the intercooler BUT I am yet to check, each cylinder. This is where it becomes interesting
89160
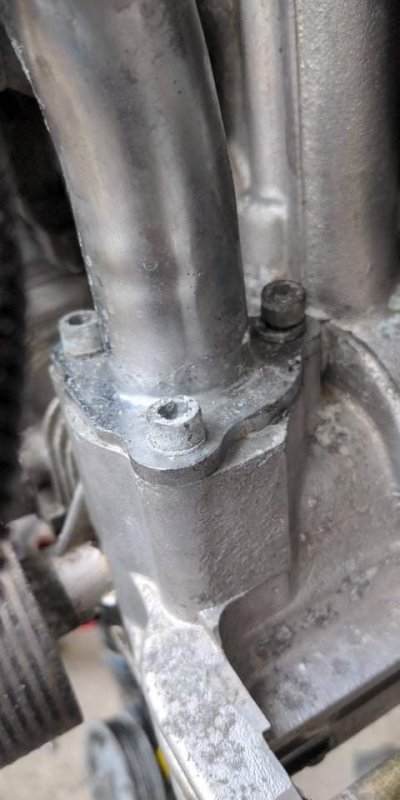
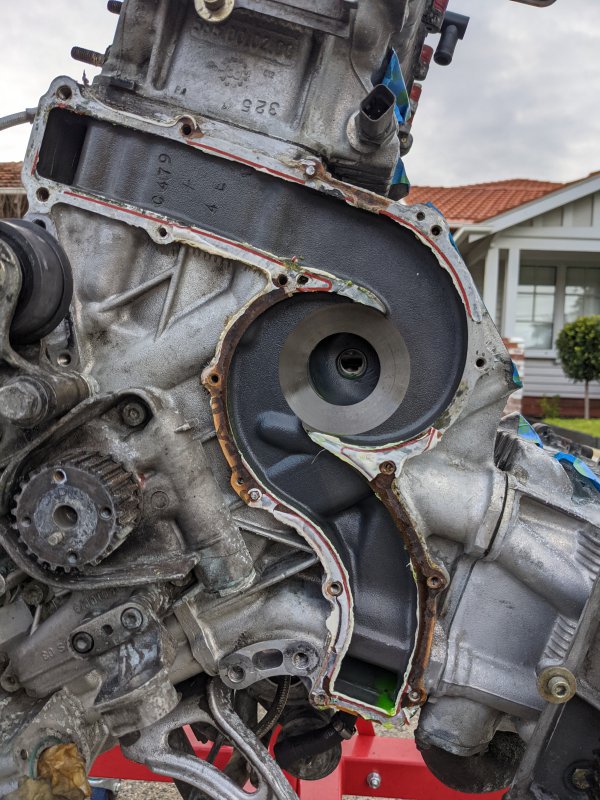
Anyway, other than these two things and the chopped up plastic timing belt cover, not much more to the front. Other than the one bolt that's backed out of the front oil seal cover. This just makes me concerned about the front of the engine.
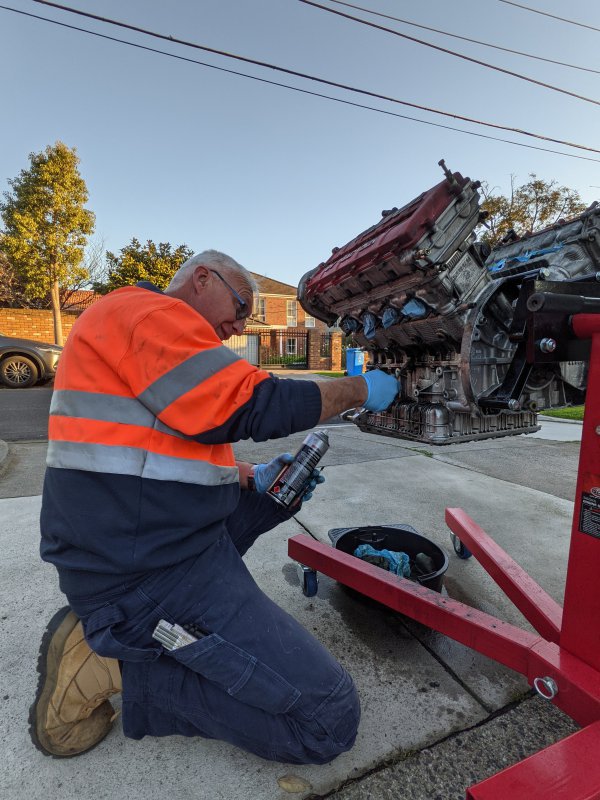
Whilst cleaning a gent came up to us because he saw the engine and was intrigued to what we're up to and well, connections are made! Recommended a local shop that does a lot of hydroblasting, the guy takes all his bike parts to this gent and does a marvellous job. 5star reviews all round.
So the question is.. Engine apart, yes or no? Yes means it'll get blasted and looking brand new.. Also making sure if there was any sediment entering, it hasn't done any major damage. Enforce that peace of mind.
No means, it'll be cleaned as best as it possibly could without any harsh damaging chemicals, I'll definitely spend the hours there, lots of hours.

Anyway, madmanmart sorted a turbo too, still awaiting for parts to arrive from eurospares. And well.. Germany. Next Tuesday should receive the wiring loom and few other bits.
8916189189
Both Turbos off, and the leaky waterpump too, few studs snapped as they were way far gone and seized in the block. Have to carefully remove them...
more images being uploaded, have to post otherwise they just run into errors
8916789190
I had my good mate who's a professional detailer come over and sort a few things for me, and actually we've come down to a reasonable cost to get these things sorted! And by professionals, no amateurs here.
Current plan is to get the bonnet sorted, as soon as I have one brand new grill from Eurospares, I'll CAD model and 3D print a mirror image of it for the other side and have those go on the car. No point getting second hand as mentioned, the plastic is brittle and will probably perish on removal. As well as the mirrors and the dent in the rear quarter, pulled given it actually hasn't damaged the paint as we discovered!
All the little things are also being sorted, need to clean more things and sort the remaining of the wiring that got ever so slightly damaged.

Will keep this updated with the rest :)
 
Last edited:

safrane

Member
Messages
16,854
Turbo looks shocking to a non- mechanic like me... keeping the fingers crossed it was atomised before it entered the combustion cycle.
 

davy83

Member
Messages
2,823
looking good. The oil dip stick tube mountings are always hard to remove and really need taken out during belt change so these are often not in good shape.
 

JTop

Junior Member
Messages
47
Turbo looks shocking to a non- mechanic like me... keeping the fingers crossed it was atomised before it entered the combustion cycle.
I hope so too, I honestly didn't notice anything out of the blue until I took the turbo inlet pipe off and realised oh s***.. this might be bad
Getting a camera tomorrow to have a quick inspection given no valves are open, I'll peek and have a look in all before turning the crank.

looking good. The oil dip stick tube mountings are always hard to remove and really need taken out during belt change so these are often not in good shape.
I can think of 3 different ways to get that bolt on nicely without doing this.. I understand the "extra" few minutes of making sure it's good obviously don't matter to some... anyway have to re-thread it given it's been cross thread. Need to remove the rusted ones from the water pump anyway and pray I don't need to rethread any of those...
 

JTop

Junior Member
Messages
47
Brave pills required for such a build but great to see the progress
Great stuff! Proper resto job that!
Thank you guys! I always try to be as meticulous as possible with my work and am super privileged to access to enough resources to make this responsibly happen. Should be incredibly satisfying putting everything back together and turning the key for the first time..
 

philw696

Member
Messages
25,439
Thank you guys! I always try to be as meticulous as possible with my work and am super privileged to access to enough resources to make this responsibly happen. Should be incredibly satisfying putting everything back together and turning the key for the first time..
Turning the key after major work is the best bit indeed :)
 

Wally

Member
Messages
244
You know that the clutch-releaser is -again- available through Sachs for a reasonable price? (Now "made in China" )
 

JTop

Junior Member
Messages
47
Turning the key after major work is the best bit indeed :)
:shy1:hehe yes yes yes

Your a goer and the car will be too, all the best of luck.
Thank you!! Hope it moves soon enough!

You know that the clutch-releaser is -again- available through Sachs for a reasonable price? (Now "made in China" )
I'm not surprised, the Germans are getting slack for their quality, even though they have been making their products out of the country; in Slovakia as MRichards said.

Anyway..
Just been focusing on my uni, given I have less than two months left and working on the Masa for a few hours during each weekend, have gotten to the stage of well.. You'll see

Anyway, parts have arrived, all three boxes; Eurospares and Germany finally
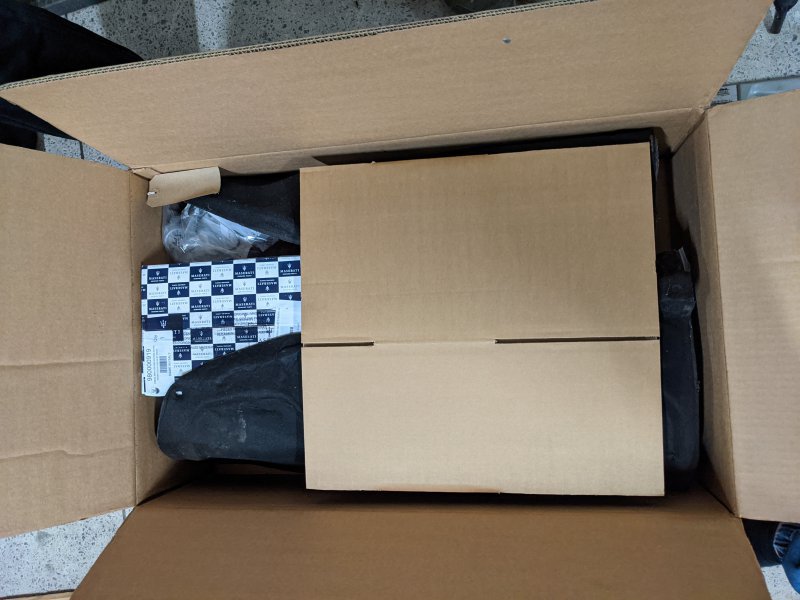
89560
Unpacked on Saturday and checked the list off for all. Missing two items that were on the list(one on and one was left out? no idea why but ok) and the total balance isn't correct..
Anyway, the Borg and Beck clutch kit seems pretty good, Flywheel has been machined down too, so that is all ready to go back on.
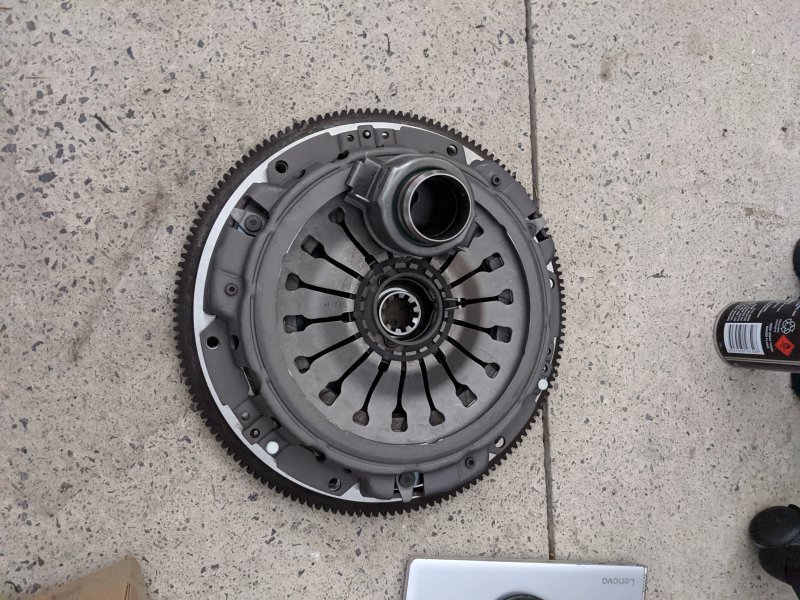
8956189562
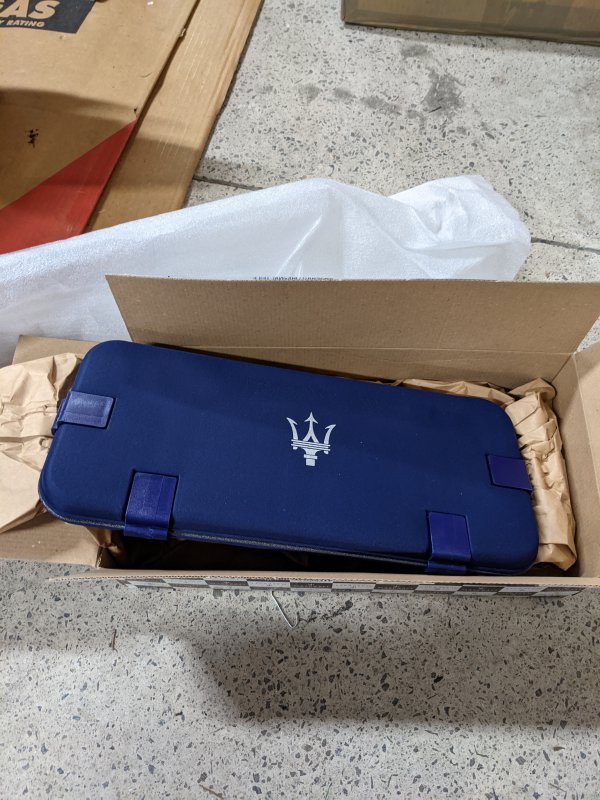
Is this blue case actually the OEM piece? or just the half alternative
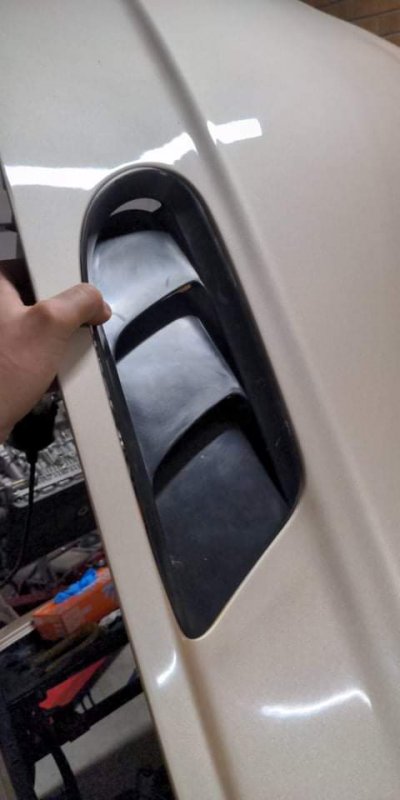
8956389564
Anyway, test fit to see how the new bits go, and well. Looks brand new already HAHA.
Now to find the RHS bonnet grill, given there are no other options. Have enquired to have it 3D scanned to obtain a model, and then mirror it and get it printed. May not be OEM but that's the next best solution.
Once that arrives, well they can get painted along with both mirrors and to correct the bonnet and fix it up for the small cracks on the top and underneath.

So then I decided, let's have a look inside the engine, shouldn't be bad at all! And honestly, happy that I have!
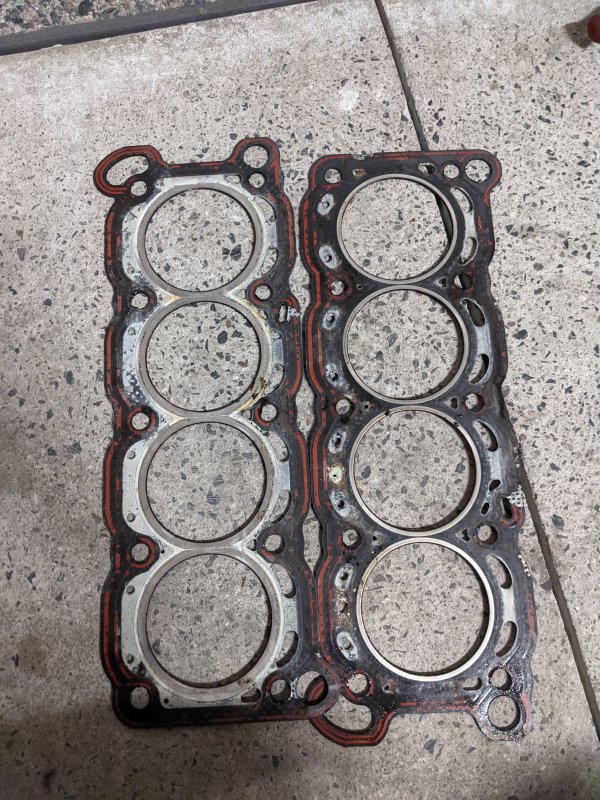
8956589566
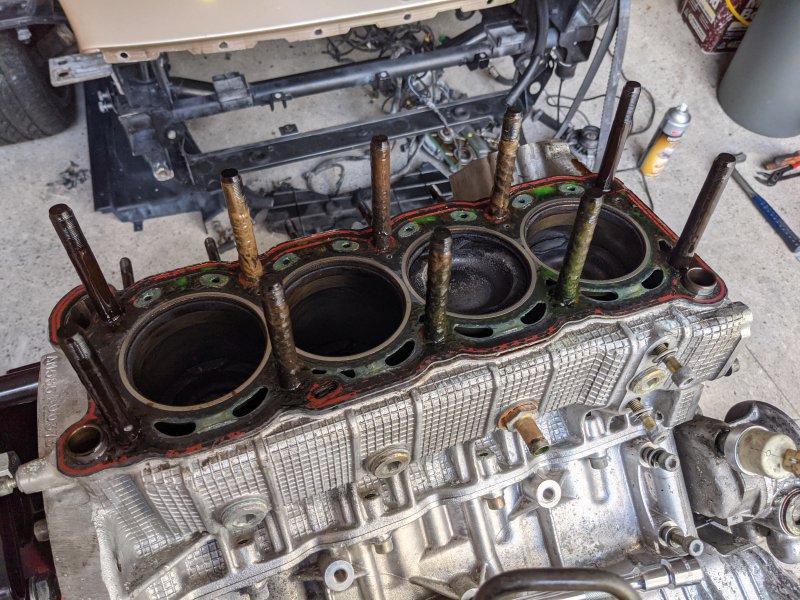
The headgasked on the right was the warning and well, told me that the other side might be as bad if not worse, but it ended up being ok-ish, other than the studs being very uh.. milky? That ain't right oh nonono
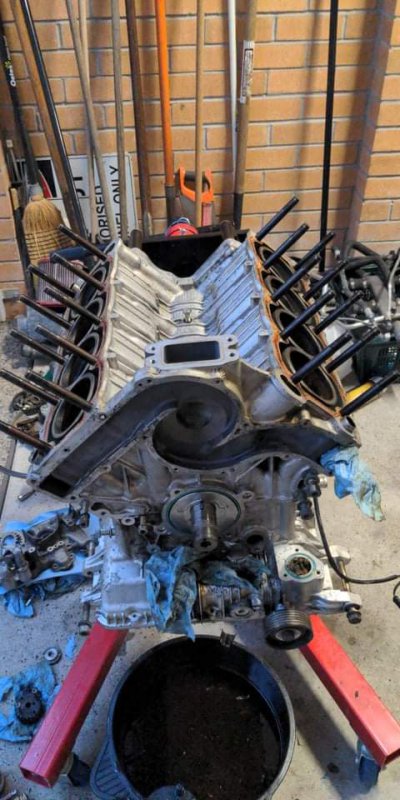
8956789568
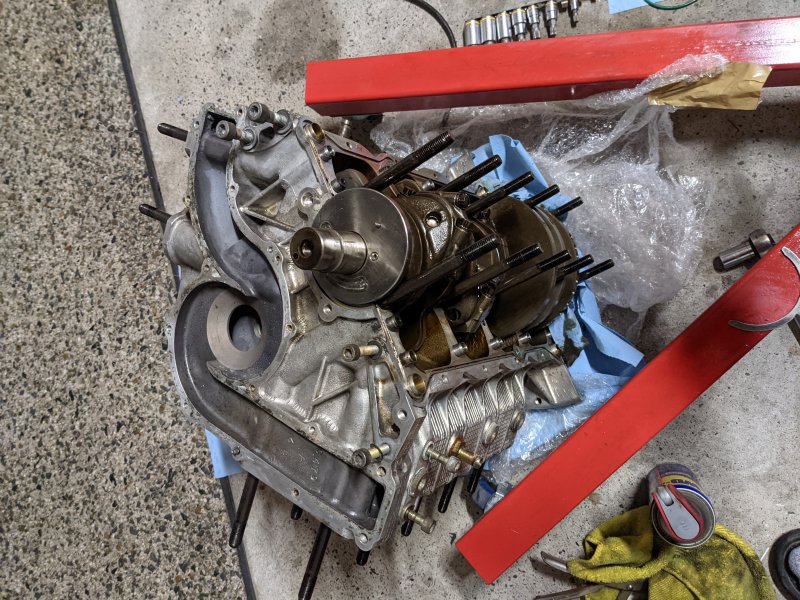
I'm trying to remove the dowel in the crank to remove the oil cover, it's not budging and I have no better idea how to remove it, will see tomorrow evening. Anyway the rear thrust bearings look good, will measure everything up and check up what's going on. Potentially pistons out to measure the walls and make sure they're going to live for a decently long time!

So really, the next part is just removing the two broken bolts in the waterpump and start rebuilding! Need to make one more order for gaskets, seals for the bottom end, both belts and the one bearing that died. The parts that madmanmart is getting sorted and should be good to go soon enough.

As for the electronics, given I got the loom, upon studying it there is a major difference and well.. I doubt this loom will work with this ECU.. SOO, there might be some chopping and crimping from the old and new combining them together to make one good working loom. I say this is doable, because it's only the coilpack and injector section that's fried on the original loom. The right hand side is all intact, it was all good. So I'll do some reading and mapping the colours to make sure I can do it before I even bother.

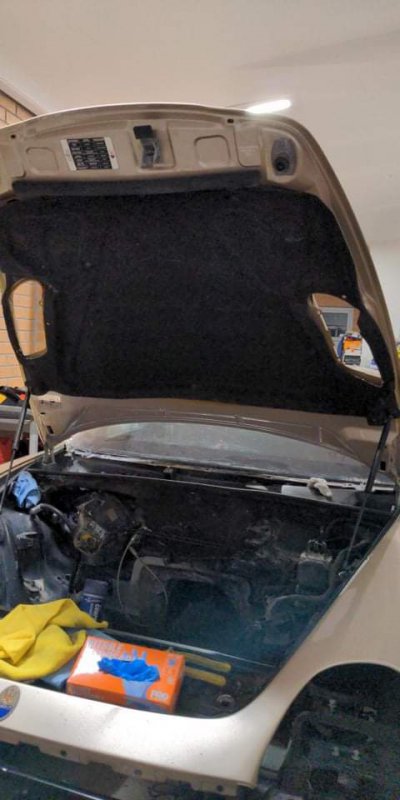
Whilst sorting the engine, I'll start working on the engine bay to get that tidy from the rest of the fire retardant and prep it for painting, clean it up before 800grit wetsanding. A nice fresh coat of black will do nicely
Think that's all for the moment, will go check on the interior pieces tomorrow, see how they are going(and hand in one more piece over to be worked on).
Also dropped the fuel lines off to Pirtek to get remade, and tomorrow they go to Woody's Hydroblast to bring back to their original condition. Also a few other items too so they can be all done up nicely!

I probably forgot a few things, but that's most of it
Cheers :)